Long gone are those days where we used to have no other tools to fell trees apart from axes. Now it’s 2021 and any carpenter is provided with a handful of power tools to make the job easier.
Having said that, there are a lot of power tool choices to cut down a tree. But name one particular saw that you use most while you’re outdoor. Yes, that’s the chainsaw.
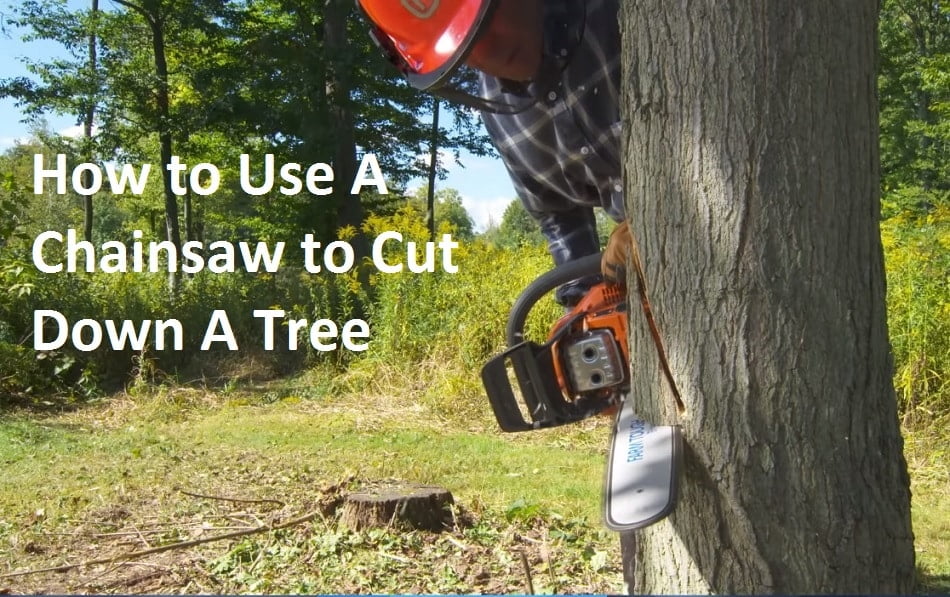
In this article, we will learn the step-by-step guide on how to use a chainsaw to cut down a tree. We’ll also learn about the list of safety precautions that you have to take while executing the process.
Got a minute to check it out? Let’s start-
6 steps on how to use a chainsaw to cut down a tree:
Read carefully every step, don’t miss-
Step 1: Pre-calculate the fall of the path
As we are cutting down a tree with a chainsaw, it will definitely fall down in a particular direction. Before you fire up your chainsaw, do some calculations to figure out the fall of the direction.
Usually, it’s the direction of the lean where the tree will fall down once cut. In case you have a house or something important right under the direction of the tree, you might want to fall in the opposite direction of the lean. Some extra work is necessary to be done in that case.
Once you figure out the right direction of the fall, take everything from under it to a safer place, including persons of course.
Step 2: Determine your cutting position
Once you are certain about the direction of the fall, it’s time to position yourself for the cut. Before that, you should also determine the position where you will take yourself once the tree comes down. Usually, this place is called the felling retreat.
However, now, place yourself near the tree root and fire up your chainsaw.
Step 3: Start sawing at the right spot
Start sawing with your chainsaw at the right place where the tree is supposed to be cut down. Some of the carpenters usually go for cutting a tree from the root, where some others want to cut it from a height. Either way, you go with, there will be three kinds of face cuts that you can make-
- The Open-faced Cut: Contains of two wide notches at an angle of 90 degrees. It contains a notched corner as well.
- The Conventional Faced Cut: Has a combination of an angled top cut along with a flat bottom cut. It creates a 45 degree of angle together.
- The Humbolt Faced Cut: It’s the opposite of conventional faced cut, which has a flat top cut and an angled bottom cut. The angle is 45 degrees in here as well.
Now, stand to the side of the trunk and start to saw the tree to make any of these three types of cut. If you are a right-handed person, make the face cut from the right side of the trunk. Otherwise, left-handed persons will do from the left side of the trunk.
Once the cutting face will be created, the rest of the cutting process will be quite easier.
Step 4: Create the notch cut
At this step, we will create a notch cut on the selected place of the tree. Wherever the notch cut is made, you have to ensure that the undercut is able to make beneath that. Make necessary angle adjustments accordingly.
Let’s make it clear with an example. If you want to make a Humbolt notch cut, you should place the top cut at an angle of 90 degrees to the trunk. This is referred to as the angle of attack.
Anyway, you should keep cutting the notch cut until the saw reaches at least one third or one-fourth of the tree’s diameter. Once done, stop making the notch cut there.
Step 5: Make the Back Cut
The second part of the cutting face is to create the back cut. It’s usually made in the opposite direction of the notch. Right after the back cut is made, it will disconnect the tree almost from the tree stump.
Start making the back cut on the side of the tree, and make your way around till the back of the tree. Remember, you are supposed to maintain a leveled angle of attack.
Don’t be too fast with the cut, otherwise, the whole cut will be ruined and you will have to ruin the smoothness of the cutting edge.
Once done, you will see the tree topple on its own.
Step 6: Take yourself to the feeling retreat position
Remember the term called ‘felling retreat’? It’s the one place where you are supposed to take yourself when the tree starts to fall. Right at this step, the tree will start to fall down and you’ll have to run towards the felling retreat position.
Don’t run directly towards the back direction of the fall. If you do so, it will put you in risk to be hit by the tree’s raising backside. Keep the felling retreat position within 20 feet at least. That’s for the sake of safety.
Safety Precautions
The whole process of how to use a chainsaw to cut down a tree is quite risky. In order to protect your limbs and organs from severe damage, it’s always suggested to take necessary safety precautions before you begin with the process.
Here is a list of safety precautions that you should go with-
- Put on work pants and long-sleeved shirts.
- Put on protective glasses and earplugs if necessary.
- Wear on steel-capped boots.
- Wear non-slippery gloves on your hands.
- Put on a work helmet on your head.
- To protect yourself from the flying debris, you can also put on a mask.
- Inspect your chainsaw before starting to use it.
Hope you also love:

