
For many, staggering the laminate boards seems quite difficult. But understanding the basic concepts can really help you out.
There come to no steadfast regulations for staggering while laying laminate flooring. With a rather careful staggering, the floor can give a pleasing outlook.
That’s why you need to get the core of how to stagger laminate flooring. Proper guidance can save you time while providing the floor further aesthetics.
Overall staggering is incredibly easy without requiring any special expertise. It even doesn’t need extra time than the projected time.
Here, we discussed the entire operation aside from some important details. Following certain steps can ease the staggering process to a great extent.
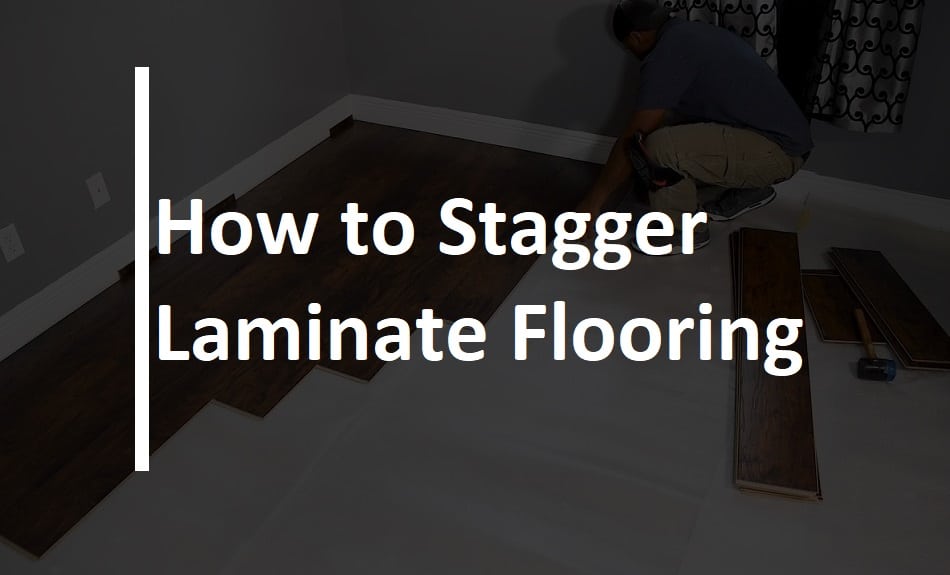
How to Stagger Laminate Flooring – Details Process
How Much to Stagger:
The staggering requirement varies according to manufacturer recommendation. It may depend on where the stagger will take place. Considering the most cases, the stagger ranges from 6” to 12”.
Likewise, there’s no particular specification for laminate floor staggering. Some manufacture even recommends more. Also, make sure the staggering results in irregular flooring.
But try to avoid shorter flooring stagger. Apart from other issues, it reduces the aesthetics. You should go through the manufacturer’s guidance properly before start staggering.
Things to Gather for Floor Staggering:
Before going for the staggering operation, you better get the necessary tools. Here goes the list of required accessories –
- Tape Measure
- Chalk Line
- Hammer
- Transitions
- Handsaw
- Finishing Nail
- Circular Saw
- Shoe Molding
Procedure to Stagger the Laminate Floor:
Defining the Expansion Gap:
Grab & measure the space using the tape measure. Mark a line or several dots at ½” away on the floor from the walls.
You can use the chalk line to use the line as the guide. The white chalk line defines the required expansion gap.
Accommodating the Variations:
You can do this now or even before marking the gap. Just open the boxes containing the laminates. Now mix all the planks at once. It covers the slight variations in color.
Accommodating the plank differences, you can attain a rather uniform staggering result.
Cutting the Plank Spacers:
To get spacer plank, you’ll need either lumber or damaged flooring piece. For flooring piece, you better cut down 2 – 3 inches of length. It requires about ½” for lumber.
Perform the front side cutting with the handsaw & back side cutting with the laminate flooring saw. The planking pieces are the spacers to use around the perimeter.
Proper Placing of Planks:
Now get a number of planks to install around the wall. You can start placing along with the longest one. Place the tongue facing the room center, lying along the chalk line.
You should slide the groove fastener & tongue together towards the end. It is likely to require a number of spacer planks.
Cut planks to fit into the room length using the saws,. Don’t forget to mark the expansion gap for the sides & every row.
Setting & Keeping Spacers:
Right away, you can set the spacers inside. Get them placed between the first wood row & the wall. It actually helps you to continue the operation along the chalk line.
You should also get some spacers alongside the ends.
Row-Wise Plank Arrangement:
Following the successful spacer placement, it’s time to set for the next row. You need to select planks of different lengths. Regarding the ideal condition, the distance of joints is about 16”.
In this step, cut the ends to get rid of the tongue or groove. You can also cut planks to fit them inside the row. But don’t shorten any of the pieces below 12 inches.
To finish the fitting, connect the groove side (2nd row) to the tongue side (1st row).
Fitting the Side for the Last Row:
You can continue to make plank placement for successive rows. Reaching the last row, you’ll have to go for the tape measure.
Figure out the available width of the last two plank rows. Also, measure the chalk line to get the expansion gap.
For a perfect fitting, cut down the plank tongue lengthwise for the last row. Now you can set & fit them in place.
Installing the Shoe Molding:
Completing the plank placement, install the shoe molding around the room. You can either reattach old molding or cut newer moldings.
To hold the molding, use the finishing nails & hammer. Remember to get the moldings on the wall, not on the floor.
Putting Down Transitions:
Now, in the end, you can put down the necessary transitions. The specifications depend on flooring & transition types.
Learn: How much time you need to install laminate flooring
Verdict
Staggering the floor gives a full preview of the complete work. Knowing how to stagger laminate flooring, you can certainly decide the rightful stagger.
It’s obviously important to figure out how much you need to stagger. In fact, your floor pattern & aesthetics highly depends on the specified requirement.
Want to know everything there is to know about flooring? Check our complete guides.