
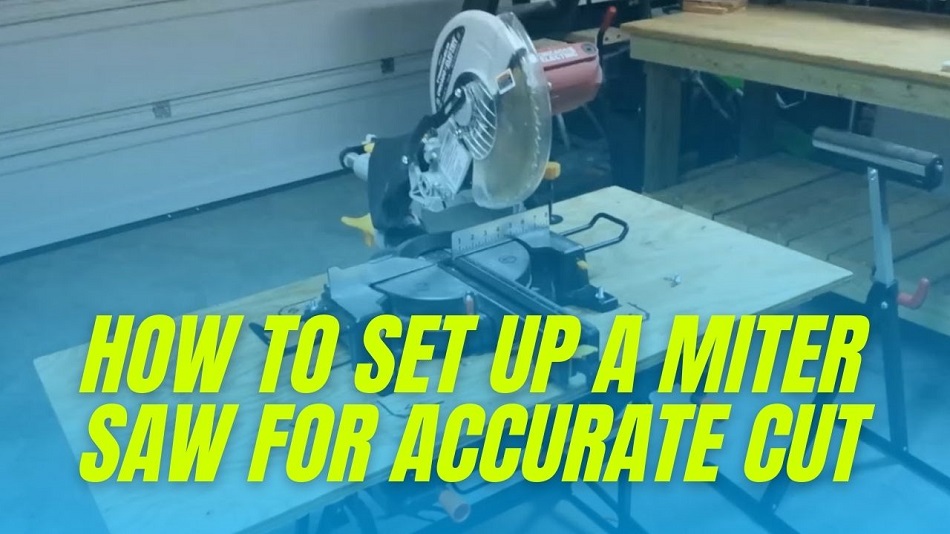
A miter saw is a magnificent tool for perfect and accurate cuts. If you are a beginner and purchase a miter saw the first time, you must know how to set up a miter saw perfectly.
A heavy-duty miter saw requires proper setup and installation. The efficiency and effectiveness of this machine mainly depend on its accurate setup.
Many people often complain about the poor performance of their machines. It is possible to overcome this problem by setting up the miter saw accurately. That’s why users need to place the device correctly for a smooth, safe, and excellent result.
What is a Miter Saw?
Typically, a saw is a specialized machine made for cutting things of different items. There are several types of saws available for use in multiple jobs. In all of this, a miter saw is a powerful tool capable of cutting at different angles.
As a beginner, anyone can operate this machine freely. Most of the models stand with a swing arm that can rotate in two ways (left and right) to create a countless number of angles.
The most fundamental bases are set apart at 0, 45, and 90 degrees. However, the current modern miter saw has numerous stops in addition to these three.
What is a miter saw used for?
A miter saw is one of the go-to devices for many activities. However, it can be used for cutting wood, plastic, PVC, crown molding, frame cutting, and other works.
Furthermore, you can also use it in several special projects. If you have previous experience and skills, it is possible to use this in several tasks.
Guideline To Set Up A Miter Saw
Many woodworkers have their personal experience or technique to set up this machine for smooth, precious, and perfect work. With all of these techniques, all are not easy so that you can apply as a beginner.
Here in this article, I’ll explain the easiest way to set up a miter saw. Please follow the steps below for the outstanding performance of your machine-
Step 1: Wear Safety Gears
Safety should be the priority for everyone. So, before going to the main process be sure you wear all safety stuff.
The primary safety gears are hand gloves and eye-protective goggles. Remember you are working with sharpening and heavy materials. So, never compromise with your premium quality protection materials.
Step 2: Prepare Test Cut
The first step in setting up the miter saw accurately is to arrange an experimental test cut. For this progression, you will require two sheets and two ideal edges on the two of them. It is the best way to ensure joining the edge.
For a better result, choose a wide-looking board. If you want to complete this test more accurately, the width of the board should be almost the maximum of the meter cutting capacity.
Step 3- Run The Cut
After setting all the preparations, it’s time to approach the test cut. Stack the two sheets on top of one another, ensuring the realized level and square faces are against the fence.
Now cut the sheets. If you want you can cut the two sheets at a time. In this case, cut at least 1/2 inch material from the boards. But before that, make sure you have the material on both sides of your saw blade.
Otherwise, the blade may move slightly away from the material and give us incorrect test results. So, strictly follow this step and you will get a straight cut.
Step 4- Check The Cut
You will need to check the cut to see if you have done the job accurately. Place the attached edge on a flat surface and then place them opposite each other. Notice if there is any gap. If the cut shows some gaps at the top, your test cut wasn’t done correctly at a 90-degree angle.
A properly connected saw can cut precisely along the perpendicular. Also, even after putting the two sheets together, you won’t find any gaps. To avoid any mode of error, read the tips in the user manual of your miter saw and fix everything accordingly.
Step 5- Finalize Your Result
Make a similar cut again in the wake of doing your changes. You have set up your miter saw appropriately when the cut edges contact uniformly no matter how you look at its width.
Step 6- Check The Bevel Of Perfect Miters
When setting up a miter saw and ensuring the sharp edge is slicing 90 degrees to the fence, you need to ensure it is slicing 90 degrees to the table.
Rehash a similar test we performed before, just this time set the known level and square segment of the load up against the table of the saw, as opposed to the fence, and rehash the interaction.
Finally, check the closures of the cut as you did in the means above and afterward make the essential acclimations to the bevel point until it is accurate.
Step 7- Get Help From Expert
Don’t understand anything? or, Haven’t a minimum idea about these devices? However, in this case, you can take help from an experienced person.
If you have problems, don’t forget to search online. Here you will find blogs or videos of many experienced people that can play an effective role in solving the problem.
Furthermore, the instructions in this article are arranged in such a way that you do not need to seek help from anyone else. So try it yourself before calling an expert.
Highlights Tips To Perfect Cut
- Fix this device properly.
- Set up this device in a heavy frame.
- Check the angles.
- Mark all points.
- Stop before lifting the saw.
- Wait a few extra seconds.
- Extend your support.
- Take extra care.
Final Thought
Setting up a miter saw accurately is the key to maximum results. The contents of this article are arranged in such a way that anyone can easily set up the miter saw correctly. So have confidence in yourself and follow the instructions thoroughly. You will definitely get better results.
Related Article: