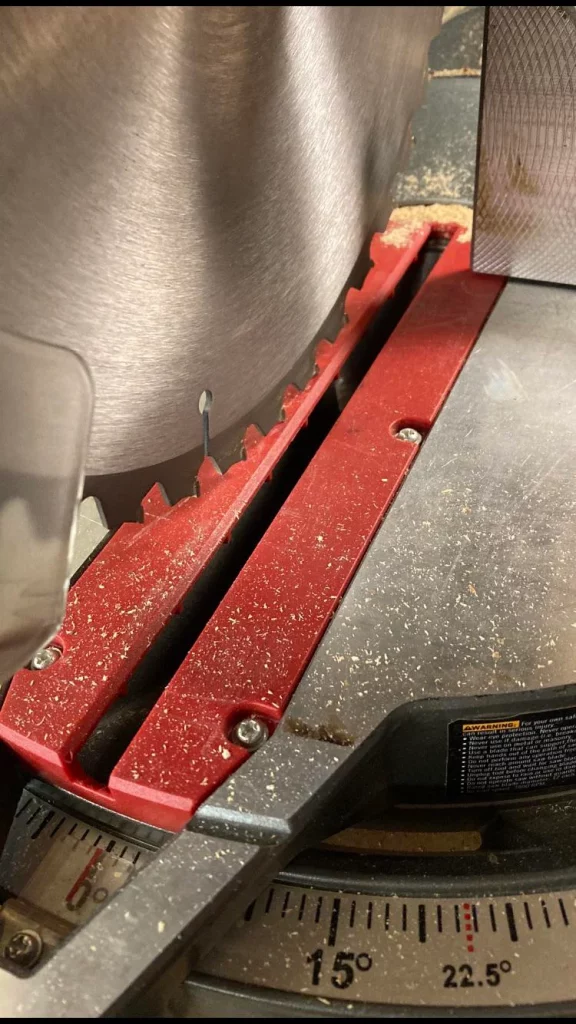
Miter saws are delicate pieces of hardware that need extra care in every aspect. A Craftsman miter saw falls under the same category. It needs special care when you are unlocking the saw.
In today’s post, we will discuss how you can unlock a Craftsman miter saw in a step-by-step process. Moreover, we will also explain why it is important to do so.
Quick Summary
Here’s a summary of today’s guide:
- Steps to unlock a Craftsman miter saw
- Important tips
- FAQs
Without further ado, let’s get you started.
Guide to Unlock a Craftsman Miter Saw
Before we get into what the whole process is, we need to discuss the parts that are associated with it.
These parts are essential to take care of because without them you won’t be able to lock/unlock a miter saw. Following is a list of these parts:
- Head Pin Lock
- Angle Pin Lock
- Blade Cover
Steps to Unlock the Saw
You can follow the procedure stated below to loosen the locking components.
Step#1: Locate the Blade Cover Pin
The first and foremost step is to find the pin related to the blade cover. It is located at the center of the miter saw.
In some cases, your Craftsman miter saw might have a knob instead of a pin. Gently loosen the knob and your blade cover will release.
Why should I adjust the blade cover?
Most miter saws in the market come with a built-in safety tool that prohibits unwanted movement of the blade guard. It is locked just like the bevel of the miter saw.
Until it is unlocked, you won’t be able to unlock the angle lock or the bevel lock.
Step#2: Unlock the Blade Lock
After you have safely removed the sliding pin, it is time to find the blade lock. You can find the blade lock on the right side of your miter saw.
It is usually a different color from the rest of the saw for convenient identification. If you can’t find it, refer to the user manual of the model you have.
How do I release the lock?
You can simply pull it out with little to no effort. It will have a ring attached to the pin. This is to prohibit pushing it in the other direction.
Although the pin can be removed using a gentle pull, its main purpose is to hinder any unwanted movement of the blade even if it is turned on.
Step#3: Release the Angle Lock
The next step is to lift the miter saw arm and release the angle locking safety pin. It is only required if you want to make a swivel cut or pivot your saw arm.
In order to locate the lock, look at the base of the cutting board. At the far end, you will find a screw lock. Use a lever to twist it out.
Why is it a screw instead of a pin like other locks?
The angle lock usually has a screw or a knob to keep the blade locked at a certain pivot angle. Simply use a lever to adjust the angle and then tighten it.
Step#4: Remove the Cutting Board Lock
The final lock is attached to the cutting board. It is designed to hinder the sliding movement of the table. It will either be a knob or a button on the right side of the miter saw.
Gently press the button and it will remove the safety lock. After that, you can pull the cutting table forward and backward easily.
What if I want to lock it in a certain position?
Once you have decided on the position, simply press the button again and it will lock the base in that position.
In the case of a knob, gently push the knob in the other direction until you have to apply extra force.
Once you have removed all the aforementioned safety pins, your saw is successfully unlocked and ready for all sorts of cutting procedures.
But, how do I lock it once I’m done working?
After you are done working with your miter saw, just repeat the process backward and lock each component using the locking pins and knobs.
Locking your miter saw is just as easy as unlocking it. But you have to do it in the said order otherwise it won’t lock properly.
Now let’s take a look at some of the important tips that you should absolutely keep in mind when you unlock a miter saw.
For more resource guides on different tools, CLICK HERE.

Important Tips to Keep in Mind
There are some tips and tricks you can use to streamline the entire locking/unlocking process.
Here they are:
-
Power Source
Always connect your miter saw to a power source once you have unlocked all the desired parts. It will massively reduce the chances of any unwanted accidents.
As a safety precaution, keep your hands clear of the blade at all times. In some cases, when a miter saw is attached to a power source, it can leave a static current.
Is static current harmful?
Static isn’t harmful enough to damage any internal parts but it can interfere with the rotations of the motor. As a rule of thumb, you must connect the power source last.
-
Blade Guard
Keep the blade guard on the saw/blade arm even after you unlock it. Only move it once you are ready to work with your miter saw.
This will greatly reduce any chances of unwanted contact with the blade. Besides that, it will keep the blade safe from dust and other external factors.
-
Tools
Always keep the tools for unlocking nearby. Sometimes the unlock pin or knob can get stuck due to splinters and small wood particles.
If your pin is stuck, gently push or pull a couple of times to get it out. Never use excessive force because it will loosen the lock.
How is that harmful?
If your lock mechanism isn’t strong enough, it’ll move the arm while you are cutting. This can cause your cuts to be off the mark and ruin the entire bevel/angle position.
-
Safety Gear
Always wear hand gloves when working with your miter saw. It is quite common to get minor cuts from the sliding board, bevel, and even the blade.
Gloves will keep you safe while you adjust the head position or when you are working with a lever tool to adjust the miter saw.
Should I wear safety goggles?
When you unlock your miter saw, safety goggles are a must. This is because splinters are a common cause of facial injuries.
Frequently Asked Questions
We gathered some commonly asked questions from around the web. Let’s take a look at them.
How do I unlock a compound miter saw?
A compound miter has the same unlocking components as a regular miter saw. However, you should always read the user manual to know more about your compound miter saw model.
Are lock pins better than buttons?
Every miter saw is designed to keep the swivel and other moving parts locked in a certain position. Although a lock button is more convenient, every expert prefers a pin mechanism.
Does every miter saw have locking mechanisms?
Yes, they do. This is to keep the user safe and sound from any unwanted accidents. The locks are strong enough to keep the saw head locked in place.
Do I need any external tool to lift the locks?
No, you don’t need any extra tools to unlock your saw. All saw locks are designed to be easily unlocked. But you should oil the locks once in a while to keep them in good shape.
Wrapping Things Up…
This brings us to the end of our guide on how to unlock a Craftsman miter saw. We hope this article proves to be beneficial for you and answers all your questions.
The locks on any Craftsman miter saw are designed to be operated easily. You can press a button to unlock or even push a pin to get it out. Even though every saw is easy to unlock, the locks are quite sturdy.
Do let us know what type of saw lock do you prefer in your miter saw.
CLICK HERE, for tool reviews and more.

