
Over the course of your woodworking journey, you will have to change the blade on your miter saw at some point.
This could be for a number of reasons such as if you want to replace a dull blade or if you want to add another blade for a different type of task.
Whatever the reason is, you must do your research and be fully prepared to properly change the blade before you actually do it.
Quick Summary
In this post, we will go over how you can easily and effectively change the blade on a Craftsman miter saw.
We’ll also go over some safety precautions that you should take while changing the blade.
So without further ado, let’s get into it.
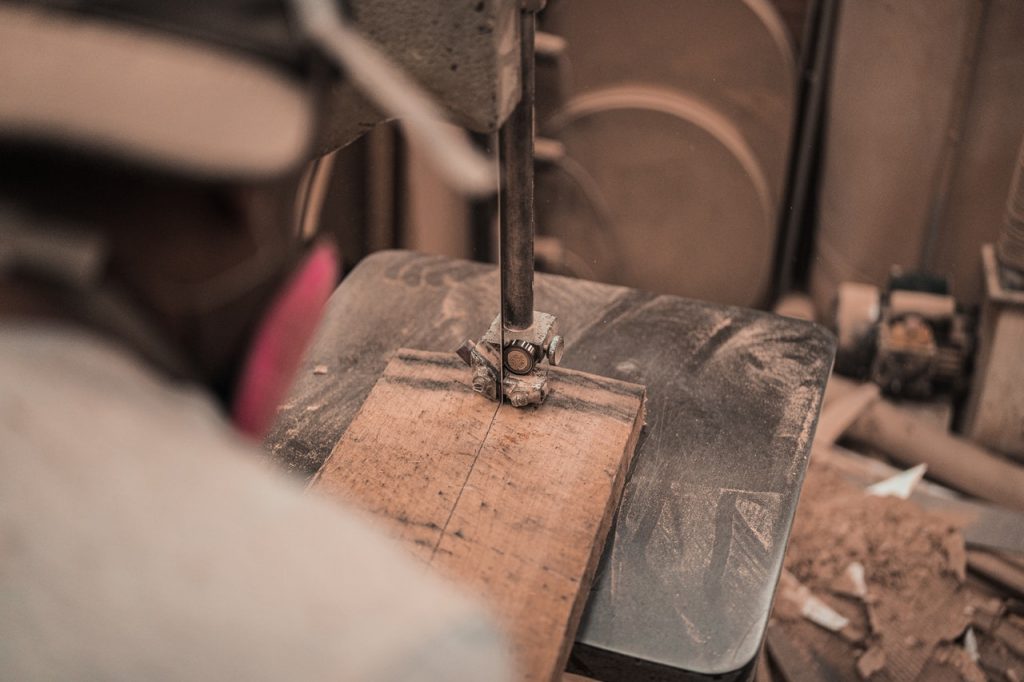
Some Safety Precautions
Many people who have been in the industry a long time tend to gloss over safety precautions as they feel they’re experienced enough to not worry about it.
On the other side of the spectrum, newer woodworkers who are inexperienced are not aware of many safety precautions that they should take.
Whatever the case may be with you, we urge you to take the time to take all safety precautions before you change the blade on your Craftsman miter saw.
Remember that you are working with a sharp blade that could seriously injure you if you’re not careful.
Some safety precautions you should always take when changing the blade on a miter saw are:
- It’s paramount to wear some type of protective gloves that will protect your fingers from the blade. When you handle the older blade to remove it and add the new one, it’s important that your hand be protected on all sides.
- Protect your eyes throughout the process. When you take out an old blade from a miter saw, it may have all sorts of dust and debris lodged in it. You don’t want those sharp, small pieces to get dislodged and go into your eyes. Hence, wear some goggles.
- If you’re a beginner and have not done this before, do everything extra slowly. Remember that there’s no rush. Study everything properly before you take any action and remember to move slowly.
- No matter what stage of the process you are at, it’s important that you apply the appropriate amount of pressure. For example, while tightening screws, you don’t want to add too much pressure as that can damage the blade and even the miter saw itself.
- Go through the instruction manual for the Craftsman miter saw before you attempt to change the blade on it. The instruction manual might have some useful tips that you could use to make the job easier.
- If you are stuck and are running into too many problems, don’t worry and don’t take it as a defeat. It’s better to take your saw to a professional in this case rather than to keep trying.
Once you’ve taken all necessary and relevant safety precautions, it’s time to change the blade on your Craftsman miter saw.
Learn more with our various RESOURCE GUIDES.

To properly and effectively change the blade on a Craftsman miter saw, follow the steps provided below:
Step 1: Before unscrewing anything at all, you must first ensure that there’s no power running to the miter saw.
This means that you should unplug the miter saw from its power socket. Just the miter saw being turned off is not enough, you must unplug it as well.
Don’t take any risks here as you don’t want the saw accidentally turning on while you are handling the blade to remove it.
Step 2: The very first thing you must do after unplugging your miter saw is to lift up the blade guard so you can handle the blade properly.
The blade guard is a shield that covers the upper part of the blade on a miter saw in order to protect your hands and face. Lifting it out of the way makes the changing process much easier.
In order to adjust the position of the blade guard, you need to find the locations of the screws that have secured it in place. It shouldn’t take you too much time to find them as they’re quite apparent on the Craftsman miter saw.
Once you’ve identified the screws holding the blade guard in place, loosen them with a screwdriver.
After the screws have been removed, the blade guard will become loose and easy to adjust. You can now easily lift it in order to expose the blade beneath it.
Step 3: Once the blade guard is pushed back, locate the spindle lock.
The spindle lock is a lock that holds the blade in place so it does not rotate when you handle it.
The spindle lock is a lock that holds your blade in place and prevents it from rotating when you are handling it. This will come in extremely handy when you are loosening the blade since you don’t want it to move about when you are unscrewing it.
Once you find the spindle lock, push it in so that it holds the blade firmly in place.
Step 4: After you locate the spindle lock, you have to find the bolt cover that covers the screw which holds the blade in its position.
Again, it’s not that difficult to find the bolt cover and you can easily locate it just by inspecting the blade a little. If you’re having trouble finding it, read the instruction manual for its location.
Once the bolt cover is found, use a wrench to take it off. Then, use a screwdriver to loosen the screw underneath.
After you take out the screw, the blade will be free and you can easily take it out of your miter saw.
Step 5: Insert your new blade into the same position from where you removed the old one.
When you insert the new blade, you must ensure that it’s properly locking into the spindle lock.
When the spindle lock properly secures the blade in place, you will hear an audible clicking sound that will confirm that the blade is locked.
After that, you can put the screw back and tighten it. Finally, add back the bolt cover. You can tighten that with a handy wrench.
During all this time, you need to push the spindle lock in so that the sharp, new blade you just installed does not freely rotate while you’re screwing it in.
Step 6: Lastly, you need to adjust the blade guard so that it’s back at its appropriate position. Lower it down until it properly covers the blade on the Craftsman miter saw.
Then, insert all of the screws back and use a screwdriver to tighten them.
Be sure not that you don’t tighten it too much as that can cause damage to the miter saw.
Once the blade guard is back in place, you’re pretty much done.
Wrapping Things Up…
With that, we’re at the conclusion of our tutorial on how to change the blade on a Craftsman miter saw.
As you can probably tell after reading this post, there’s really nothing to it. You just need to be informed of the order in which you need to remove certain components to properly handle the blade.
If you have any more questions, please feel free to ask us in the comments section below. Find more HERE.