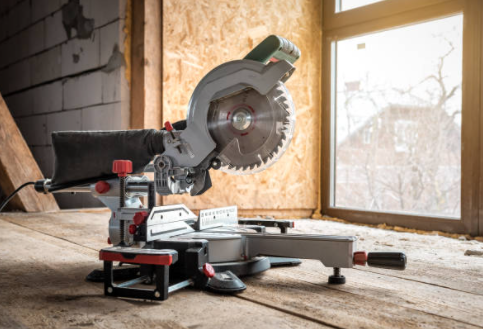
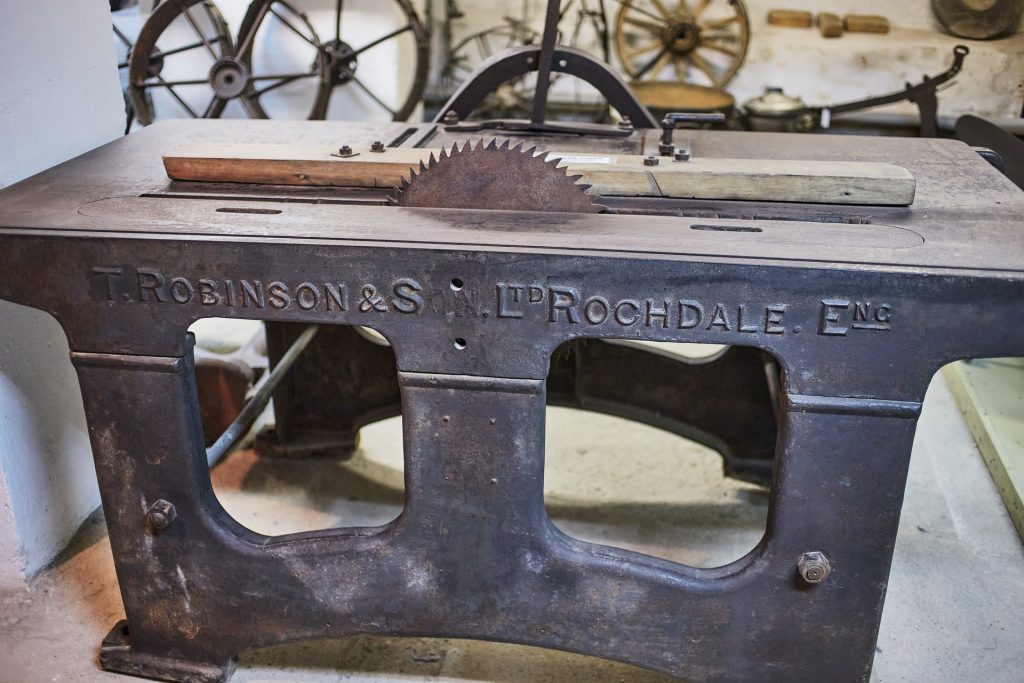
If you’re someone who’s been working with miter saws for a long time, we’re sure you’re already familiar with the Craftsman name. They’re a huge name in the woodworking industry due to their durable and high-quality tools.
Although they are very versatile, they do come with a disadvantage. Most people find it extremely hard and tedious to change its blade.
We’ve written this article for you to help you easily change the blade on a craftsman miter saw.
Quick Summary
In this post we will go over the following points:
- How to Change the Blade on a Craftsman 10 inch Miter Saw?
- Should you use a Craftsman miter saw?
So, let’s get started.
How to Change the Blade on a Craftsman 10 inch Miter Saw?
Generally, miter saws are extremely useful tools. You can them to make accurate cuts and have high-quality projects. But, there’s a condition to all these benefits.
It’s crucial that you inspect your blade to keep it at its optimum level. The blade should not be dull or dirty. You must also change the blade once it gets worn out. However, people find it tricky to replace a Craftsman miter saw blade.
If it’s not done correctly, you can damage the new blade or even worse injure yourself.
Here are some steps to appropriately change the blade on a Craftsman miter saw:
Step 1 – Prepare the saw
Most people skip this step as they find it unnecessary. However, it is the most important one to ensure safety.
If you just used the miter saw to cut anything, take a few minutes so it cools down. Once you’ve confirmed that the blade and the motor have cooled off, you can proceed with the process.
Switch off the miter saw. We would suggest that you pull out the cord from the power outlet to prevent accidents. If you have a battery-operated saw, it’s best that you remove the batteries.
Step 2 – Take safety precautions
Even if your Craftsman miter saw is disconnected from the power, it can still cause great damage to your fingers and hands.
There’s no guarantee with power saws, therefore you must wear protective gloves to safeguard your hands. We would also recommend you wear workboots to protect your feet as well.
During operation, don’t forget to wear goggles and a respirator to protect your eyes and lungs from the dust produced.
Step 3 – Detach the blade guard
A blade guard is preset on top of the saw to cover the teeth. It helps you protect your fingers in case you accidentally touch the blade. To easily remove the blade, you’ll have to disconnect the blade guard first.
Use a good-quality screwdriver or a wrench to loosen the bolts. Once the blade guard is separated, you can carefully remove the old blade from the saw.
Tip: Lay the guard and screws on a flat surface. This way you’ll easily find them when required.
Step 4 – Remove the blade
Once to detach the blade guard, you also have to loosen the blade lock. For a 10 or 12-inch Craftsman miter saw, we suggest you use a standard ⅜ inch wrench.
However, some miter saws have different wrench sets up. So, it’s best to go through the user manual of the model you own to confirm what you need.
Once you have successfully removed the blade lock, apply some pressure on the old blade. This will help you quickly take out the saw blade. Furthermore, wrap it up in soft paper so its teeth aren’t exposed.
Step 5 – Install the new blade
Now, gently install the new blade in the saw attachment. Don’t forget to double-check if it’s properly placed within the correct location.
Then, reverse all the steps you followed to remove the blade. Use a wrench to reattach the blade lock and blade guard. Make sure all the bolts are tightly fastened. A loose bolt may come off during use and cause damage.
After everything is in place, connect the miter saw to a power outlet and turn it on. You may test the new blade to cut small pieces of wood and other materials.
Should You Use a Craftsman Miter Saw?

If you’ve just started a new venture or if you’re a nonexpert, you might be wondering, are Craftsman miter saws are worth it?
Here are some reasons why we think you need a Craftsman miter saw in your workshop:
Easy to Use
Craftsman miter saws are extremely easy to operate. They all come with a user manual that is easy to understand and has plenty of useful descriptions and pictures. Therefore, any beginner can smoothly work a Craftsman miter saw without additional help.
Can Save Plenty of Time
As you already know, miter saws come with robust motors and a sturdy blade. As a result, it allows you to cut materials very quickly.
They also allow wider cuts compared to other power says. So, if you want to cut more material in a short amount of time, you need a Craftsman miter saw.
High-Quality and Precise Cuts
Whether you want to work on a big project or a small DIY, precise cuts are crucial. If you have a saw that can’t produce accurate cuts, it will ruin the end result of your project.
A Craftsman compound miter saw has the highest quality blade that promises excellence to cut all kinds of materials.
Ability to Cut Different Angles
Woodworking requires you to cut wood at different angles. What we love about craftsman miter saw is that you don’t need additional tools to cut these angles. In addition, all straight, bevel, and angled cuts are as accurate as possible.
Therefore, you won’t have to waste time to smooth the edges or make these angled cuts with other tools.
Wrapping Things Up…
When it comes to Craftsman miter saws, they ensure quality. However, all blades are bound to get dull at some point.
So, you must know how to change a blade to avoid the issue of rough and inaccurate cuts.
This step-by-step guide will help you change a blade without any hiccups.
You can visit our website for more step-by-step guides.
Don’t forget disconnect your saw and wear safety gloves during the process.

