
Quick Summary
The following information will be discussed in the article:
- How to remove circular saw blade guard (and attach it)
- Types of Circular saw blades
- Safety precautions when working with a circular saw
- Some additional tips
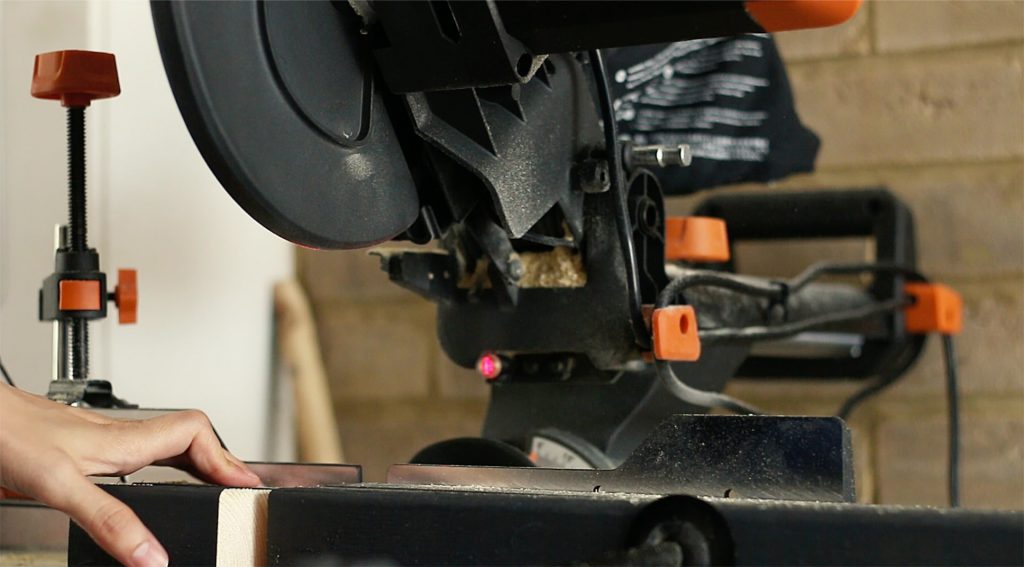
How to Remove Circular Saw Blade Guard (and Attach it)
If your circular saw blade guard is broken or bent, you should change it very quickly as it could injure you if the saw malfunctions.
Removing this blade guard is a very simple process and requires very little time.
However, you should be aware that there are hundreds of brands of circular saws available in the market, and each one has slight differences.
Here is a general guide to assist you.
Quick steps on how to remove a circular saw blade guard:
- Remove the nut that keeps the blade attached to the saw
- Then remove the blade from the circular saw
- Remove the flange that rests between the blade and the saw body
- Pull apart the guard retaining ring with a screwdriver
- Now remove the guard from the saw
Detailed Review on How to Remove the Circular Saw Blade Guard (and Attach it)
Step 1
The first step requires you to press the spindle lock and then hold it down. Use a wrench to remove the screw while keeping the spindle lock pressed down.
Then release the spindle lock and remove the outer flange by lifting it off the output shaft.
Step 2
In step two with the outer flange removed push the lever. This will retract the lower blade guard into the upper blade guard.
Then remove the blade from the circular saw
Step 3
Using your fingers or a prying tool remove the inner flange. To remove the external retaining ring expand it with a screwdriver and then pull it out.
After removing the retaining ring pull out the washer that is found at the bottom of the saw.
Step 4
For the last step just use your fingers and pull out the blade guard from the circular saw.
How to attach the blade guard to the circular saw:
- Using a screwdriver pop the hooked end of the spring into the hole on the guard cover
- Wind the spring so that it nestles into the housing on the guard
- Then mount the blade guard onto the saw
- Using a screwdriver slide the other end of the spring into the hole on the saw body
- Rotate the guard to set the spring
- Replace the retaining ring to secure the guard into position
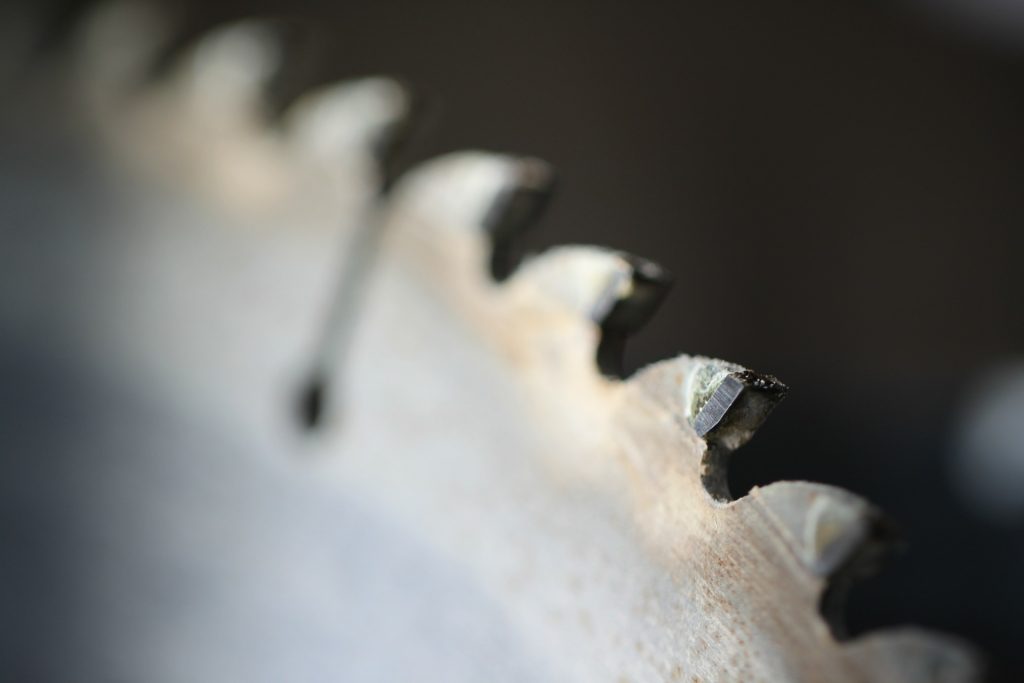
Types of Circular Saw Blades
There are three most common types of circular saw blades. These blades have a different number of teeth and are used for different purposes.
Here are the common types:
Rip-Cut Blades
A rip cut is basically made along the length of the board or with the grain of the wood. These blades have a comparatively lesser number of teeth (around 35-40). On a rip-cut blade, the top of the teeth is flat.
These blades also make quicker cuts but the quality is not very accurate. They are recommended for projects where you need to cut more in a lesser amount of time and the quality is not an issue.
Crosscut Blades
A crosscut blade cuts across the grain of the wood or across the width of the board. These blades have a comparatively higher number of teeth ranging from 60 to 90. The top of a crosscut blade tooth is V-shaped.
These blades are more accurate and precise. They are recommended for projects where finesse and tidiness are the goals.
These blades will take more time to cut but the results are worth it.
Combination Blades
Combination blades are a mixture of both the rip-cut blades and the crosscut blades. They have teeth ranging from 30 to 60. The top of the teeth can be either flat or V-shaped.
Safety Tips While Working with a Circular Saw
The Circular saw is known to be the most dangerous type of saw. You need to be extra careful when working with one as things can go wrong very quickly.
A slight error of judgment can cause injury or damage to the saw.
It is recommended to always wear a face shield or goggles to protect the face and the eyes. Gloves should also be worn to protect hands from the blade since it is very sharp.
Why should one wear a dust mask?
When working with wood the sawdust residue left behind can be very harmful if inhaled. This sawdust can cause rapid coughing and long-term effects include the damaging of the lungs. It is recommended to wear a dust mask to avoid harmful dust particles like these.
What to check in the saw before you start cutting?
Before you start cutting you need to check the blade guard and see if it works properly. This blade guard is a covering on the blade of the saw. This ensures that there is no direct contact with the blade since it is very sharp.
You should also check the sharpness of the blade since a sharp blade is safer and provides better results. You should also keep all the wires and cords away from the blade to avoid any damage to the circular saw.
What should be avoided when cutting with the circular saw?
- Never put your hand under the guard of the saw
- Never tighten the blade locking nut
- Never use a saw that appears to vibrate as the parts can be loose
- Never force the saw into cutting
- Avoid parts like nails and screws as they can damage the blade
- Always keep your balance when working
Some Additional Tips
Number of Teeth on a Blade
Why is the number of teeth on a circular saw important?
The number of teeth a circular saw blade has depends on the material you are planning to cut.
Blades with a higher number of teeth produce slow but cleaner cuts. Blades with fewer teeth produce fast cuts but these are choppy and untidy.
How to choose the right number of teeth for a blade?
This depends on the project you are working on. For example, you are building wall mountings frames for a wall. These frames will be covered later with drywall so you should not be concerned about what the cuts look like.
In this case, use a blade with very few teeth to cut the wall mounting frames. This low teeth blade will cut the wood very quickly but the edges will be choppy which is not an issue.
Dull Vs Dirty Blade
A blade that is dirty can act like a dull blade. This would make you believe that your blade has lost its sharpness and you need to change it. However, only with a little cleaning, your blade will work just fine.
What is a dull blade?
If you are constantly using your circular saw blade it will lose its effectiveness and sharpness. This will cause the saw to make untidy and choppy cuts that are not acceptable at a professional level.
These cuts not only damage the material but also waste your time. In addition to this, these dull blades require more power to produce the same amount of cuts.
What is a dirty blade?
When you are constantly using a blade, with each cut you make the pitch and dirt collect on the teeth of the blades. These blades then produce very wavy and untidy cuts. It would feel like the blade has gone dull.
However, if you use proper cleaning techniques you can remove the dirt from your blades. These clean blades would produce high-quality cuts once again.
How to Tighten a Circular Saw Blade
Most of the screws are right-hand thread. This means that you have to rotate it to the right to tighten and rotate to the left to loosen.
A common phrase used to remember this technique is “righty-tighty, lefty-loosey.”
Circular saws on the other hand use a left-hand thread screw to attach the blade. This is the opposite of the phrase mentioned above. It means that you have to rotate it to the right to loosen and rotate to the left to tighten.
Size of the Circular Saw Blade
The size of a circular saw blade is basically the diameter of it. To find the diameter simply measure any one side of the blade to the center of the blade.
Where can you find the diameter of the blade?
The diameter of a blade is either printed on the saw or on the blade itself. If the printed diameter has worn off then you can simply use a ruler or scale to measure it again.
This measurement is very important when buying a new blade.
What is the Arbor diameter of a blade?
There is another measurement that you need to know before buying a new blade. This is called the arbor diameter. The hole in the center of the blade must fit in the arbor of your circular saw.
This size is also either printed on the saw or on the blade. If it is not there then you must measure it yourself. Moreover, you can also take your old blade to the hardware store to ensure that you buy the new one of the exact same size.
Circular Saw Blade Direction
The blade direction is very important when installing a new blade on the saw. There is an arrow that indicates the direction in which the blade should be installed. This arrow is engraved or printed on almost all of the circular saw blades.
This arrow must point towards the front of the circular saw.
If you do not see an arrow then make sure the teeth are facing towards the front of the saw.
Wrapping Things Up
We hope that you have learned the proper way of removing the circular saw blade guard. Moreover, you have also learned how to attach it back to the saw.
In addition to this, you have also learned important safety precautions and other tips that will help you when working with circular saws.
We hope the information we provided was useful. Let us know your reviews.