
When it comes to angled cuts, miter saws are quite efficient at it. However, you might face some difficulties when going for an angle greater than 90-degrees.
In today’s post, we will explain the steps to cut an obtuse angle using a miter saw along with some basics of angle markers on a miter saw.
Quick Summary
By the end of this article, we will cover the following topics:
- Steps to cut an obtuse angle
- Difference between an obtuse angle and an acute angle
- Important tips
- Frequently asked questions
Let’s get started.
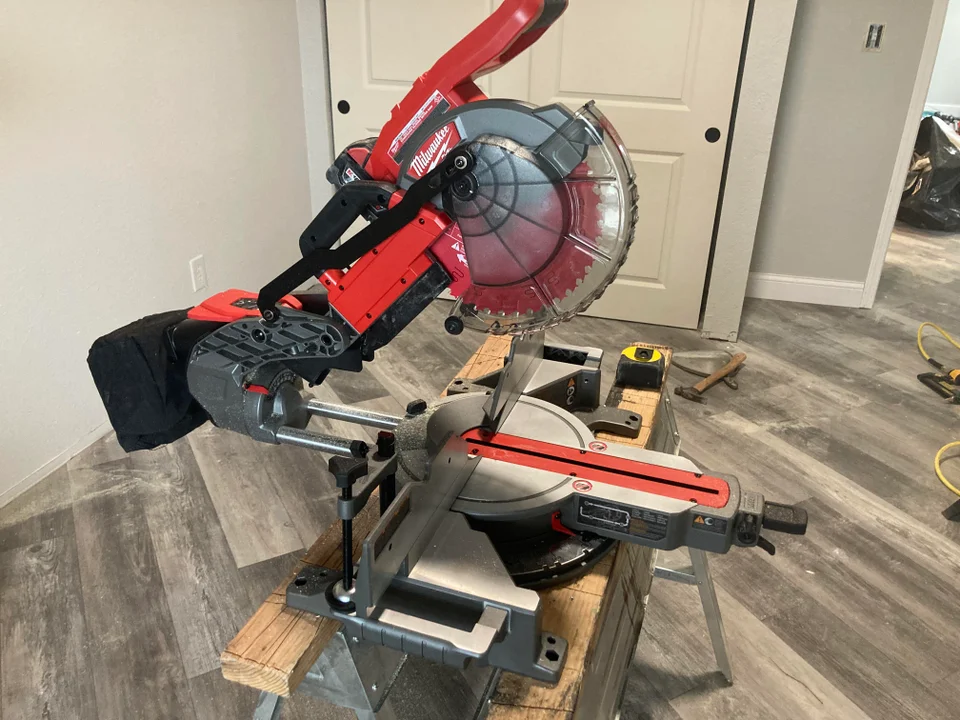
Guide to Cut an Obtuse Angle on a Miter Saw
Every angle cut greater than 90-degrees requires you to have mechanical and mathematical knowledge. This is due to the fact that every miter saw only has a scale that goes up to 45-degrees.
Your mechanical knowledge will help you operate the miter saw accurately but your mathematical expertise will back you up with precision.
Why do I need mathematical understanding?
As we already mentioned, a miter saw can only scale up to 45-degrees. However, you can get an obtuse angle by combining two pieces of wood.
You can use the cut angles on both wood pieces to achieve an angle greater than 90-degrees. Just like combining two 45-degree cut pieces will provide you with an accurate 90-degrees joint.
So, how do I measure the angles to make the process easier?
Luckily, there are two basic formulas that you can use to measure the angle you need to cut for each edge. The formulas are as follows:
Formula 1
The first formula requires you to subtract the desired angle from 180-degrees and then divide it by 2. The result will indicate the angle you need to adjust the saw to.
Here’s the formula:
180 – Angle = X
X / 2 = Angle for Miter Saw Scale
To make it even simpler, let’s suppose you want to cut an angle of 130-degrees. You subtract 130 from 180 and then divide it by 2.
180 – 130 = 50
50 / 2 = 25
So, your miter saw angle is 25 in this case. You will have to position your miter saw cutting board/arm at 25 and cut both pieces.
After that, you can join those pieces and the cumulative of their joint will be 130-degrees.
Formula 2
The second formula is quite similar to the first one. Instead of subtracting the values first, you divide them and then subtract the first result.
Here’s the formula:
Angle / 2 = X
90 – X = Angle for Miter Saw Scale
Let’s suppose you want to cut an angle of 125-degrees. You will have to divide the angle in half and then subtract that value from 90.
125 / 2 = 62.5
90 – 62.5 = 27.5
The result is 27.5 which you can easily adjust using the bevel on a miter saw. All you need to do is cut both pieces at the same angle and join them.
Steps to Cut an Obtuse Angle
Now that you know how to calculate the angle for your saw, let’s see the steps to make an obtuse angle cut on a piece of wood.
Step#1: Unlock the Saw
The first thing you need to do is unlock the miter saw. Along with that, you will also have to unlock the part that allows you to make angled cuts.
For some saws, it is the cutting board while some miter saws have an adjustable saw blade hand.
Should I unlock the bevel adjustment?
Keep the bevel adjuster locked if you want to cut straight through the wood. For beginners, it will only create further complications.
Step#2: Adjust the Angle
After that, use the scales on your miter saw to adjust the angles. Set the saw arm to the desired angle and lock it.
Before you place your wood piece inside the baseboard, make sure that the blade guard is still on.
Step#3: Place the Wood Piece
Once your angle is set, place the wooden piece on the baseboard and secure it. You can use the clamps on the miter saw to get a firm grip.
However, if you are working without a baseboard, use strong clamps to enhance the grip of the cutting board.
Can I use tape for such a purpose?
Some professionals use tape to reinforce the grip but you can only use it for crown molding and thin wood pieces.
In most cases, the grip from baseboard clamps is more than enough for crown molding and thick wood pieces.
Step#4: Remove the Guard and Make the Cut
The next step is to remove the blade guard and cut the piece at your X-degree angle. Once the cut is made, place the second piece of wood/crown molding and repeat.
After both pieces are cut at the X-degree angle, place them together and measure them using an angle market tool. The result will be the obtuse angle you want.
Should I cut both pieces from the same side?
If you cut both pieces from the same side, you will not be able to join them. To avoid that, you need to cut one piece from the left and one from the right.
This way, you will get a seamless angle when you join both pieces.
Do I need to adjust the arm angle?
Once you set the saw blade arm at any X-degree angle, don’t move it. Otherwise, it will interfere with your measurements and the cut won’t be accurate.
Difference Between an Obtuse Angle and an Acute Angle
In mathematical terms, there are three ways to describe an angle. Although it is important to note that all these angles lie within the 180-degree angle arc.
The right angle is used to describe the 90-degree angle. An obtuse angle is an angle that lies between 90-degrees and 180-degrees.
For example, a 135-degree angle will be called an obtuse angle because it is greater than a 90-degree angle.
Lastly, an acute angle is an angle that lies between 0-degrees and 90-degrees. For example, a 45-degree is also called an acute angle.
Why should I know these terms?
It is important to know these terms because it gives you a better idea while working with a miter saw. You can instantly mark where the saw blade arm should be placed.
Furthermore, when you measure a corner for crown molding or two pieces of wood, it is easier for you to mark.
Learn more with our various RESOURCE GUIDES.
How to Set an Angle on a Miter Saw?
Setting angles on a miter saw may seem a tedious task but it is easier than you might think. Almost every miter saw comes with its own angle marker.
You can adjust three different angles on any miter saw or even a compound miter saw. The saw blade angle, bevel angle, and baseboard angle.
What is the use of three different angles?
The main reason behind so many angle options is the versatility. When it comes to woodworking, having extra options is always a plus.
Moreover, it also leaves space for innovation and new ideas. For example, you can cut a 135-degree angle by simply moving the blade arm to the right.
But that’s not all, you can do that without even moving the arm. You can also adjust angles using the baseboard.
Does every miter saw have these options?
The older models used to come with only one angle adjustment tool. However, in the latest models, you can get all three angle adjustments to make your tasks easier.
Is it easier to adjust an obtuse or acute angle?
As it turns out, acute angles are easier to make cuts with. Just tilt your saw blade to either side and you will get your desired angle.
For an obtuse angle, the method is different. As we have mentioned, you cannot make an obtuse angle directly.
Now let’s look at some tips and tricks related to miter saws and measurements.
Important Tips and Tricks
Even though the process of cutting an obtuse or acute angle is quite straightforward, there are tips you can use to save time on a project.
Here they are:
- Always trim the edge of your crown molding before making a joint. A saw blade can leave splinters on the edge which will result in an uneven joint.
- For crown molding, do not press the clamps too tightly. It can lead to cracks and break your crown molding.
- When you cut a corner from any piece, trim it first. You can use sandpaper or a hand saw to trim the edge. This will help you make an easy cut.
- Always keep your angle marker tool with you. Even though your mathematical measurements are accurate, there is still room for human error.
- Mark the areas on your piece that will be used for cuts. This will help you remove any chance of errors while cutting.
- Always use a stable cutting base. An unstable surface can ruin a perfect woodworking job.
- Keep your saw blade clean. Blunt blades are the major cause of inaccurate cuts.
Frequently Asked Questions
Let’s take a look at some questions asked by people from around the web.
How to set a 45-degrees angle on my miter saw?
You can use the angle marker on the saw hand to tilt the blade left or right. Once your marker is at 45-degrees, lock it and make your cuts.
What should I use to trim edges?
The easiest way to trim an edge is by using sandpaper. You can either do it manually with sandpaper or use a sandpaper belt.
What should I do with the crown molding scrap?
For crown molding scrap, you should collect it and dispose of it safely. It doesn’t decompose and can prove to be hazardous for plants and wildlife.
How to Cut an Obtuse Angle on a Miter Saw - Conclusion
With this, we come to the finish life of our article on cutting obtuse angles. It may seem time-consuming but with the right information, you can do it in no time.
All you have to do is get the measurements and use the proper formula to get the acute angle. After that, you can easily adjust your miter saw and make cuts. Moreover, you don’t need any extra tools to cut/trim an obtuse angle.
We hope this article proves to be informational for you.
Do let us know how you prefer angles greater than 90-degrees.
For more information, CLICK HERE.