
Quick Summary
In this article, we will be discussing
- How to adjust a miter saw
- Some tasks you can perform with your miter saw
Let’s start
How to adjust a miter saw
As discussed earlier, miter saws require regular maintenance. This usually includes cleaning and tightening loose parts. There are also other occasional things to check such as lubricating the moving parts and adjusting the miter saw.
Adjusting the saw is an important part of maintenance. Blades can come out of adjustment after heavy use. Sometimes your miter saw might also have alignment issues during shipping.
An out-of-adjustment blade affects the quality and accuracy of the cut.
It is an intricate task that requires attention to detail. We recommend a method that will make maintaining your miter saw easy. We have also included some helpful tips which will help you.
Step # 1 – Checking the blade
Firstly, you need to check the blade when you adjust your miter saw. We recommend that you clean it beforehand with a cloth and the teeth with a brush. A dirty blade can also cause issues.
If the blade is loose, you need to remove the blade guard and need to adjust the blade.
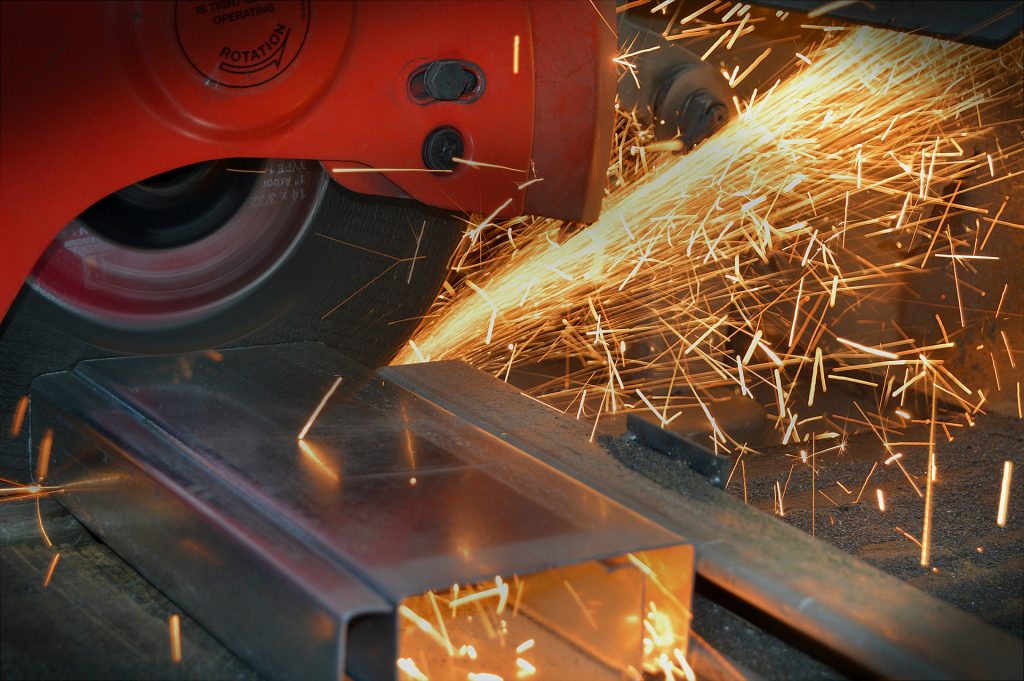
Many times the bevel, miter, and crosscuts are irregular because of either a loose blade or broken teeth. We recommend that you change the blade if there are any irregularities in it.
Step # 2 – Aligning the fence and table
Sometimes a new miter saw or an old used one has an uneven table. You can check it by laying a flat level on the table. Then check for any gaps at different points of the table.
If the table is out of adjustment, you would have to get a new one. We recommend that you purchase a company-branded miter table as they are of higher quality.
After checking your table, you need to square the fence. A square fence will give you a good miter cut. The fence is located at the very back of the table for the alignment of wine pieces.
To search for any discrepancies, we recommend that you use a straight edge. Check for any gaps at different points along the fence. If the blade is out of alignment, you have to retighten the bolts holding the fence.
These bolts are at the back of the saw. You need to first loosen them and tighten them again according to your need.
Do it until the miter saw fence is adjusted.
Step # 3 – Align the angles
Making Miter adjustments
After you have adjusted the miter fence, the next step is to set up the bevel adjustment. Tilt the bevel angle to 0 degrees.
Also, adjust the miter angle to 90 degrees. We recommend that you use a combination square.
Lower the saw blade until the edge of the blade is touching the square and the other edge is resting against the side of the fence. Check for any gaps.
If there are any gaps, you need to make adjustments to the bevel angle. You will need to first loosen the miter and then tighten the knob. Make adjustments until the blade and fence are square to each other.
You need to loosen the bolts on the detent plate for making accurate adjustments.
Making good miter adjustments will give you highly accurate miter cuts.
Making Bevel Adjustments
After making miter adjustments, you need to make bevel adjustments. The miter saw blade can tilt either towards a 45-degree angle on one side or both sides.
First, you need to put the square on the table. Make sure that one of the ends is laying flat on the table and the other edge is facing upwards.
Then bring the saw blade down. You also need to make sure that the blade guard has been raised.
Afterward, move the square towards the blade until both are aligned to each other. Check for any gaps.
To adjust the bevel angle, you need to loosen the bevel adjustment knob and then twist the knob to adjust the bevel. While doing this, make sure that the square and the blade are aligned with each other.
Step # 4 – Testing the saw
After you have adjusted the miter saw, it is time to check the cutting of the saw. We recommend that you use softwood pieces for the job.
You can check the accuracy by cutting the wood at 90 degrees. Just place the wood on the table and set the miter saw angle to 0 degrees. Then power up the saw and cut the piece.
To make a more precise measure of your cuts here’s a method you can use:
- Prepare your wood and remove any foreign material
- Take measurements on your wood. We recommend that you use measuring tools and pencils for marking.
- Set the bevel angle of your miter saw.
- Check the blade a final time
- Make the cut by lowering the arm towards the saw.
If the miter saw is still not squared, you will have to repeat the above-mentioned procedure again.
Do I need to be careful about safety?
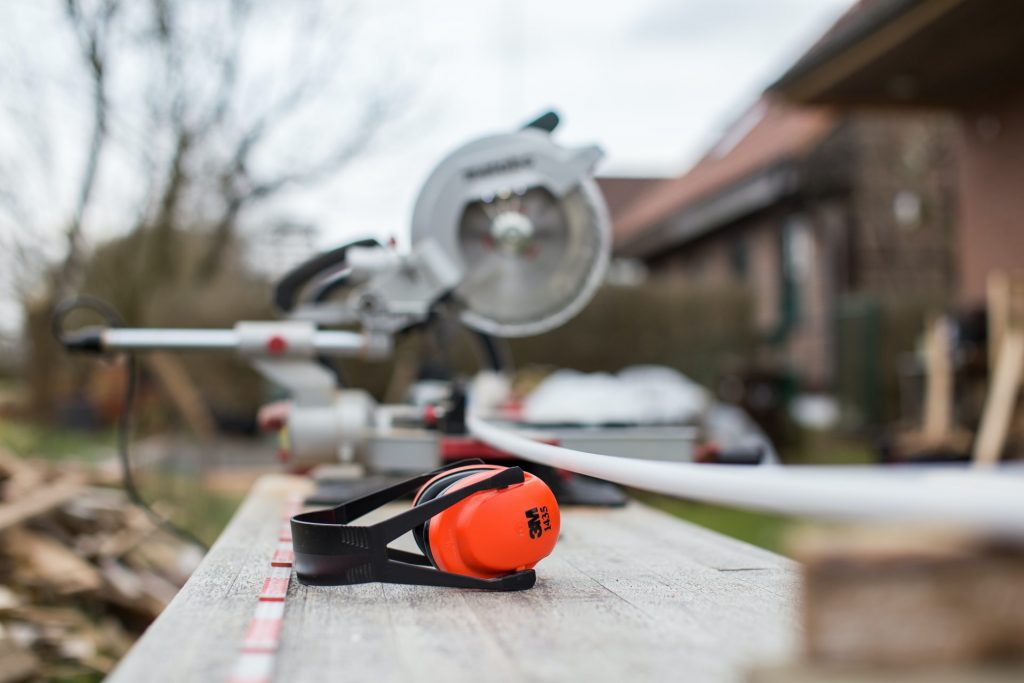
Safety is the number one priority when adjusting a miter saw. Never plug the saw into a power saw when handling the saw.
We also recommend that you wear thick gloves when handling the blade. Blade teeth can be very sharp and injure you if not handled properly.
How to maintain your miter saw?
Keeping a clean and well-maintained miter saw can keep many issues at bay. It is always recommended to clean your saws before you align the parts.
There are many methods out there related to cleaning your miter saw. Here is a method we think could help you greatest
Maintaining the Blade
The saw blade is the most important part of the miter saw. A well-maintained blade will give you the best cuts.
The first thing you must ensure is that the blade is fixed to its assembly. You must tighten the blade if it is loose. The alignment of the blade greatly affects the accuracy.
We also recommend that you check each tooth of the saw blade. Broken or chipped blades can damage your board as well as the blade itself. If there is a broken tooth, we recommend that you immediately shop for a replacement.
When cleaning or handling the blade, we strongly recommend that you wear thick gloves. The blade has sharp edges and you can seriously injure yourself.
In order to clean your blade, we recommend you use a cloth and brush. Move the cloth in a circular motion to clean the dust. We also recommend using a brush. A brush can be used to clean the blade edges.
We also recommend rubbing some oil on the blade. It helps with keeping the structure of the blade strong.
You can also sharpen your blade. However, we recommend that you consult an expert. It can be risky to do the job yourself especially if you are a novice.
Maintenance of moving parts
Miter saw is a powerful tool with plenty of moving parts. Because of regular use, these can become loose or wear out due to friction.
You must first make sure that each bolt of the motor assembly is tight. Then, search for and tighten each bolt holding the plate in place.
For moving parts, we recommend that you first clean them with an air blower. Then apply some lubricant to them. You can search for company-recommended lubricants on the manual.
We recommend that you use a power wrench for tightening the bolts.
When inspecting the saw be sure to look out for any cracks in the kerf board, power cord, and brush. These parts cannot be fixed, so you would have to get new ones.
Looking after the exterior of the miter saw
The exterior parts of the saw such as the arm and the turntable are also important parts of the miter saw. Their functions enable the saw to perform its most basic tasks. It is vital that you do not ignore these parts of the saw.
To clean the external parts of the miter saw, we recommend that you use a cloth and an air blower. Move the cloth in a circular direction.
What should I do after cleaning the saw?
After cleaning the saw, we recommend that you ensure that every part of the saw is aligned. Then plug the saw into an electrical source and allow the blade to reach its maximum RPMs.
We also recommend that you test the saw using some scrap pieces of wood. This will help you figure out if the saw is working properly.
If any discrepancies exist, we recommend that you readjust the saw and check if there is any gap.
Wrapping things up
Miter saw is made for heavy jobs and can be expected to take on a handful of tasks.
However, like other power tools, they can go out of adjustment after use. Readjusting your miter saw is a part of its regular maintenance.
Making adjustments can be a complex task, but if done correctly, can bring you high-quality results.
With this, we reach the end of our article on “How to adjust a miter saw”.
Do write to us and tell us about your experiences.