

Cove molding is quite a common type of molding that is used for a number of applications such as ceilings, cabinets, and other woodwork.
The most common shape for cove molding is the C shape that you may have seen before.
Cove molding typically involves two types of corners which are inside and outside.
Quick Summary
In this post, we will provide step-by-step details on how to cut cove molding using a miter saw.
We’ll also discuss some key differences between cove molding and crown molding.
So without further ado, let’s get into it.
How to Cut Cove Molding Using a Miter Saw (Step-by-Step Guide)

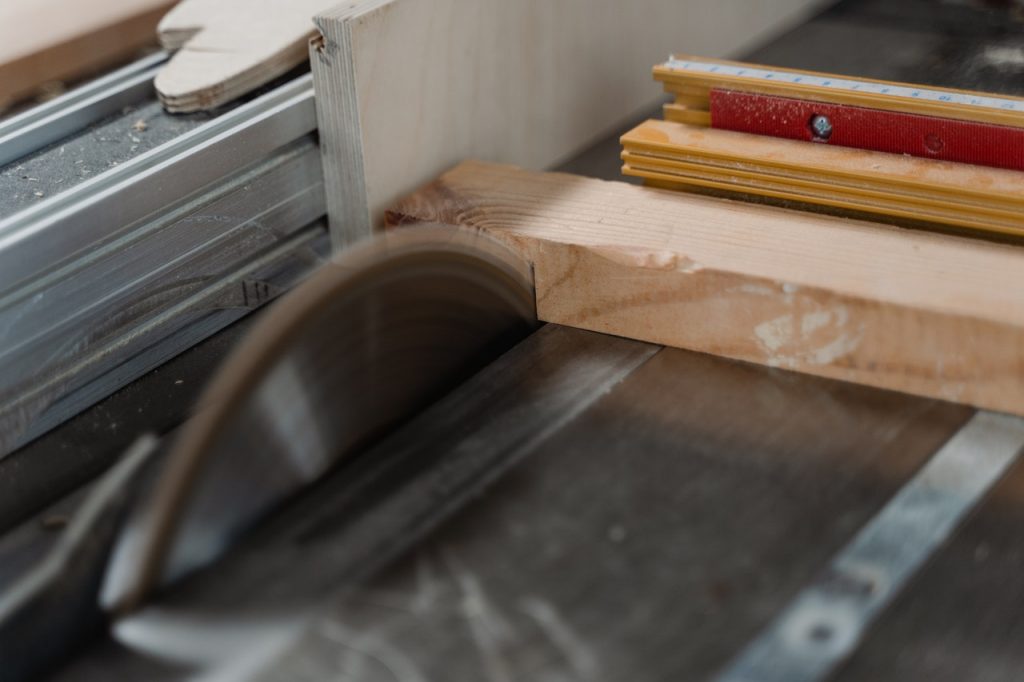
There’s really nothing a whole lot different to cutting cove molding as opposed to any other type of molding. The most common tool used to cut cove molding is indeed a miter saw. That’s why that’s what we’ll look at today.
The crucial part to cutting cove molding accurately with a miter saw is to place it in the same position on the saw as it would be installed on the ceiling or wall.
Also, remember to hold it tight and firm when you are cutting it.
Follow these steps to cut cove molding properly with a miter saw:
Cutting Inside Corners
Step 1: Swing the blade of your miter saw to its left side and lock it at 45 degrees.
Step 2: Position the molding on the left side of the blade. Make sure that its far side is held tightly against the fence so that it does not move or slip when you cut it.
Make sure that the profile is facing you.
Step 3: Use your miter saw to trim ½ an inch from the face of the molding.
Step 4: Now swing the miter saw to the right side and lock it at 45 degrees.
Step 5: Position the molding on the right side of the blade now. Again, make sure that the far end is right up to the fence and held firmly in place.
Also, make sure that the profile is facing you again.
Step 6: Use your miter saw and trim ½ an inch from the face of the molding as well.
Cutting Outside Corners
You’ll be pleased to know that the procedure for cutting outside corners is almost the same as that for inside corners.
The only difference is that the position is reversed.
Step 1: Swing the blade of your miter saw to the right side and lock it at 45 degrees.
Step 2: Position the molding on the left side with its profile facing towards you. Make sure that the molding is held right up against the fence so that it’s secure when you make the cut.
Step 3: Trim ½ an inch from the back of the molding.
Step 4: Now, swing the blade to the left side and lock it at 45 degrees.
Step 5: Place the molding on the right side of the blade and make sure that the profile is facing towards you. Again, hold it right against the fence to make sure it’s properly secured for the cut.
Step 6: Trim ½ an inch from the back of the molding.
What is Coping and How Do I Use a Coping Saw for It?

Coping is another approach that is quite user-friendly and it’s utilized to cut inside corner miters. It involves removing the back of the molding by hand and then leaving the face or profile of the molding intact.
Here’s how you can cope an inside corner:
Step 1: Clamp the molding to a saw table or workbench. Make sure that the end of the molding extends over the edge of the table or bench.
Step 2: Go ahead and cut ½ an inch from the end of the molding at a vertical 90-degree angle with the help of a miter or a coping saw.
You do this to get a clean edge on the profile. You can now cope with it with precision and accuracy.
Step 3: Mark the freshly cut edge with a pencil or a marker. Whatever you use, just make sure it’s visible enough for you to easily identify the edge.
Step 4: Trim away the colored edge with a coping saw that is held at 45 degrees.
My Two Mitered Corners are Not Fitting Together Properly. What Should I Do?
This is a problem that you will run into fairly often. It’s nothing to worry about as it typically happens because the walls are slightly out of the square.
To fix this and close the gap between your two mitered corners, just take one of them and trim it slightly. You only need to adjust your blade a few degrees at a time and trim the corner.
Keep re-cutting and testing until the two miters fit properly without any gap in the middle.
You will typically need to trim only one piece to get the perfect fit.
What Is the Difference Between Cove Molding and Crown Molding?

People often get confused between cove and crown molding since they’re fairly similar and also have some overlapping applications.
Carpenters and woodworkers typically use both to smooth out the transition from wall to ceiling. They are also utilized to decoratively cap a wall or cabinet and give it a nice aesthetic.
Cove molding and crown molding can be grouped together generically under the term cornice molding.
Even though they’re quite similar, they do have some key differences that you should be aware of.
Let’s take a look at both types individually in order to make the differences between them apparent:
Cove Molding
- Cove molding is known to have a “scooped out” or concave profile. It bows inwards.
- It’s used typically to smooth out the transition between walls, ceilings, cabinets and stair treads. It’s nothing too fancy or over-the-top but it gets the job done.
- Cove molding can be found in extremely narrow widths. They can be as narrow as ¾ inches which makes them great for many different applications.
- They’re a lot less likely to have profile variations compared to crown molding.
- Smaller versions of cove molding have square, 90-degree backs. This allows them to easily fill up corners.
- Cove molding can be used on both top and bottom corners.
- Depending on the type of cove molding, it may or may not have angled edges.
- It’s typically used to showcase wood grain or in places where you want simplicity.
Crown Molding
- Crown molding usually can have a combination of both convex and concave profiles.
- Crown molding is typically used for ornate and over-the-top appearances. They are typically used as ceiling trim.
- Visually, with crown molding, you get a sense that the ceiling has been “brought down”. This provides an overall cozier feel.
- It’s available in a variety of different profiles and you can also combine different types of profiles for a customized, unique look.
- Crown molding does not have as many different uses as cove molding does.
- Crown molding has a flat back. It spans corners at an angle.
- Crown molding cannot be used on bottom corners. That’s why it’s called “crown” molding.
- Crown molding always has angled edges so that it can fit snugly against walls and ceilings.
Further Comparisons Between Cove and Crown Molding
When it comes to cutting, both cove and crown molding can be easily cut with a miter saw.
The only time when you would not be able to use a standard miter saw is if you are working with larger-sized crown molding. In this case, you would have to employ the use of a compound miter saw.
When it comes to coping, this is a technique that woodworkers use much more often with crown molding than with cove molding. This is because it’s very difficult to get crown molding to fit into inside corners if you cut it regularly with a miter saw.
If we talk about stair tread applications, carpenters typically employ the use of cove molding rather than crown molding. This is because the former is available in much narrower widths than the latter.
A typical stair tread cove is ¾ x ¾ inches wide. It typically has a square back.
When it comes to cabinets, shelves and mantels, both crown and cove molding can be utilized. Obviously, you would have to use wider versions if you are using cove molding.
Usually, you would use cove molding if you want to emphasize the wood grain and have a cleaner, simpler look. On the other hand, if you want a more ornate and fancier look, then you would use crown molding.
Wrapping Things Up…
This brings us to the end of our post on how to cut cove molding with a miter saw.
As you can see, there’s really not a whole lot to it. Once you do it a few times, it will become second nature to you.
Just make sure that you perform the process slowly when you are doing it for the first time.
Visit our website to get more information miter saw.
If you have confusion or questions for us, please reach out in the comments section below. more