
Do you want to build or renovate your home but don’t exactly know how to cut baseboard corners and trims?
Lucky for you, the process to cut baseboard corners with a compound miter saw is very simple. All you need is some basic knowledge and practice.
We have broken everything down so you know exactly what you need to angle, cut, and install baseboard moldings in your house.
Quick Summary
In this post we will go over:
- Types of joints
- How is a miter saw used?
- How to cut baseboard corners with a miter saw?
Let’s get started.
Types of Joints
Before we carry on with the rest of the article, it’s important to know the types of joints that you can create in baseboards.
Miter Joint
It’s a joint that can be created by two beveled parts at a 45-degree angle to create a right angle.
Scarf Joint
As you can see from the picture, a scarf joint it is a longitude joint. You can create it by joining two tapered ends together.
Coped Joint
This is a special joint where one end of the baseboard is cut and trimmed to fit on the first end whereas the other end is a butt joint.
Butt Joint
This is one of the easiest ways to create a joint. All you need to do is join two ends of a workpiece.
How is a Miter Saw used?
Safety Measures
Before you start to use a miter saw make sure to wear protective gear such as gloves, eye goggles, and hearing protection. A miter saw is a high-powered saw with a jagged razor-sharp circular blade. Therefore, we suggest always be cautious while using the tool.
Don’t forget to unplug the power miter saw before making any adjustment since this is when most accidents happen. We also recommend you work on a clean working station.
Operation
If you aren’t already familiar with miter saws, the best miter saws are powered by handles. The blades rotate when you press the handles with mild force. You want to make sure your baseboard pieces are well supported by a miter saw table.
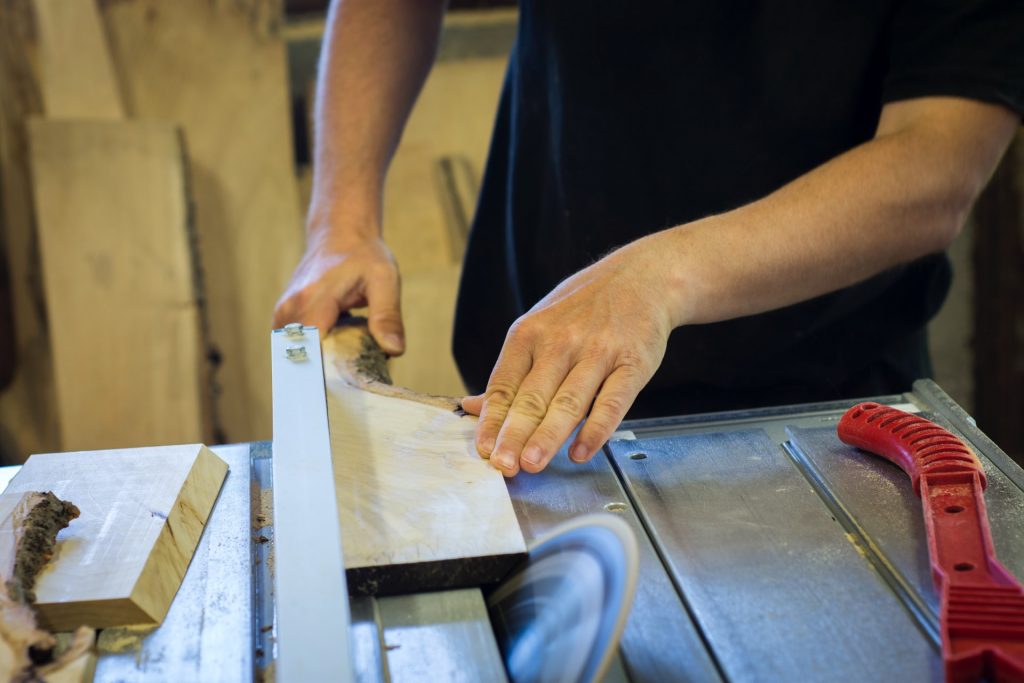
How to Cut Baseboards?
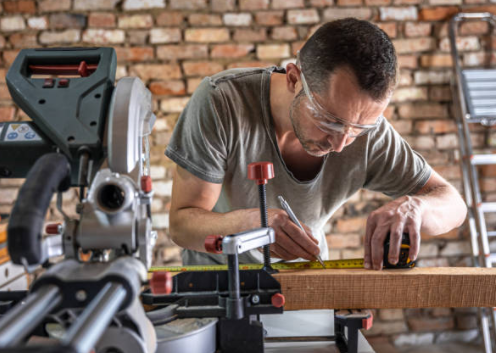
The first step is to mark and measure the baseboards as accurately as you can. Then align them accordingly.
Once you hold the handles down, it will engage the miter saw. With the piece of baseboard in position, lower the blade as close to the marks as possible. Let the blade run through the board. Once you’re ready to stop the saw, disconnect the handle.
To cut the baseboard at an angle, start by shaping or sliding the saw. All miter saws are different, therefore we recommend you consult the manufacturer’s instructions to shape the inside or outside corner of the board.
Tools You Need to Cut the Baseboard
Here are some tools to keep in hand before you start to cut baseboards:
- Measuring tape
- Pencil
- Safety goggles
- Dust mask
- Clamp
- Crosscut saw
What Type of Saw is Recommended to Cut Baseboards?
For the most part, all miter saws perform the same function. The difference lies in the different features each saw holds.
Here are four saws commonly used for cutting baseboards:
Compound Miter Saw
We prefer this saw over other miter saw options since it has more bevel options. The bevel and miter options will allow you to cut baseboard corners at different angles while simultaneously allowing you to use its other features.
Moreover, the compound miter saw allows you to rotate either side of the board. It will also help you slide the wood from one position to another. We think this is the most viable miter saw out of all the other options.
Miter Sets
Miter sets are found in both compound and standard miter saws. It allows the turntable to swing 45 degrees in both directions. You can use the miter cut to cut from the top of your baseboard.
Bevel setting
This is only present in a compound miter saw. You can use it to flip the blade on either side, usually at an angle of 45 degrees. We would recommend you use it to cut the face of the boards.
Chop saw
If you don’t need to use angles other than the right angle, we would recommend a chop saw. You can use it to make several cuts from a single point or a location but only at a 90-degree angle.
Dual-Purpose Compound Miter Saw
As apparent from its name, this machine performs dual tasks. It comes with a double bevel and an operator to help you pivot all sides of the baseboard. This is a great feature as it provides flexibility in shaping cuts without the use of moving boards.
Sliding Compound Miter Saw
You can use this saw if you want to make wider cuts to the baseboard. We also found the laser feature extremely useful to help you visualize the cut before you saw the board.
However, a factor to keep in mind is that their blades are not designed to trim. But, you can fix this issue by upgrading the blade to a 60 tooth blade.
The higher the tooth count on a blade, the faster you will get to complete your work. It will also result in sharper and cleaner cuts to minimize tear-outs.
Miter Box
A Miter box is a non-electric version of a miter saw. It has different slots with common angles such as 21.5 degrees, 45 degrees, and 90 degrees.
This would be a perfect option for you if you want a more budget-friendly option, however, it does require more force than a standard miter saw. We also found it a bit hard to make common cuts with this machine.
Find more resource guides for your favorite tools HERE.
How to Cut Baseboard Corners with a Miter Saw?
Step 1 – Cutting a Scarf Joint
To make your work easier, we suggest you look for a wall and start by using one baseboard.
Then, carefully measure and cut the ends of a baseboard at a 90-degree angle. Ensure that the ends of the board are perpendicular.
If you’re using more than one piece for the wall, we recommend you join them before you proceed ahead. To make sure that the scarf joint is secure, it’s best that you cut and place the two baseboards at a stud location.
Now, take the two pieces of the board that were already cut at a right angle. Cut the scarf joint in the middle and place it in position. Mark a 45 degree cut using a pencil.
Use a portable miter saw to slice 45 degrees at the bottom of the first board and smooth it.
Secure the board in position with a few nails. We do not recommend over sanding the board. The nail heads should be exposed.
Next, measure the next board using a measuring tape. Try to make an accurate cut from the already placed board.
Once you’re finished with the second baseboard, go ahead and join it with the first one. If there’s a slight bow, you can trim the ends at 90 degrees. Next, put some glue on the angle joints that you created and join them together.
Lastly, hammer one nail on the top of the base to make sure the joints are secure. If you see other exposed nails you can drive them with the help of a nail set.
Step 2 – Cutting the inside corner joint
The inside corner joint is also called a coped joint. However, we cannot call it a butt joint due to the gap between the two baseboards.
To eliminate this gap, you need to create an inside joint. Place one of the baseboards squares against the wall and set the other on the floor.
Now, mold the scrap piece of the board perpendicular and outline its profile. This will help you find the reference point for the completion of the inside joint.
Now, you can go ahead and cut a 45-degree angle on the board using a miter saw. Spin the angle in a clockwise direction until it is elevated to the left side and towards the right of the saw. Then, cut all the way to produce the best corner angle.
Clip along the outline and make a bevel cut. To connect the cut, trim identical holes in between the baseboards.
To create the smoothest inside corner, you need to trim one of the boards as accurately as possible while you hold the other board straight. Position it on the floor to secure it with the mating piece.
Now, remove the back bevel and use glue to join the two baseboard pieces together.
Lastly, nail your boards to the wall while you make sure they are set correctly to the wall. We recommend 1.5-inch brads while sealing the edges.
Step 3 – Cutting the outside corner joint
Measure, cut, and place baseboards around the room. Set the baseboard to spread over the outside corner.
Now, carefully mark the position where it will come into reference with the other piece of the outside corner. Place them square and connect them against the surface and the wall. Use a power miter saw or a miter box to clip the board at a 45-degree angle.
Repeat the steps above for the second piece. Before you start to nail it, don’t forget to test if it properly fits.
How to Cut Baseboard Corners with Miter Saw - Conclusion
This concludes our “how to cut baseboard corners with a miter saw” guide.
All in all, cutting baseboard corners by yourself isn’t too hard of a job.
It might take some practice to understand and master the angles, but we’ve listed some of the easiest ways to cut corners with a miter saw.
However, if you still have difficulty getting the perfect cuts you can always call a professional to do the job for you.
CLICK HERE, for tool reviews and more.