You might already know that Craftsman provide a wide range of high-performance power tools and accessories. They have a legacy that continues for years.
However, you might want to know more about the blade changing process. This is quite a hectic job if you do it yourself.
Therefore, we have compiled this guide to assist you with all the necessary instructions, tips, and FAQs to make it as easy for you as possible.
Quick Summary
This guide includes all the detailed information about:
- Craftsman Circular Saw
- How to change the blade on it?
- What things are needed to be considered?
- A detailed FAQs section.
How to Easily Change Blade on Craftsman Circular Saw - In-Depth Guide
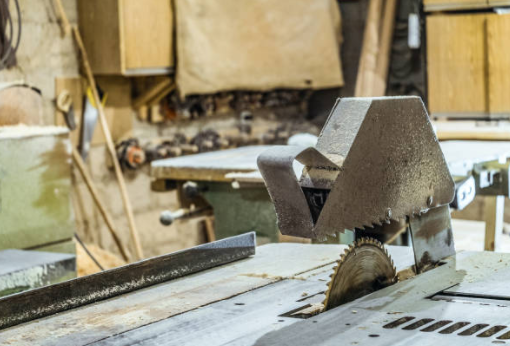
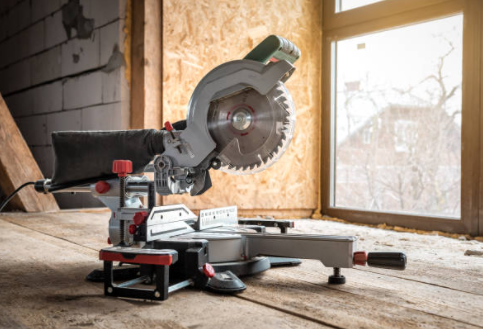
In some scenarios, it becomes a must to change the blade on your circular saw. Most of the process revolves around the type of circular saw you have.
However, in this guide, we will mainly discuss the Craftsman Circular Saw and the multiple reasons behind changing the blade.
- Blade is working inefficiently.
- The circular saw blade has become rusty.
- The blade might be damaged.
- It is giving unnecessary kickbacks.
- It can become blunt with time.
Things You Need to Consider Before You Change the Blade On Craftsman Circular Saw
Arbor Diameter
Arbor means the inner shaft or center of the saw. We need to measure its diameter to have an accurate blade for the circular saw.
Therefore, we need to check the measurements that are printed on the blade. If not we will have to measure it ourselves.
Blade Diameter
Blade diameter is another thing we need to know for an accurate blade. It should be printed on the blade or the circular saw.
However, if it’s not we need to measure it ourselves as well.
RPM
RPM stands for revolutions per minute, it is the speed of the circular saw. Make sure your blade’s RPM does not exceed the maximum limit of your Craftsman Circular Saw’s RPM.
Tip: If you do not want the hassle of measuring everything yourself, take your Craftsman Circular Saw to your local hardware store to find the accurate blade.
How to Change the Blade on Craftsman Circular Saw – Step-by-Step Process
After you are done with all the necessary preparations, this guide will lead you to all the easy steps on how to change the blade on Craftsman Circular Saw.
Let’s start with our first step.
Warning: You need to wear safety gear and you must follow all the necessary safety guidelines as you are handling quite a dangerous tool.
Step 1: Remove the Battery or Unplug the Circular Saw
This step is very important as you are dealing with a highly dangerous tool used for construction work. It avoids all the potential damage it can cause you.
Therefore, make sure you unplug the circular saw from all the power supplies. It can be battery operated as well, make sure you remove the batteries before you start.
Step 2: Remove the Arbor Nut from the Blade
Make sure you place your circular saw on a safe and secure surface. Remove the blade guard before you proceed.
Moreover, the shaft has the blade attached. Loosen the nut on the arbor to release the blade from it. Keeping it locked makes the blade fixed to the position.
Tip: There might be a possibility that your Craftsman Circular Saw has a safety lock, you should unlock it before you start this step.
Step 3: Carefully Remove the Current Blade
Insert the hex wrench in the same direction the blade moves. Press the locking button, this will remove the screw that attaches the blade.
Moreover, when you press the locking button, it will stop the blade rotation entirely. The key should be turned counterclockwise to fully remove the arbor nut.
Therefore, once it’s done. You can easily remove the blade.
Tip: All the circular saw’s keys are designed to be turned counterclockwise when removing the arbor nut but we recommend you read the manual just in case.
Step 4: Time to Change the Current Blade to New One
Slide the new blade on the shaft of the circular saw. Place it correctly as the position is very aspect for the sense turning of the blade.
Tip: All the blades ha