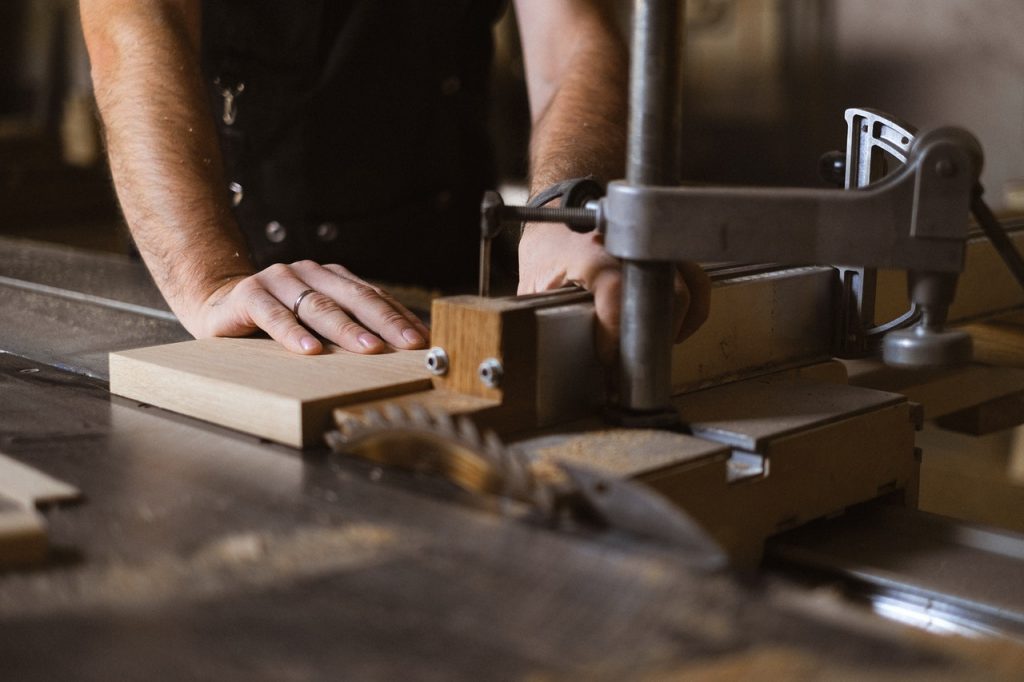
A compound miter saw is used to make precise angled cuts for edge and joining works. Therefore, it allows the user to easily adjust the miter and tilt angle to cut different angles.
But, sometimes your miter saws may start cutting crooked angles. Luckily, adjusting the saw is not a complicated task.
We have written an advanced guide to help you understand miter saws as well as for instructions on how to adjust a Hitachi miter saw.
Quick Summary
In this post we will go over:
- What is a miter saw?
- Types of miter saws
- How to adjust Hitachi miter saw?
So, without further ado, let’s get started.
What is a Miter Saw?
If you’re looking to purchase a miter saw, it’s mostly used for do-it-yourself-type projects. It measures 30 x 22 x 28 inches (LxWxH) and weighs around 95 pounds. Moreover, to help it cut through strong materials, the Hitachi miter saw is powered by a 15-amp motor.
While testing the saw out ourselves, we found that It comes with several other features such as positive stops like 0, 15, 22 ½, 31.5, and 45 degrees in both directions. It also has micro-bevel and miter adjustment knobs that dial into exact angles.
If we talk about the ease of use, the Hitachi miter saw is very comfortable and easy to use. It is made of a stainless steel detent plate and carbide blade. Furthermore, the soft grip on the saw made it easy to work with.
To add to that, it also has a TCT 60-tooth saw blade, dust bag, 17-millimeter box wrench. We would say that the saw is advanced in many ways. It even has a laser maker and a digital display to help users know exactly what they’re doing.
Now, let’s move on to the operation of the Hitachi miter saw. It has an interchangeable rotating saw blade. To cut wood using the saw, you have to place the wood piece on the table and against the fence.
Then, the saw blade is lowered to cut the wood and returned to its original position. If you’re familiar with a miter saw, you would know that the default miter angle is set at a 90-degrees crosscut.
As mentioned before, the table comes with a handle that allows you to change the angle to 22.5 degrees, 45 degrees, or anywhere in between. There’s also a catch to prevent the table from moving during the machine is in use.

Types of Miter Saw Cuts
Crosscut
Apparent from its name these cuts are made across the grain of the wood.
Miter Cut
This is an angled cut made on the face of the wood piece.
Bevel Cut
This is also an angled cut but, it is made on the edge of a piece of wood. It is mostly used to change the profile of the wood.
Compound Miter Cut
This is a combination of a miter cut and a bevel cut. You would need a compound miter cut if you’re looking to install crown molding.
Types of Miter Saws
Compound Miter Saw
This type of miter saw can make:
- Crosscuts
- Miter cuts
- Bevel cuts
- Compound cuts
There are two types of compound saws. A single miter saw that can cut a bevel in only one direction and a dual compound that can cut a bevel in both directions.
Sliding Miter Saw
Similar to a compound saw, a sliding miter saw can also make crosscuts, miter cuts, bevel cuts, and compound cuts. The only difference is that a sliding miter saw cuts wider widths of wood than compound saws. This is because the blade sits on the sliding rails.
Safety Precautions
Before you start the miter saw or any other power tool, the first thing you need to think about is safety.
Never forget to disconnect the miter saw before you make any adjustments. Even it’s a small adjustment, unplug the machine before. As a matter of fact, most accidents happen while making minor adjustments.
Always refer to the safety of your machine’s manual for general safety instructions and how to use the miter saw.
Read and follow the instructions as it is. If you’re unable to understand the instructions, we recommend you contact the manufacturer or a professional. For more information, CLICK HERE.
How to Adjust a Hitachi Miter Saw?
Before you purchase a new miter saw, we recommend you check the accuracy of the saw. Miter saws are set at the manducatory but they can come out of adjustment during transportation and shipping.
There are also times when your miter saw may kickback. That is also a good time to check for the adjustment. We recommend you check the miter saw a few times a year even if they are not in use.
Things you Need to Adjust the Miter Saw
To inspect and adjust your miter saw you need:
- Speed square
- 3-inch level
- Miter saw stand or a folding workbench
Check to See if the Miter Saw Blade is Square to the Table
It’s crucial to have your saw blade 90-degrees to the table. First, disconnect the power and remove the blade guard out of the way.
Next, place the speed square flat on the miter saw table. Carefully lower the saw blade down towards the table. Move the speed square against the side of the blade. Make sure to avoid the teeth of the miter saw.
You’ll know the blade is properly adjusted when you bring the speed square down the edge of the speed square makes complete contact with the side of the blade.
A gap on the top or the bottom edge of the speed square will indicate that the blade is not square to the table and it needs to be adjusted.
How to Adjust the Miter Saw Blade?
First thing you need to do is adjust the bevel. You can do this by loosening the bevel handle at the back of the saw.
Then, adjust the bevel of the saw blade till it makes a connection with the speed square and tightens the handle.
Once the saw blade is square to the table (90-degrees) rotate the stop bolt until it meets the stop. If the bevel is changed and then returned to 0 (zero), the bolt will stop the blade. This way it’s square or 90-degrees to the table.
The last step is to adjust the indicator so it points to 0.
Tip: If you’re having difficulty adjusting the blade to 90-degrees, check the stop blade. It may be preventing the blade from squaring to the table. We recommend you use a good-quality screwdriver to drive the bolt further into the table and check again.
Is the Miter Saw Fence Square to the Blade?
The next step is to check if the saw fence is square to the blade. Again, unplug the machine and hold the blade guard out of the way.
Similar to the last time, place the speed square flat against the fence and lower the saw blade down to the table. Then move the speed square along the edge of the blade while avoiding the teeth.
The blade is appropriately adjusted when we bring the blade down and the edge of the speed square makes complete contact with the blade.
This time, look for any gaps at the front or the back of the edge of the speed square. If there is a visible gap, the fence is not square and you will need to adjust it.
How to Adjust Miter Saw Fence?
To adjust the fence, the first thing you need to do is loosen the two bolts on the left side of the fence. This will allow you to adjust the fence.
Alter it to the point where it makes complete contact with the side of the saw blade. Then, tighten the bolts.
After that, loosen the bolts on the right side of the fence. Use a 3-inch level to adjust the right side of the fence. You will have to make sure it’s equal with the left fence and then tighten the bolts.
Other Reasons for Crooked Miter Saw Cuts
If you’re cutting wood and experience a kick back on your saw after you hit a knot on the wood is mostly due to a bent blade.
To find out if your blade is bent, unplug the miter saw and carefully spin the blade with your fingers. We recommend you wear protective gloves and use the middle of the blade to spin it. Avoid the teeth at all cost.
If you feel that the blade is woobly, you most probably have a bent blade and will need to replace it.
Moreover, if you’re experiencing rough cuts from the blade, it might be due to a dull blade. So, if you haven’t changed your miter saw blade in a long time, now is the time.
Wrapping Things Up…
With that, we conclude our guide on how to adjust a miter blade. We hope you found this information helpful.
All in all, the process to adjust a miter saw blade is fairly straightforward. All you need are simple adjustments to blade and the fence of the miter saw and it will guarantee clean and accurate cuts everytime.
For more resource guides on different tools, CLICK HERE
If you have any questions, feel free to leave them in the comments below.

