
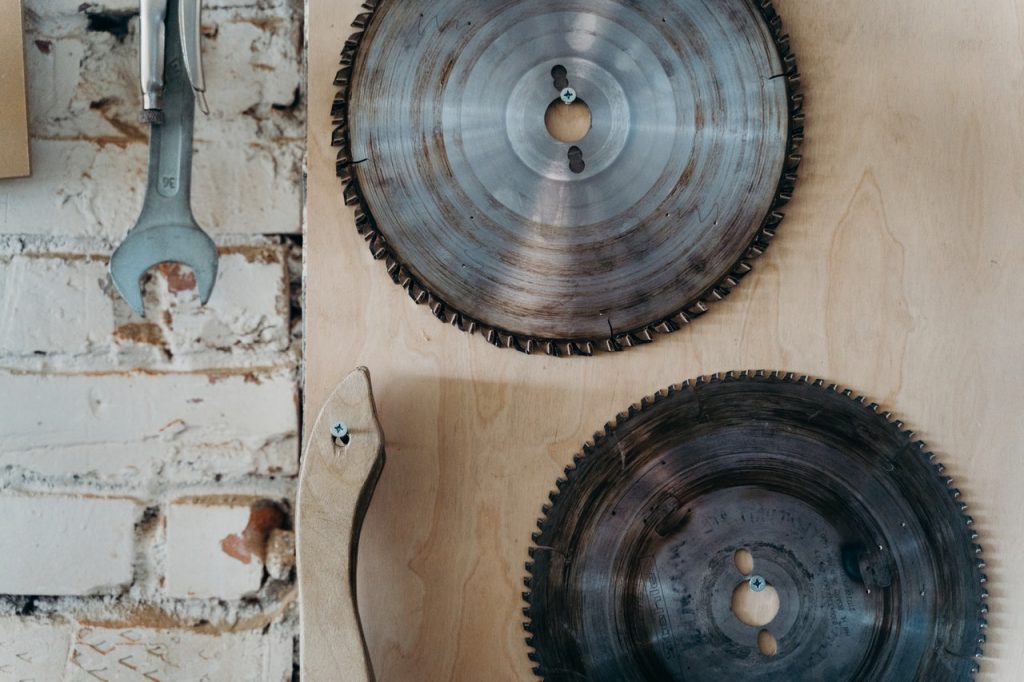
Circular saws are very handy hardware tools when it comes to woodworking. The circular saw blades are the most important component of circular saws.
Their upkeep can go a long way and allow you to achieve consistent results. There are certain sets of instructions that you need to follow if you wish to change your circular saw blade.
Let’s discuss them in detail.
Quick Summary
In this article we will go over the following points:
- How to install circular saw blades in different circular saws
- Safety tips
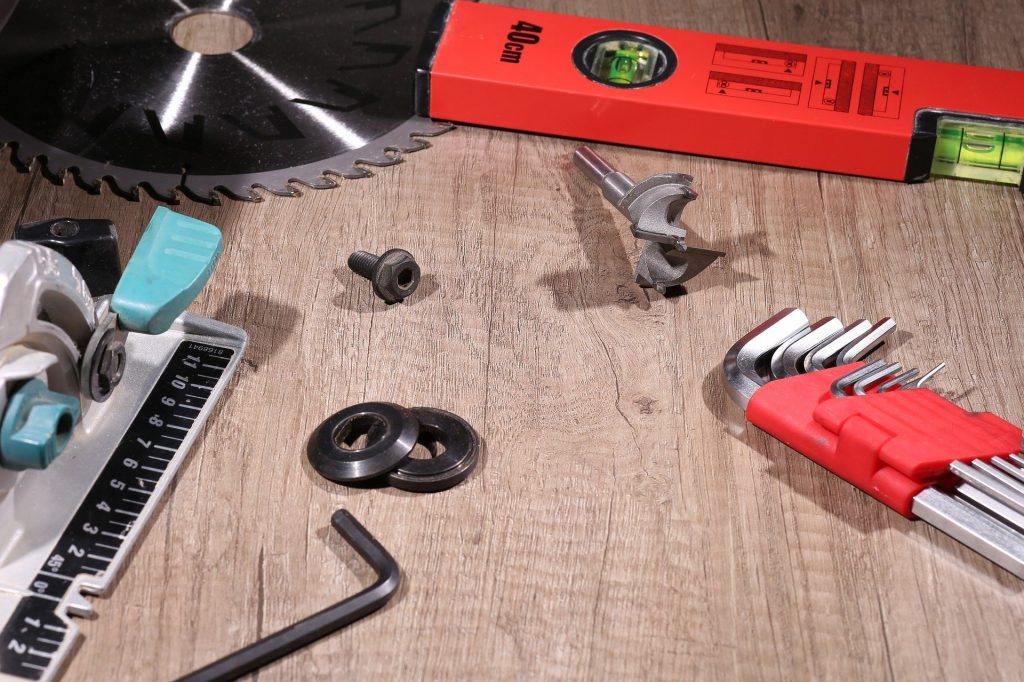
- Tools you need to install a circular saw blade
How to Install a Circular Saw Blade
Circular saws come in all shapes and sizes. The most common of them is the circular saw blades. This is why we will discuss how to change a circular saw blade first.
The process of installing a new blade is quite easy and you can do it without even a manual. Following is a step-by-step method for the replacement of a circular saw blade.
Step 1
The first and foremost thing you have to do is to make sure that your circular saw is free of any static charge.
In order to do that, unplug your circular saw and let it sit on a non-conductive surface for a while.
This will remove any residual current which could otherwise harm the internal materials of your circular saw.
Step 2
The next step is to clean the center shaft of your circular saw. This also includes the washer, arbor nut bolt, and blade guard.
You can do this by using any non-acidic cleaning liquid. It is important to note that acidic cleaning liquid might corrode your shaft and other metallic materials.
Sometimes the blade guard or even the washer are made from strong plastic material. They are tough but can easily lose grip over time.
Home improvement items such as circular saws are often exposed to a lot of wear and tear. It is recommended to use cleaning substances that are friendly to your tool’s materials.
Step 3
After you are done cleaning the shaft, it is time to replace the old blade and place the new circular saw blade in its place.
Before you do that, hold the blade in its correct direction. The center of the blade will indicate how you should place the blade.
This arrow shows which way the blade should spin. Align this arrow with the shaft and gently press it down.
Make sure that you clean the saw teeth properly before you put the blade in. Otherwise, it would prove highly difficult to clean once you put the blade in place.
Step 4
Now it is time to screw the new blade in its place. You can use the blade wrench provided by the company or even a third-party blade wrench.
You should note that this step is quite crucial to the overall performance of your circular saw.
Gently place the blade on the shaft and press it down. The moment you feel resistance, stop applying pressure.
Place your washer and arbor nut bolt on the shaft. Give a couple of screws with your hand before using the blade wrench.
You need to make sure that the blade lock is unhinged to remove any obstructions in the blade’s designated place.
Check if there are any signs of wear and tear in the nut bolt. It is important to check all these things because at high RPMs if you leave anything loose, it will come off and cause serious damage.
How do I know that my bolt is tight enough?
Once you start to move the blade wrench and tighten the screw, you will notice that gradually, it is getting harder to turn the blade wrench.
You should tighten it to the point where you don’t have to apply extra force to rotate the blade wrench.
Step 5
This step is to make sure that everything is in place.
After you screw your washer and bolt, use your hand to give the blade a spin. It should run smoothly without using a lot of force.
Make sure that the blade is spinning in a straight trajectory and has no visible deviance.
What should I do if it deviates a little?
If you notice any deviance, just unscrew the blade and repeat the above process. Sometimes the washer or nut bolt isn’t screwed in properly.
Step 6
Now it is time to check the safety measures of your blade.
Press the blade lock button to make sure that your blade is locked in its place. Make sure that the teeth are aligned with the direction of your motor.
You also need to make sure that the power plug is connected properly to your circular.
Step 7
Place your saw on a horizontal surface along with a piece of wood. Plug the power cord in and make sure that saw is turned off.
A sudden power surge can damage the internal electronic material of your circular saw.
Turn your power source on first and then the circular saw.
Turn the circular saw on and cut a piece of wood to make sure the blade doesn’t have any jerk reaction when used.
If you don’t feel any resistance, it means that you have done everything in the correct order.
This is all you need to know about installing a circular saw blade. Such a skill can come in handy if you are working on a DIY project or a professional project.
How to Change a Circular Saw Blade on Different Saws
The steps we explained so far go for all the basic circular saws available on the market. The most common of these saws are DeWalt saws.
But there are some circular saws that have slightly different procedures for changing a saw blade.
Let’s take a look at them one by one.
Craftsman Circular Saw
Craftsman circular saws are designed in such a way that in order to change the blade, you have to follow multiple safety steps.
- First, you have to remove the blade. Engage the blade lock located on top of the blade guard.
- Use the blade wrench to loosen the arbor nut. Remove the bolt along with the washer.
- Safely remove the blade and clean the internals of your circular saw.
- Insert the new circular saw blade. Tighten the washer and bolt with your wrench.
- Make sure to insert the wrench inside the shaft and turn it clockwise
- After that, disengage the blade lock and you are good to go.
Craftsman circular saws have a built-in safety feature to keep the blade in the right place even if you forget to tighten the blade properly.
The blade doesn’t rotate unless you screw it from the inside of the shaft.
Ryobi Circular Saw
Unlike common circular saws, Ryobi’s circular saws feature a dual washer system. It has one under the shaft hole and the other one on the backside of the cutting blade.
Here’s how you can change the blade on a Ryobi circular saw:
- Locate the hex key on the top side of the circular saw.
- Loosen the battery slide and carefully remove it.
- Use the same key to loosen the screw along with the front washer.
- After that, carefully remove the washer on the backside and remove the blade.
- Place the new blade and align its rotation with the circular saw.
- Tighten both washers using the key and slide the power component back in.
- Disengage the blade spindle lock.
It is important to note that in order to remove the blade on a Ryobi circular saw, you have to keep the spindle locked down at all times.
This makes it quite hard for a single person to change the blade.
Now let’s take a look at the equipment and safety gear you need to change a circular saw blade.
Safety Equipment
As it goes with any hardware project, you need safety gear to keep yourself safe from any possible harm.
Following is a list of things you should absolutely wear before you change a circular saw blade:
- Hardened Gloves. These gloves will keep your hands safe. Normal gloves are susceptible to cuts and can cause severe harm.
- Safety Goggles. A pair of safety goggles will keep your eyes safe from any metal chips or metal dust.
- Face Mask. A face mask isn’t necessary but you can wear one to keep yourself completely safe.
These are the three things you need to wear even when you are working on the simplest of projects.
Now let’s look at some other common topics associated with circular saw blade installation.
Ideal Circular Saw Blade Size
It is quite a common discussion topic among people when it comes to choosing a blade size. Since a circular saw blade comes in all shapes and sizes, it is hard to make a straight choice.
But once you know how to change a circular saw blade, you understand what sort of blade would be perfect for your current project.
What are the factors should I look out for?
There are some basic things you absolutely need to keep an eye out for. These factors are:
- Blade size
- Heat resistance
- Teeth design
How is blade size important?
The blade size is absolutely crucial to the final results of your project. A bigger blade needs more power. You need to keep this in mind when you purchase a new blade.
Sometimes, your circular saw blade motor might not be able to spin the blade at the proper RPMs.
Why should I pay attention to the heat resistance?
You should always buy a circular saw blade with efficient heat resistance. It will allow you to work for extended periods without any damage to the blade’s structure.
It is the case with most blades. After a session when they cool down they contract and if they don’t have the proper design, the blade starts to warp.
What is the purpose of teeth design?
Last but not the least, the teeth design. There is a huge variety of different designs available on the market. Even though they can fit the same circular saw, every circular saw blade has its own purpose.
Some are designed for fast cuts at the cost of precision while some are more focused on the precision aspect of cutting.
Let’s take a look at some of the safety precautions.
Safety Precautions
- Always remove the battery first before you replace your old blade. Sometimes, the current passes through the arbor nut and can harm your equipment.
- Always check if the lock button is properly pressed before you start to loosen the arbor nut.
- Keep all the tools on the ready with you before you start to change a circular saw blade.
- Once you remove the battery, place it on a non-conductive surface.
- If you are using a saw with a cord, unplug it and let it rest for a while.
- Always follow the arrow direction when you replace your saw blade.
- Read the manual beforehand for any extra tips.
- Always check what materials your circular saw blade is made for. Some are good for DIY projects while some are specifically made for professional projects.
- Always tighten and loosen your arbor nut a couple of times to make sure you have done it properly.
Final Thoughts
This brings us to the end of the article on How to Install Circular Saw Blade. We hope this article proves to be informational and beneficial for you.
Learning and knowing how to replace and change a circular saw blade can prove to be quite handy in a lot of situations. You can save a lot of time and money by following these simple steps.
Do let us know if we have missed anything on how to change a circular saw blade.