
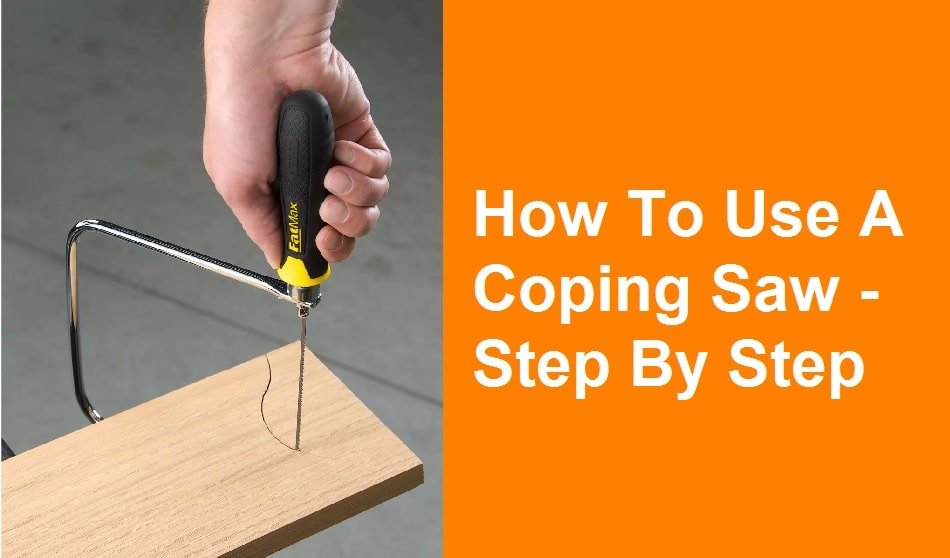
Coping Saw: The Basic Knowhow
Using a coping saw is a pretty practical way to create accurate shapes and holes onto wooden subjects. In case you want, you can do the same on other soft materials like plastic or metals as well. Fine works such as joints of a timber cornice are created using a coping saw.
But to get the best out of your coping saw, you need to acquire some serious skills, as the saw is not just a plug and play device.
Here are a few specifications of a coping saw, to let you understand it’s functions and structure properly-
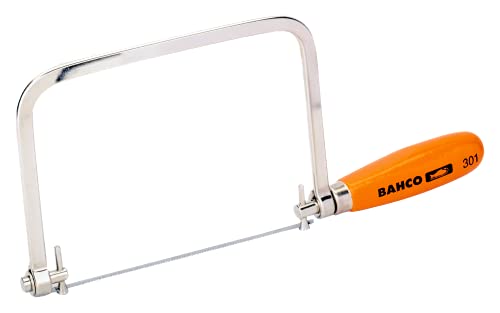
- Just like any saw, there is a blade in a coping saw. Usually, the blade of the coping saw is 150 millimeters in size.
- The blade sports little and very sharp teeth.
- There is a rotating spigot, that connects each end of the blade. And the whole thing is attached to a C-shaped metal frame.
- To angle the blade to create curves, you need to rotate the spigot anyway.
Part 1: Making the Coping Saw Ready for Sawing
The first part of the guide on how to use a coping saw involves preparing the saw for the work. Here are the steps-
Step 1: Position the blade properly
A coping saw will have its blade attached at any given moment. Before preparing the saw for another project, you need to remove the blade. For that, squeeze the saw and it will loosen up the blade.
Once the blade is released, you can unhook the ends of the blade and position it as per your requirement. But make sure to place the blade in a secure location.
Step 2: Prepare the work area
At this point, prepare the work area properly. It will include marking the position of the cutting shape that you are about to create. If you would like it, lightly sanding the edge will help you more to create a perfect cut on the workpiece.
Once done, proceed to the next step.
Part 2: Cutting with A Coping Saw
Step 1: Secure the position
The workpiece that you are about to cut should be strongly attached to the clamps and the vise. Otherwise, the vibration that is going to be produced while cutting with the coping saw is going to displace the workpiece anyway.
So, simply open the clamp, place the material inside it and tighten the clamps up.
Step 2: Start sawing
Take the coping saw in a perpendicular direction on the starting point of the cut. We are sure that you have marked the starting point of the cut before starting this phase of the job.
While cutting across a curve, keep turning the handle as you need to go through the path. In case you are coping molding, you have to make several passes In case of copying a molding, you also need to start at the opposite end to finish.
Remember, this is the most important part of the job. The blade of the coping saws is pretty thin. So while sawing, there is a chance that the blade might break. In case it happens, simply loosen up the blade and replace it with a new one. Make sure to tighten the new blade as it takes.
Step 3: Cut the shape finally
While continuing to cut across the line of cutting, you got to keep drilling until it reaches the edge of your traced shape completely. Therefore, keep sawing until the entire traced area has been cut.
Once needed, you can again sand the working area to make the cutting process easier.
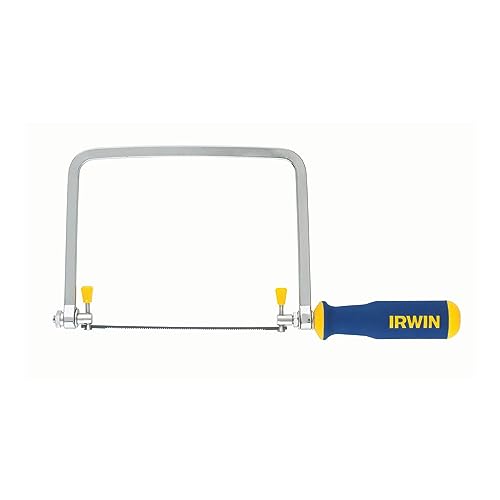
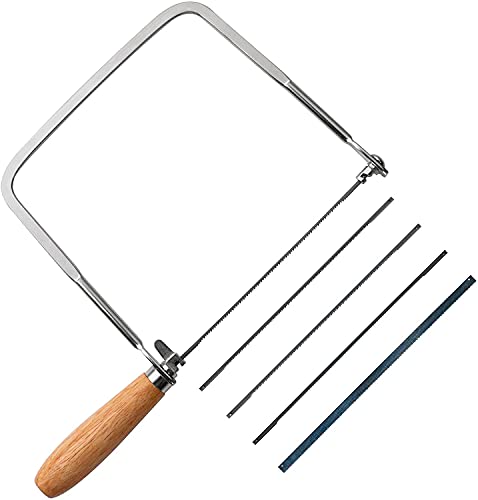
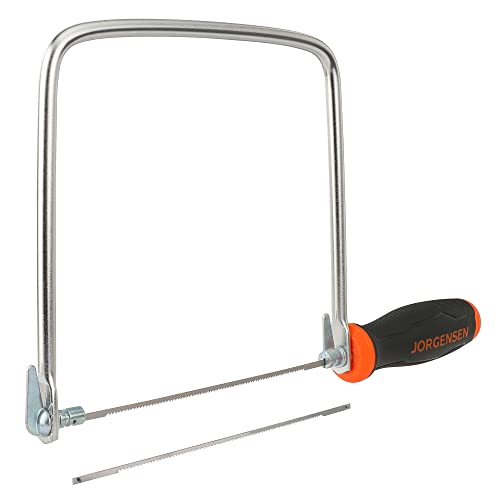
Check The List of The 5 Bestseller Coping Saw:

Some Important Advice to Use The Coping Saw
The whole process of dealing with the coping saws might be, sometimes, hectic and complicated. In case you are new to the task, here is some preliminary advice that you need to keep in mind.
- Always cut on a perpendicular angle instead of any other angle. It will take the best of cutting output from the blade of the coping saw.
- Fit the coped piece in place once it’s done with cutting. Once it’s done, the pieces must have to match each other’s shape.
- Wear safety accessories as per the demand. You might take hand gloves, safety goggles, etc.
- Don’t ever go on a full form cutting with a coping saw unless the blade is completely sharpened up.
- If the blade tension seems to be too tight or too loose, you can adjust the tension level of the coping saw.
- For different kinds of blades, the workpiece material should vary as well. While selecting the right blade for the right purpose, make sure that you have checked the compatibility.
- Once the work is done, keep the saw in a safe place until you get to use it for the next time.
Bottom Line
So, these are the steps and safety cautions on how to use a coping saw. Hopefully, you have got them right away and going to use the coping saw correctly in its best form. Once again, don’t forget to wear safety essentials.
Check out more about coping saws on our guides.