
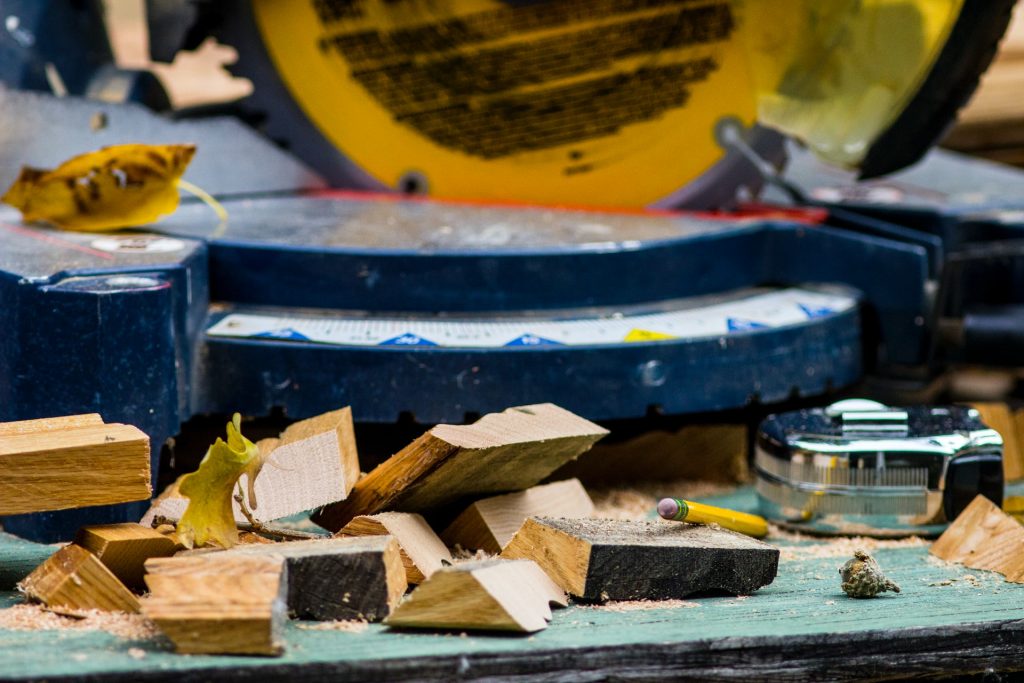
A miter saw is an incredibly accurate tool but it only stays accurate if you keep track of its alignment.
A miter saw’s alignment can get messed up due to a number of reasons such as during transporting, when working with different materials, etc.
In any case, it’s a good idea to inspect your miter saw from time to time to ensure that it’s properly aligned.
Quick Summary
In this post, we will provide step-by-step instructions on how you can square up a miter saw with ease.
We will go over all of the different adjustments you need to make and keep track of.
So without further ado, let’s get started.
How to Square Up Your Miter Saw (Step-by-Step Guide)
Before we actually get into how you can effectively square up and align your miter saw, we have to first set the stage.
What that essentially means is that we need to clean the miter saw properly so that no inconsistencies or errors occur due to debris or dust.
In most cases, a miter saw gets misaligned because it has been used for a long time. After a certain amount of time has elapsed and after a miter saw has done a fair amount of tasks, it can definitely get misaligned.
If a miter saw has been in use for a long time, it will most likely have gunk, resin, sawdust, and debris lodged in it. If you try to square up a miter saw in that condition, it will be extremely annoying to deal with all that waste.
Hence, clean your miter saw first.
Clean Your Miter Saw

First of all, we have to highly recommend that if you don’t regularly clean your miter saw, it’s time that you start doing so.
Not only will your miter saw perform well if you keep it clean but it will also last you a much longer time.
To understand how thorough you need to be with the cleaning, you should inspect the miter saw and its blade.
If you feel that the dust and debris that is lodged inside the blade is fairly loose, then you can just use an air compressor with an air nozzle. Use it to blow out any sawdust, debris, etc. that you see lodged within the miter saw.
After that’s done, inspect the blade again. If it seems clean enough, then you’re ready to square it up.
However, if it’s still dirty and gunked up with debris, then you may have to do some deeper cleaning.
For that, you will need to use some sort of cleaning solution. We highly recommend Simple Green which you can find on Amazon. It’s fairly cheap and does a great job of cleaning up blades without causing any damage or corrosion.
Mix one part of Simple Green with two parts of water and prepare the solution. Gently soak just the blade in the solution and let it sit for a few minutes.
Next, take an old toothbrush or any other similar brush and get all of the gunk and debris out from the nooks and crannies. Rinse the blade out and dry it up with some paper towels.
Now that your miter saw is fully clean, it’s time to square it up.
Inspect the Blade

After you have cleaned the miter saw, it’s a good idea to give it one last thorough inspection before squaring.
If the teeth seem dull or misshapen, it can be a good idea to sharpen them first before you square the miter saw. You can also use a stain remover to get rid of any pitch buildup on the blade.
Properly Align Your Table
Most woodworkers that work with miter saws will have them set up against a saw table or something similar.
While saw tables don’t typically get misaligned that easily, it is something that can gradually happen over time.
As you use the saw table over the years with different materials, saws and speeds, it’s bound to get misaligned at some point.
You can easily check if your table is misaligned by placing a straight edge on it.
If you find that the table is off-kilter, you can adjust it by replacing that specific piece of wood or by adding a wedge to a certain leg. This will make the saw table level again.
Align Your Fence

It’s very important for the fence of your miter saw to be properly aligned if you are to conduct any cuts accurately.
The fence is present on the ends of the table and it is used to support and secure longer materials as you are cutting them with the miter saw.
Miter saws have fences on both sides of the table and you need to adjust both of them independently.
Simply place a straight edge along the length of a fence and check to see whether it’s level or not. As you find areas where it is not level, you can loosen the screws for the fence with a screwdriver.
Next, adjust the level of the fence until it’s properly aligned, and then tighten the screws back up again.
Repeat this entire process for the other side as well and your fence is good to go.
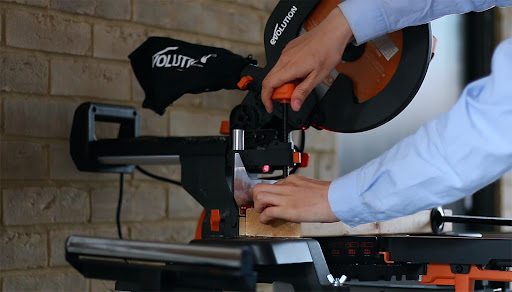
Adjust the Miter Angles

Now we’ve come to the juicy stuff, it’s important that you adjust the miter angle of your miter saw properly. Otherwise, all the cuts that you make using the saw will be inaccurate.
First of all, adjust the blade’s level angle to 0 degrees. Next, set the miter angle to 0 degrees as well.
At this point, the miter should square up with the fence.
At this point, you need to pull out either a combination square or a rafter layout square which you will use to effectively align the miter saw.
Use the combination square or rafter layout square to check and ensure that the miter is square with the fence. Check and see whether or not one of the edges rests against the front edge of the fence or not.
Once everything is in position, move your saw to its lowest possible position and slide the square to the side edge of your blade. Please note that if this doesn’t seem possible for you, you may have to adjust and raise the blade guard to achieve this.
To be clear as to what this stage would look like, the edge of the square you have should be flat against the side of the blade. At the same time, the other edge of the square should be flat against the fence of the table.
Now at this stage, check whether or not there are any gaps between the blade and the fence.
If you see any gaps, then that means your miter saw is not aligned properly. In this case, you will have to loosen the miter and tighten the knob. Make slight adjustments according to what you feel is correct and check for gaps again.
Keep repeating this process until there are no gaps between the blade and the fence, i.e., they are square to each other.
Finally, loosen the screws in the detent plate to adjust it to a zero-degree position. Once it’s there, tighten the screws back up again.
With that, you’ve properly aligned the miter angle for your miter saw.
Adjust the Bevel Angle
Finally, you have to check and adjust the bevel angle to ensure that your miter saw is completely aligned.
It doesn’t matter if you have a standard miter saw or a compound miter saw, the only thing you must focus on is if the table and the zero-degree angle are square or not.
To start off, you need to place the square (whether a combination square or a rafter layout square) with one edge facing upwards and one edge flat on the table.
Next, bring down the miter saw blade to its lowest position. Again, you may have to raise the blade guard to properly achieve this. Be extremely careful when you’re working with a raised guard as it can lead to serious injuries if you’re not careful.
Lower the blade until it’s completely aligned with the upper vertical edge of the square. At this point, you must inspect them to see if there are any gaps between the blade and the square.
If there are no gaps, then that means your miter saw is completely aligned and you’re good to go.
However, if there are gaps, then you will need to make some adjustments. Loosen the bevel adjustment knob and then twist it to adjust the bevel angle.
You need to adjust the bevel angle until there are no gaps between the upper vertical edge of the square and your miter saw blade.
Once you have achieved the desired position, tighten up the bevel adjustment knob so the angle stays firm.
If you want, you can also adjust the bevel detents according to your specific saw’s model and manufacturer.
After you adjust the bevel angle successfully, your miter saw should be completely squared up.
Test for Accuracy and Precision
While you may have conducted all of the squaring properly and correctly aligned your miter saw, it’s still important that you test it out.
You don’t want to square up your miter saw and then just use it on an important piece of wood that you need for a project.
If you don’t properly square it, then it can lead to extremely imprecise cuts and as a result, you may just waste a good piece of wood.
Hence, to avoid that, it’s a good idea to first test out its accuracy with some scrap boards and waste materials. This will not only help you ensure that the miter saw has been properly squared up but it will also help you develop a feel for the newly adjusted saw.
Take a piece of junk board that you wouldn’t use for anything and secure it on your saw table. Make sure that it sits against the edge of the fence so that it does not cause any problems or jerking during cutting.
Turn your miter saw on and pull the trigger gently. Let the blade reach full speed before you bring it down onto the junk board. Make sure to apply moderate pressure and let the blade go all the way through and beyond the board.
After the cut has been fully and properly made, let go of the trigger and let the blade slow down and fully stop. Once the blade has completely stopped, you can lift up the miter saw blade to inspect the cut you made.
Please don’t pull the saw blade up while it’s still spinning after you make a cut. This can cause the blade to pinch the piece of wood and send it flying.
If something like that happens, it can cause extremely serious injuries.
After the blade has fully stopped and you lift it up, you can go ahead and inspect the cut you made on the junk board.
Use a square or a level to check the accuracy of the cut. Since you made a completely vertical cut with 0 degrees miter, this would have to be a straight cut.
If the cut is indeed entirely straight, then give yourself a pat on the back as you’ve successfully squared up your miter saw and it’s ready to go. You can use it for any project you may like from here on.
However, if the cut is not straight or level, then you will need to repeat the entire process described above.
Don’t be disheartened if that happens to you since it’s something that has happened to pretty much every woodworker at least once.
However, if you keep practicing and assessing your mistakes, alignment and squaring will eventually become second nature to you.
It’s all about practice.
How Often Should I Square Up My Miter Saw?
You don’t need to square up your miter saw that often but we do highly recommend that you check its alignment regularly.
It’s a good idea to check if your miter saw is aligned after every 2 or 3 sessions. Checking the alignment doesn’t take that long and in most cases, you’ll find that you don’t need to square it up at all.
However, every once in a while, you will need to square it and you’ll thank yourself that you checked.
You don’t want to end up on a job with a misaligned saw and waste a whole bunch of wood.
How to Square Up a Miter Saw (Advanced Guide) - Conclusion
This brings us to the conclusion of our post on how to square up a miter saw.
The process may seem intimidating to you the first time but for all those first-timers, we recommend that you take your time and do everything slowly. You can go ahead and take twice the time it would normally take.
The important thing is to get it right. Then, after you’ve done it once or twice, you’ll develop a feel for it and will be able to pick up your pace.
If you have any questions about the process, please reach out to us in the comments section below.
Tools Advisor Pro gives more guidance about miter saws.