
If you’re familiar with miter saws, you probably know how simple it is to cut precision angles. Most woodworking projects would require a 45 or 90-degree angle but, 60-degree angles can be just as useful.
These projects are mostly for trims for the wall at a less common angle or slanted furniture legs. However, it might be intimidating, to cut an angle larger than 45 degrees on a miter saw might at first.
But, once you’re finished with this article you should feel confident enough to cut a 60-degree angle on your own.
Quick Summary
In this post we will go over:
- Ways on how to cut an angle
- Materials needed to cut a 60-degree angle
- How to cut a 60-degree angle on a miter saw?
Without further ado, let’s get started.
How to Cut a 60-Degree Angle On a Miter Saw - Quick and Easy Methods
Before we dive into the process of how to cut a 60-degree angle with a miter saw, it’s best if you understand some different ways to cut an angle.
Here are three ways that can be used to cut a 60-degree angle:
Miter Saw
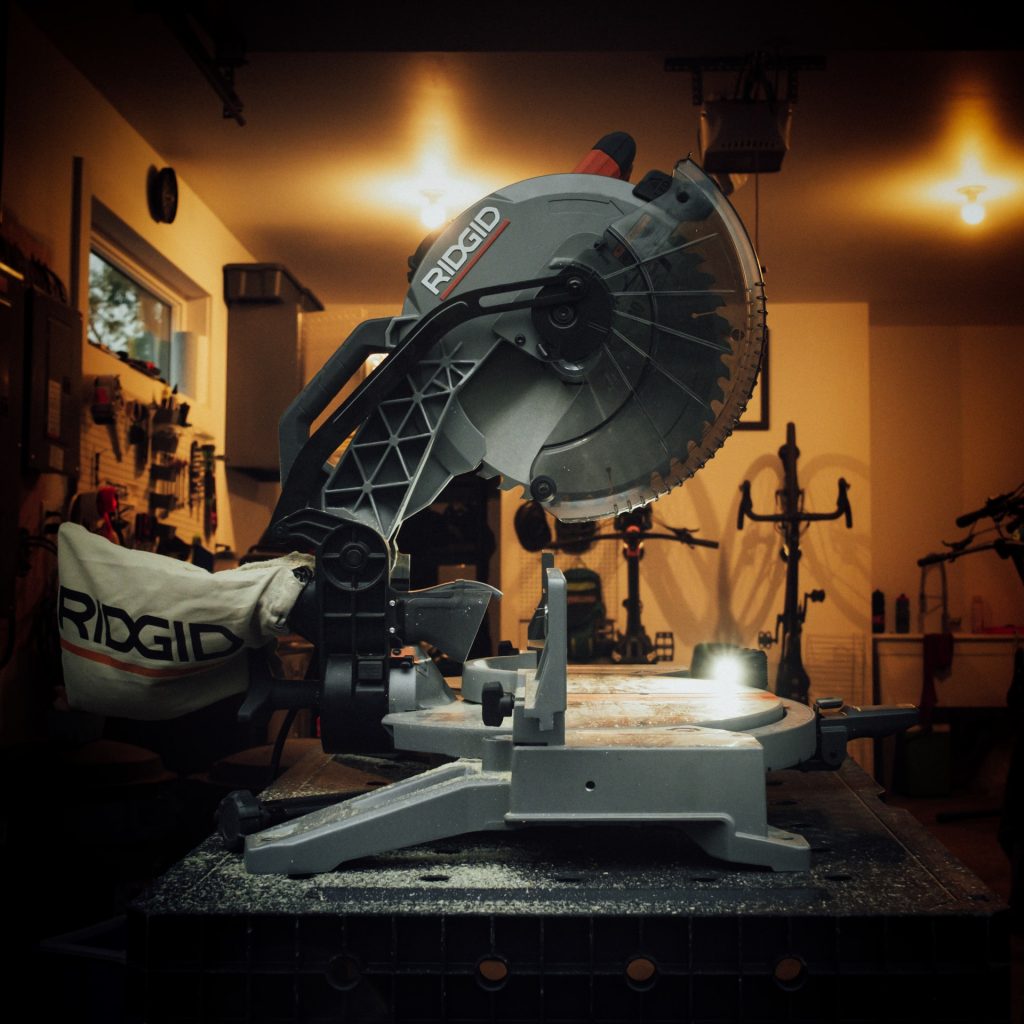
If you ask us, the miter saw is every carpenter’s favorite. We love it due to its adjustable blades that can easily be set up to 180 degrees. Moreover, we think this is the best tool to learn how to cut a 60-degree angle on.
Miter Box
The miter box is the predecessor of the miter saw. It’s a non-electric version of the miter saw. What makes it easy to use are the pre-cut angles along the side such as 30 degrees, 45 degrees, etc. You can also use it as a handsaw.
Protractor
This is the most cost-efficient way. You can use the protractor to engrave a line on the piece of wood and then cut it. However, if you decide to use a protractor, it will require great control to get the most accurate angle.
Materials Required to Cut a 60 Degree Angle on a Miter Saw

If you want to learn how to cut a 60-degree angle, you should be aware of the necessary materials or tools.
Here are some materials that you need to keep on hand:
- Miter saw
- Wood stock for creating a jig
- Workbench
- Saftey googles
- Gloves
- Ruler
- Carpenter’s pencil
- Protractor
How to Cut 60 Degree Angle on a Miter Saw?
Step 1 – Prepare your jig
Since we already know that a miter saw can only cut up to 45 degrees, you’ll need to create a simple jig before you can make a 60-degree cut.
To make the jig, we recommend you use a piece of wood stock. Whatever you have lying around your house will also work just fine. We usually use a 2×4 scrap piece to create a jig but any decent piece of wood around your house will work.
First, safely place your miter saw on the workbench and adjust the saw to a 30-degree angle. You need to make sure the fence is locked at 30 degrees. This is because you need a perfect 30-degree jig for a proper 60-degree angle for your final product.
The most important thing to remember before you start to cut is to wear your safety protection. Protection for your eyes and hands is a must. We also recommend you get some quality earplugs to protect your ears.
Once you’re in your appropriate gear, you can go ahead and cut the jig. Position your wood snug against the fence and cut through the wood. However, before you remove the jig from the saw, make sure the blade has stopped spinning completely.
Your jig should now have a 30-degree cut. Moreover, if your wood piece is longer than the saw table, trim the piece to be 6 inches in total.
Step 2 – Cut a 60-degree angle
Now, you can adjust your saw once more. Measure it at a 30-degree angle and position your jig against the fence. We suggest you use a clamp to secure the jig against the fence so it doesn’t move out of place.
This is a crucial step in ensuring that your final product has a perfect 60-degree cut.
With your jig in place and saw set at 30-degrees cut your wood piece to achieve a perfect 60-degree cut. Position the piece you need the 60-degree cut on against the jig you just created. Ensure the piece of snug against the jig.
Here’s how it works
Since the jog that you created was already 30-degrees, it adds 30-degrees to whatever angle you’ve set your saw to cut.
We needed a 60-degree cut so the 30-degree jig plus the 30-degrees the saw was set to get us a 60-degree cut.
Furthermore, you can create jigs for any angle from 1 to 45 degrees. This is an extremely useful tip since it allows you to use your miter saw to cut wood at any possible angle. It also makes the miter saw all the more versatile.
Step 3 – Check your work
If you followed steps 1 and 2, you should have a perfect 60-degree cut on your final product. But, we still recommend you double-check the accuracy of your cut with a protractor before you begin the installation process.
First, set the origin point of the protractor at the exact tip of the wood piece you just cut the 60-degree angle in.
Make sure the 0-degree line is completely in line with the edge of your piece. Now, follow the angle of the wood upwards so you can read the angle. If you followed the steps perfectly, it should confirm a 60-degree angle.
How to Determine the Angle to Cut Wood?
To determine the correct angle to cut wood you can use this formula:
- Divide 360 by the number of sides of the wood piece to calculate the corner angle
- Then divide it by 2 to get the miter angle
- For example, If you want to create a five-sided project with all equal sides, divide 360 by 5 to get 72 degrees. So, each joint or corner will form a 72-degree angle.
How to Cut 60-Degree Angle on a Miter Saw - Conclusion
To use a miter saw to cut different angles is woodworking 101. However, things get tricky when you have to cut an angle that is greater than 45 degrees.
Luckily, learning how to cut a 60-degree angle is as easy as creating a jig.
You can get the perfect angle every time with lots of practice and by using the correct power tools. Just make sure to wear your safety gear before you start to cut.
With that, we conclude our “how to cut a 60-degree angle on a miter saw”. If there’s anything further you want to know, do let us know.
You can learn how to cut other angles on our website.