
You can use many different types of tools to rip 2×4 lumber such as a jigsaw, a hand saw, a miter saw, and a circular saw.
The circular saw is quite commonly used for this purpose since it’s quite efficient and easy to use as well.
However, if you don’t know the correct way to go about ripping 2×4 with a circular saw, you can run into a myriad of problems.
Quick Summary
In this post, we will shed light on how you can rip 2×4 lumber with a circular saw step-by-step.
Before you actually perform any ripping, it’s important that you’re fully aware of what you have to do and how you have to do it.
So without further ado, let’s get into it.
How to Rip a 2x4 with a Circular Saw? (Step-by-Step Guide)
A circular saw can be difficult to get the hang of when you first start working with it.
However, with practice and the right research, you’ll be able to start doing jobs more efficiently and quickly with it.
To efficiently rip 2×4 lumber with a circular saw, just follow these steps:
Step 1: Before you actually start doing any ripping with the circular saw, it’s a good idea to inspect it first to ensure everything is in working order.
We highly recommend that you inspect both your saw and its blade thoroughly every time you take it out for a woodworking session.
Start off with the lower blade guard first. Push it out from its original position and then let it go. If it’s working properly, it should snap back to its original position as you let go.
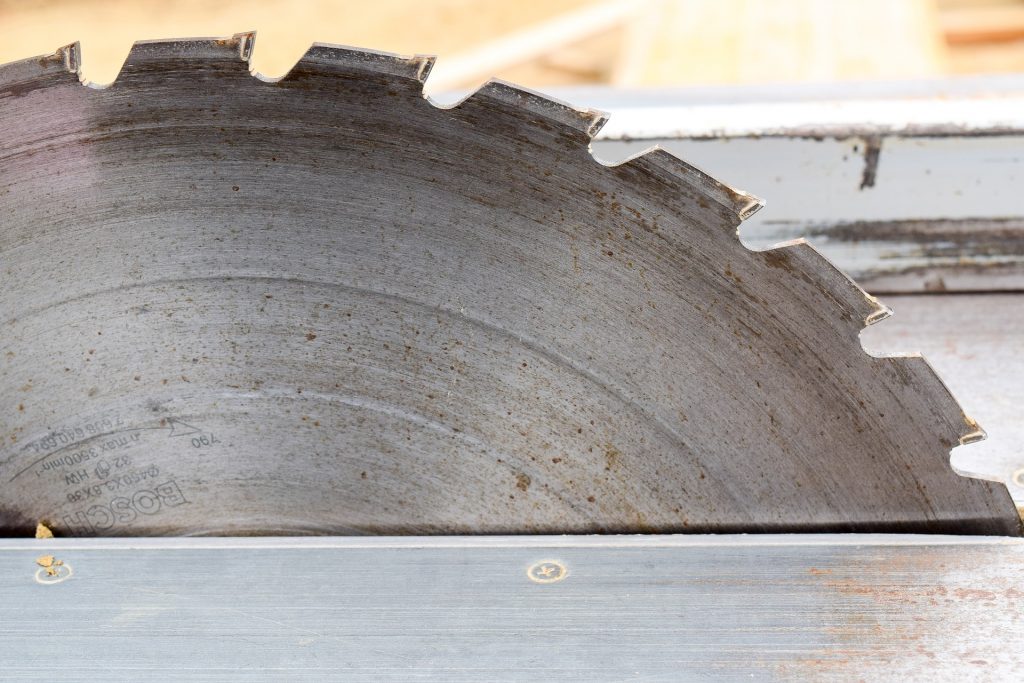
Next, inspect the blade of your circular saw. Check its teeth to ensure they are sharp and none of them are misshapen, bent, or broken.
Once you’re sure that your blade is sharp and the lower guard works properly, you can begin work with your circular saw.
If you have a cordless saw, ensure it’s charged properly and then press the power button to turn it on.
If you have a corded saw, plug it into a nearby power source to turn it on.
Step 2: Next, you need to set the blade of your circular saw at the proper depth so that it makes the cut appropriately.
Please note that if you set the depth deeper than it’s supposed to be, you can greatly increase the chances of kickback. That can be extremely dangerous. Hence, take your time while setting your blade.
You need to keep overexposure in mind while setting the blade as well. You need to expose the blade to the material just enough to make the cut appropriately. If you expose it more than that, it’ll damage the blade.
Ideally, you want the depth to be so that the blade goes no more than a ¼ inch below the wood once you fully cut it.
Step 3: Next, you must clamp the 2×4 piece of wood securely so that it stays firmly in place while you cut it.
A single hold-down clamp does a great job of holding the piece down while you make a cut on one side.
You can also use a sawhorse if you have one to hold down the wood. Just make sure that one part of the wood is hanging freely from the sawhorse while the other end is securely clamped.
Please note that the cut to be made should be no more than ½ an inch of the width of the wood.
Don’t clamp your wood on both sides. This is a mistake that many novice woodworkers make and it’s something that can cost you dearly.
Clamping the wood on both sides lowers the efficiency as well as the longevity of your circular saw. While cutting, you will notice that your saw might be difficult to push into the wood and it might recoil.
Step 4: Before you make the cut, it’s a good idea to have an indicator or a mark on the piece of wood that shows you where you want to make the cut.
You can use a pencil and a meter scale to make the mark on the piece of wood. You can also use a marker instead. Just make sure you use something that leaves a prominent and visible mark on your material.
Step 5: Gently press the trigger of your circular saw to make it start spinning. Then, fully press it and let it reach full speed.
Once the circular saw is at full speed, bring it down slowly at the mark you made on the piece of wood.
Apply moderate pressure and continue until the circular saw fully goes through the piece of wood to make your precise cut.
Step 6: After the cut has been made, let go of the trigger and let the saw come to a full stop.
Never move the circular saw back after a cut before the blade has fully stopped.
After you have waited and the blade has completely come to a halt, you can bring the circular saw back and turn it off.
Note: It is better to have all the resources you need for a project at hand before starting.
Tips to Prevent Kickback

When you are cutting into a piece of material with your circular saw, you may start to notice that the blade is moving away from the mark. You may also notice that the saw is taking a lot more pressure than before to go into the material.
If this is happening to you, then that means the blade is starting to bind to the wood. If you continue with this, it may result in splintering or even kickback.
If such a situation occurs, you must stop the cutting immediately.
Take your finger off the trigger and let the saw come to a full stop. Once it has completely stopped, take it back out and assess the damage.
Wrapping Things Up…
With that, we’re at the end of our post on how to rip 2x4s with a circular saw.
There’s really not a whole lot to it as long as you clamp the material correctly and take the right safety precautions during cutting.
If you have any further questions, please feel free to ask in the comments section below.
Take a look at our website to know more about all the DIY Projects.