
A miter saw stop block can be a great way to increase your efficiency if you’re working on a project that requires repetitive cuts.
It helps you get identical, repeatable cuts with ease while using a miter saw. There are many different ways to make stop blocks for your miter saw.
Quick Summary
In this post, we will provide 3 different methods that are used to construct stop blocks for miter saws.
It’s a good idea to go through the post entirely and then determine which method would be most suitable for you.
So, without further ado, let’s get started.
What’s a Miter Saw Stop Block?
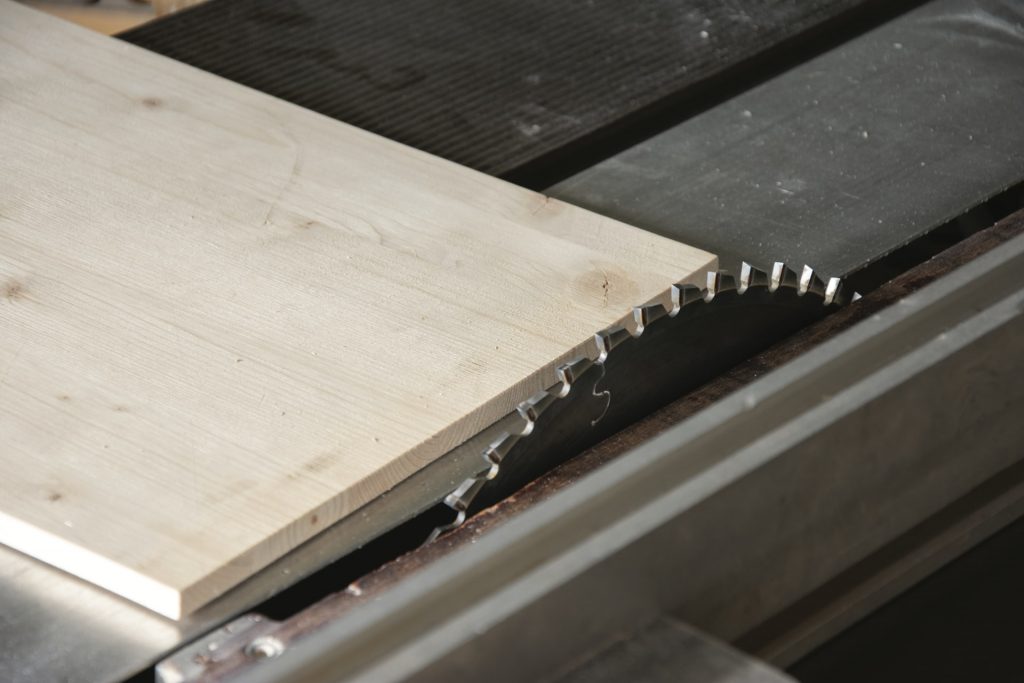
A miter saw stop block can be a piece of wood or a piece of metal that is placed at a set distance from the saw blade. It’s fully clamped down to ensure it’s firm and cannot move.
When you set a workboard against the stop block, it will get cut at the same length as the stop block’s edge.
As long as you don’t move the stop block, you can repeat the cut as many times as you want with as many work boards as you want to get identical cuts.
How to Make a Stop Block for a Miter Saw Station (3 Different Methods)
There can be many different variations of the miter saw stop block but all of them fall into one of three categories.
These categories are:
Clamping a Stop Block to an Existing Miter Saw Fence
If you’re a woodworker whose projects involve cutting a lot of material at shorter lengths, then clamping a stop block to your miter saw fence can be the way to go.
It’s a great option for novice woodworkers since it does not involve setting up any new fancy track, etc.
Simply grab a junk piece of wood that has a straight 90-degree angle. Clamp the piece of wood at the desired length on your miter saw fence.
Ensure that you measure from the outside of the saw blade’s teeth to the edge of the stop block.
Those will be the exact dimensions of the cut that will be made using the stop block.
But what if you need to cut at longer lengths?
Well, for that, you can create an extension fence. This can be done by screwing a longer board to the existing miter saw fence. Observe the metal fence of your miter saw and you should see holes that are specifically there for the stop block.
Start by screwing a long and straight board onto the fence from the back on both sides of the blade. This can be achieved with short screws and washers.
Typically, 1x4s work perfectly for this application. They provide you with enough height to easily clamp the stop block firmly in place. At the same time, it does not take up a lot of cutting depth.
Once you attach both sides of the fence, cut the board in half. This will give you an idea of exactly where the blade will cut. You can use this experiment to get measurements from either side of the gap.
Hook measuring tape to the gap and then clamp your stop block to the extension fence at whatever the desired length for you is.
The great thing about this method is the fact that it’s so easy to set up. Additionally, it’s not permanent either. Whenever you have to make identical, repetitive cuts, you can set it up and do it. Then, you can take it off for other types of cuts. It’s quite convenient.
However, it’s not exactly the most elegant method of setting up a stop block currently available. Furthermore, any imperfections that your board may have will translate into the cut material as well.
For example, if you have a board that is slightly bent or askew, then this may result in your cuts not being straight.
Note: It is better to have all the tools.
A Miter Saw Fence Extension with a Stop Block Track
If you’ve had a miter saw for a long while and have used it extensively, you may want to build a miter saw stand for it.
Not only will a miter saw stand to support the board so that the cut edges don’t fall to the floor but you will also get a ton of extra storage space. You can use the extra space to store additional blades, tools, and other accessories.
In addition to all this, a miter saw stand will also enable you to set up a permanent extension fence with a stop block track at the top of it.
A permanent extension fence on your miter saw stand can easily be utilized to clamp a stop block firmly in place at your desired length.
Quick tip: It’s a good idea to paste measuring tape on the top of the t-track of your miter saw stand. This will allow you to easily measure the desired length you need to clamp the stop block at.
As you can probably imagine, having measuring tape integrated straight into your stop block system is something that can make the process very efficient. It’s definitely the method we recommend if you perform identical, repetitive cuts regularly.
A disadvantage of this system that you must be aware of is that, if you get a new miter saw at some point in the future, you will have to recalibrate everything. This means that the entire platform and fence system will have to be re-measured.
If you don’t perform this step after getting a new miter saw, all of your measurements will be off. Oftentimes, recalibration can be quite frustrating and time-consuming.
Another problem that this method has is that if your board is warped in some way, this will cause your cuts to be crooked and askew. Hence, when you are building the system, ensure that the blade you use is completely straight.
A T-Track Stop Block

A recessed t-track stop block can be a great method to set up a stop block since the system is quite easily adjustable.
Not only that but it can also be easily detached if you want the space on the miter saw table for some other task.
If you have a smaller workspace, you will appreciate the fact that the stop block can be detached to free up space.
To start off, you need to recess the t-track into the plywood top that is present on either side of the miter saw station. You can do this by cutting a channel with the help of a plunge router or a dado stack.
You can use a regular measuring tape and put adhesive glue on its back to stick along your miter saw station. This will run the length of the track and you can easily use it to put the stop block at whatever your desired length is.
Quick tip: If the measuring tape does not sit flush with the surface, you can cut a groove down the middle of it.
This will help it stay flush with the surface and stick properly to it.
You can make a miter saw stop block using any hardwood such as walnut, etc. It should have a groove cut through the middle.
Next, use wooden runners that are the same length and width as that of the t-track opening and glue them into the groove. Remember to leave a gap in the middle for the t-bolt head.
Once the t-bolt and runners have been correctly inserted into the t-track, you can easily lock it any desired length along the track by tightening the star knob on top.
The runners will keep the hardwood block fully parallel along the track so that the block does not twist when you attempt to tighten the star knob.
Simply move the stop block along the track until you reach the desired length, then tighten the star knob to hold it firmly in place.
You can now use your miter saw to make identical, repetitive cuts with ease.
There are many advantages to this setup; One of them being the fact that it provides you with extra space for you to conduct other tasks at your miter saw station.
For example, when you want to use the miter saw station for tasks other than cutting such as assembly, polishing and finishing, you can do so. All you have to do is remove the stop block from the miter saw station to free up space on it.
This method also allows that your cuts are completely straight with your blade even if the board you are using is warped or damaged.
The obvious disadvantage to this method is the fact that it takes a lot of time and effort to set up.
You will need a plunge router or a dado stack to cut the groove you need for the t-track.
While this isn’t something that’s too complicated, it may be vexing if you’re a beginner.
Frequently Asked Questions (FAQs)
Which Method Should I Use to Make a Stop Block for My Miter Saw?
It really depends on what your needs are and what level of expertise you have.
The first method is quite well-suited to beginners and people who don’t often need a stop block but may need it from time to time.
The other two methods are more geared towards veterans that regularly perform jobs that require identical, repetitive cuts. The kind of cuts for which a miter saw stop block would be extremely useful.
Is a Miter Saw Stop Block Necessary?
It’s not necessary but it definitely makes your job a whole lot easier and more efficient if you are conducting repetitive, identical cuts.
Just think about: You have to make 50 cuts all at the same length. If you didn’t have a miter saw stop block, you would have to take measurements each time.
On the other hand, with a miter saw stop block, you would only have to take the measurement once. After that, it’s just cutting.
What Should I Never Do with a Miter Saw?
Some things you should never do with a miter saw include:
- Never operate a miter saw on the ground.
- Never use a miter saw to cut pieces that are smaller than 8 inches.
- Do not cut any material with a miter saw that has loose knots or foreign objects inside it.
- Never operate a miter saw without having safety equipment on.
How Much Does a Good Miter Saw Cost?
A simple and basic compound miter saw typically starts at around $100. If you want a sliding miter saw, that can cost somewhere between $125 and $150.
Dual-bevel miter saws usually start around $200 and industrial miter saws can cost as high as $800.
Is a Chop Saw the Same as a Miter Saw?
The short answer is, no.
Chop saws are much simpler tools that are also easier to operate. They are designed to make straight, simple cuts for simpler applications.
On the other hand, miter saws are much more complex to operate. At the same time, they are also capable of making much more intricate and complex cuts, including angled cuts.
Can I Use a Circular Saw Instead of a Miter Saw?
Circular saws are famously more versatile than miter saws.
Most veteran woodworkers will tell you that you can make pretty much every cut a miter saw can make with a circular saw. Not only that but a circular saw can make a few additional types of cuts as well.
That being said, it’s much more difficult to be precise with a circular saw than it is with a miter saw. Hence, if it’s precision and accuracy you seek, then a miter saw would definitely be the better choice.
If you want versatility, then go for a circular saw.
How to Make a Stop Block for Miter Saw? - Conclusion
This brings us to the end of our tutorial post on how to make a stop block for a miter saw.
We’ve provided three methods for you and we’re sure that one of these will work perfectly for whatever your needs are.
Check out more stuff like this on our website.
If you have any questions or confusion, please ask us in the comments section below.