
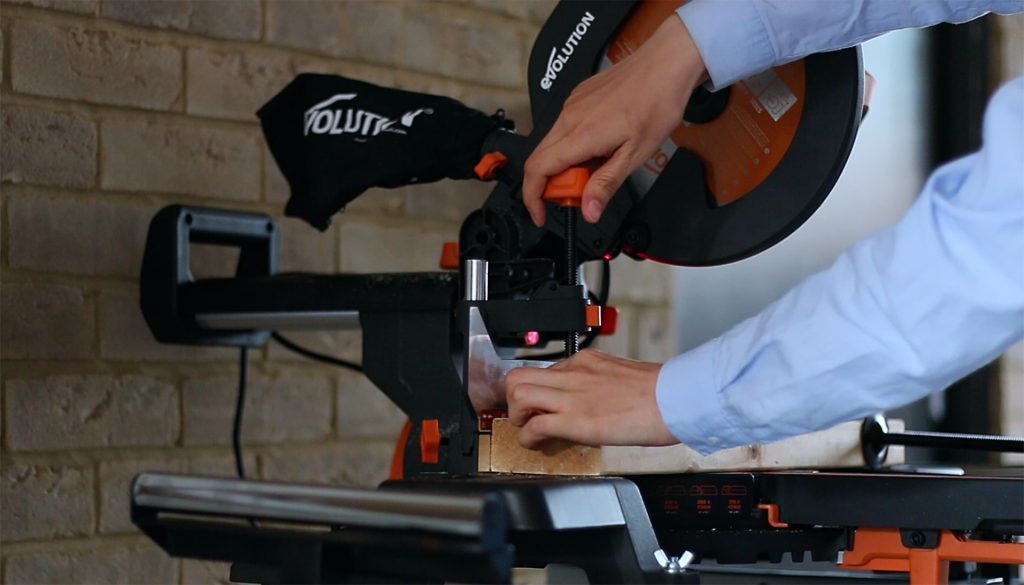
Porter-Cable is a brand that makes incredibly robust and long-lasting circular saws.
As a result, you will find yourself in a situation where the blade on the saw has reached the end of its lifespan and needs to be changed.
This can be confusing for somebody that has never changed the blade on a Porter-Cable saw before.
Quick Summary
In this post, we will provide step-by-step details on how you can install a blade on a Porter-Cable circular saw.
So without further ado, let’s get started.
How to Install a Blade on a Porter-Cable Circular Saw (Step-by-Step Guide)

We highly recommend that you go through this entire guide first before you start to actually tinker with your Porter-Cable circular saw.
You can seriously hurt yourself or damage the saw if you don’t know what you’re doing.
Hence, do your preparation first before doing any installation.
Follow these steps to install your new blade into your circular saw:
Step 1: Before we do anything, you have to ensure that the circular saw is indeed turned off.
Just having it turned off through the button is not enough. You must remove its plug from the socket as well.
This will remove no margin for error. You don’t want to take any risks during installation. You are working with sharp, spinning blades, of course.
Step 2: Next, you have to locate the spindle lock which is typically located on the bottom-right side for most Porter-Cable models.
Press down on the spindle lock and then rotate the blade until the lock disengages.
Step 3: Once the spindle lock disengages, locate the retaining screw and turn it counter-clockwise using a wrench or Allen key.
Once this is done, the old blade will come loose and you can remove it from your circular saw.
Please note that you will also have to detach the outer washer. It will be removed from the circular saw alongside your old blade.
Step 4: To install the new blade, you must first retract the lower blade guard.
The lower blade guard is a shield that protects you from the blade during cutting. To retract it, you can pull the retracting lever. Once that’s done, position the new circular blade inside the spindle shaft.
You will have arrow indications on both the blade as well as the circular saw itself. You must ensure that the arrows on both the saw and blade are pointing in the same direction.
If they are not, then that means you are inserting the blade incorrectly. In this case, you would take it out, turn it around, and put it back in.
Once the blade is inside the spindle shaft, you can raise the lower blade guard back to its original position.
Step 5: The blade is inside the circular saw. The only thing left to do is to properly secure it so that it does not slide out during operation.
We don’t have to paint any pictures as to why something like that would be bad for you as well as for your circular saw.
To secure the blade, ensure that the outer washer that is located on the spindle is firmly pressed against the blade’s flat surface.
Step 6: Insert the retaining screw into the hole and use a screwdriver to tighten it.
Please note that during all this time, the spindle lock should be pressed down. The spindle lock prevents your blade from rotating and accidentally hurting you.
Tighten the screw by twisting it in the clockwise direction.
Make sure not to over-tighten at this stage. Just moderate pressure is more than enough when you’ve fully tightened the screw. Over-tightening can cause serious damage to your blade as well as your circular saw.
Step 7: After the blade has been screwed in, you can let go of the spindle lock.
That’s pretty much it. You’re done.
After you install a new blade onto any saw, it’s a good idea to test it out with some junk board to ensure it’s working properly.
Step 8: To test out your newly installed circular saw blade, take a piece of junk board and clamp it down on one side with a single hold-down clamp.
Plug your circular saw into a nearby outlet and gently press the trigger to get the blade spinning.
If you notice anything peculiar such as the blade swinging from side to side too much while spinning, shut it off immediately; Assess what’s wrong, fix the problem, and then, get back to testing.
As the blade starts to spin up, press the trigger fully to get it to full speed. Once the blade is at full speed, bring it down onto the piece of junk board for a straight vertical cut.
Push the blade with moderate pressure all the way through the junkyard until it completely cuts it. After the cut has been made, let go of the trigger and let the blade reach a full stop.
Once it has completely stopped, take the blade out.
Please ensure that the blade has completely stopped before you take the blade out. Otherwise, the blade can get stuck in the piece of wood and send it flying.
Obviously, this can be extremely dangerous so you must make sure to let it stop before you take it out.
Step 9: After making the cut, assess the piece of junk board to ensure it’s accurate.
As long as the cut is properly vertical and according to your needs, you should be set.
If you notice any irregularities with the cut, there could be a chance that you have not inserted the blade correctly into your circular saw.
In this case, you can remove the blade and then insert it back into the circular saw using the same process we’ve described above.
Once it’s back in, conduct the test with another junk board until you achieve the correct, desired results.
Note: Gather all the tools before you start working.
Wrapping Things Up…
That’s the end of our post on how to install a blade on a Porter-Cable circular saw.
We hope you feel confident enough now to tackle it yourself. There’s really nothing to it as long as you’re aware of where the locks and washer locations are.
You can find those out for yourself just by inspecting your circular saw.
If you have any more questions about the process, let us know in the comments below.
Check out our page before installing a blade on circular saw.