
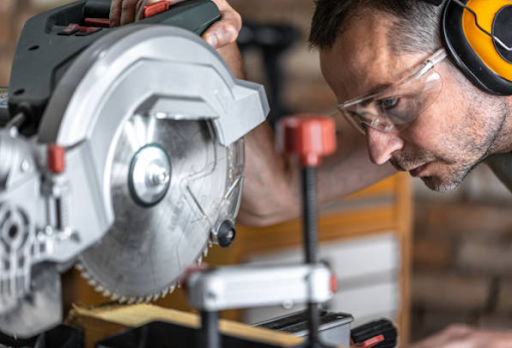
We think you’ll agree with us when we say that a saw is one of the most resilient tools to have in your workshop. However, using it project after project can cause the saw to get clogged with dust, debris, glue, and other materials.
Using a circular saw with a dirty blade can diminish the effectiveness of your blade and as a result, set back your projects.
It’s also really easy to confuse a dirty blade with a dull one due to the irregular and inaccurate cuts.
But luckily, cleaning saw blades is as easy as rinsing a razor blade.
Quick Summary
In this post we will go over:
- Why you should clean a saw blade
- Things you need
- How to clean saw blades
So, without further ado, let’s begin.
Why you Should Clean a Saw Blade?
As we mentioned before, continuous use of the saw can cause sawdust, pitch, and resin to accumulate on the cutting edges of the saw blade. Resin and pitch accumulate on both sides of the edges of the blade thus making the blade act as if it’s dull.
As a result, the heat and friction will increase during the cuts and the blade will require more force to cut through a material.
With increased heat, you’ll have to pause more often while working. This will not only reduce work progress but will result in augmented work fatigue. Furthermore, the increase in friction will also put a strain on the motor which may be susceptible to overheating.
On top of that, a dirty blade produces extremely rough and imperfect cuts. If you ask any craftsman, you will also find how dangerous it is to work with dirty blades as they are more vulnerable to accidents.
Therefore, to avoid all these problems, we suggest you keep the blade clean. Even if you don’t use the circular saw too often, it’s a good idea to clean it once or twice a year.
We also suggest you examine the tip of each tooth on the blade. If you find a lot of broken, dull, or damaged teeth consider sharpening the blade or buying a new one.
If you have a plain steel blade, you can use a triangular metal file to sharpen it. However, blades with carbide-tipped teeth should be professionally sharpened. But, we would suggest you buy a new blade instead since it’s more cost-effective.
Things you Need
Before you proceed with the cleaning here are some of the items you would need to properly clean your blade.
You might find most of these items already present in your house and won’t have to spend extra on them.
- Clean water
- Laundry soap, detergent, or any other cleaning solution
- Brush with soft wire or an old toothbrush. You can also use a small brass brush, hard bristle brush, or steel wood
- Aluminum pan or shallow container
- Paper towels
- Screwdriver or wrench (to remove the blade from the machine)
- Blowdryer or can of compressed air (optional)
- Silicon spray (optional)
How to Choose a Cleaning Solutions?
There are many cleaning solutions that you can use to clean your saw blade. Some carpenters prefer a citrus cleaner. This is because you can use it to clean about anything in your house with the same cleaner.
Whereas other woodworkers use an over cleaner. However, we would not recommend it because it contains a lot of chemicals and may be toxic. They can also harm carbide tips and the binders that hold them in place.
When it comes to cleaners, we recommend you go for a concentrated, all-purpose cleaner, or degreaser found in your local grocery store. These types of cleaners won’t only work on saw blades but almost everything around your house.
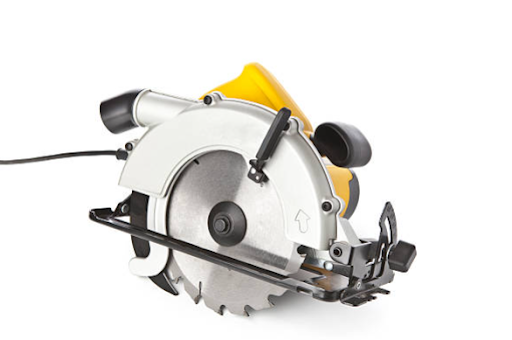
How to Clean Saw Blades?
Step 1 – Disassemble, brush and submerge the blade
It’s important you read the user manual before taking off the blade. Follow the instructions and remove the blade. You may need to remove a few screws or bolts for this.
You can do this by using a good-quality screwdriver. However, make sure to keep the screws safe as you’ll need them again to attach the blade again.
We also urge you to wear protective gloves to safeguard your hands during this whole process.
Once you have successfully removed the blade, place it in a large pan or tub. Make sure it’s big enough to hold most parts of the blade, if not an entire one.
Use an old toothbrush or soft bristles on a brush to manually scrub off the dirt on the blade.
This speeds up the cleaning process to a large extent. Finally, pour in the water until the blade is fully submerged.
Step 2 – Add detergent or cleaning solution
Now, go ahead and add your cleaning solution to the water in the pan. If you don’t have a cleaning solution or detergent, you can also use soap.
Mix the mixture with the brush and let the blade soak for a minimum of 5 to 10 minutes.
We do not recommend you use your fingers to stir the mixture. This is because the blades on the saw are extremely sharp and can cause intense cuts. Moreover, you won’t need excessive stirring, just a few ones will do the job just fine.
Step 3 – Scrub the dirt
After you soak the blade for a good amount of time, it’s time to give it a thorough scrub. Use bristles of the brush to reach every nook and cranny. Then, rinse all the dirt and grime with water.
We recommend you use a bass brush as it has fine bristles result in more delicate cleaning. Moreover, scrub your blade with patience to make sure you have covered each tooth.
Step 4 – Dry the blade
To dry the blade, you can simply place it in the sun. If you’re short on time you may also use a blow dryer to fully dry the blade.
Whatever route you take, make sure the blade is completely dry otherwise rust might build upon the steel blade.
Step 5 – Assemble the blade
Now, you’re ready to attach the blade to the machine. Consult the user manual to reinstall the circular blade back in its place.
While you assemble and reattach the blade, double-check to see if the machine is disconnected from the power to avoid any accidents.
Extra Steps
You can also use this opportunity to sharpen the blade for flawless cutting. We recommend you use a quality sharpener to sharpen the edges.
You can easily do this at home but, in case of any issues, you may contact a professional.
Moreover, you may also coat the blades with silicone spray after the blade is clean. This will help slow down the build-up of dirt and tar on the blade.
Looking for more resource guides? We’ve got them right HERE.
Wrapping Things Up…
The cleanliness of your saw blade is extremely important for the smooth cutting and shaping of materials.
You don’t want a saw that has irregular cuts.
Therefore, every time you see irregular cuts in your projects, it may be because of a dirty blade. We hope you can use this article to properly clean your blades to decrease any damage to your projects. Find more HERE.