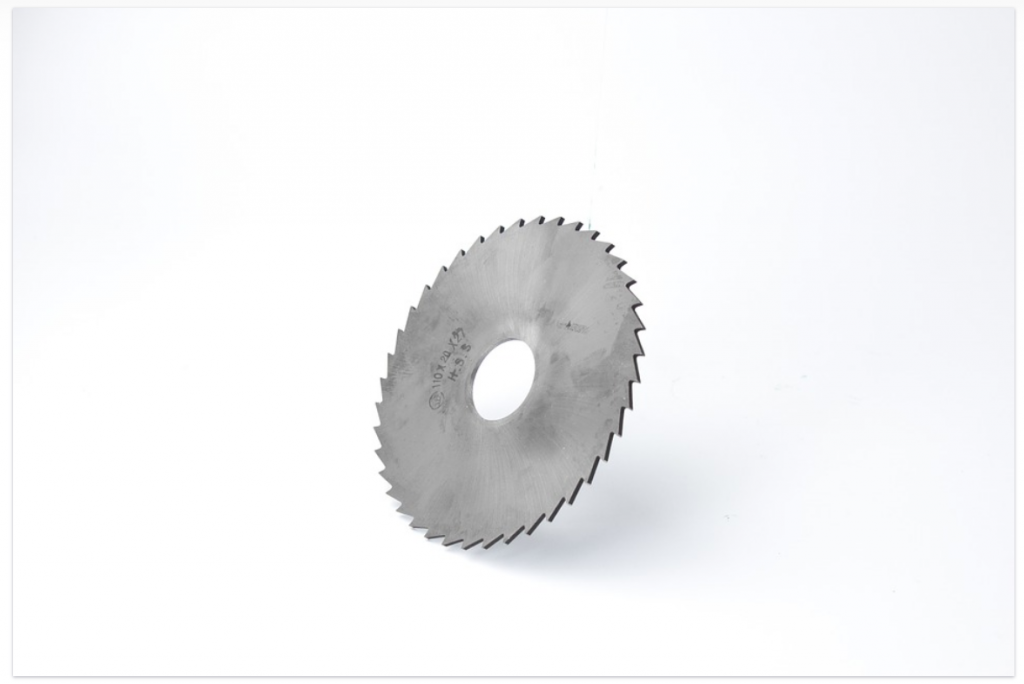
The Ryobi line of circular saws is designed to make accurate and precise cuts in different surfaces such as wood and PVC.
Like any other saw, the teeth of the blade rotate quickly and slide through the material that needs to be cut. However, due to continuous use, the blade might lose efficiency and give you incorrect results.
Therefore, if you have concerns about the cutting performance of your blade, it’s time to take a closer look to see if it needs to get replaced.
Quick Summary
In this post, we will go over:
- How do I know my Ryobi circular saw blade is dull?
- Types of blades
- How to change the blade on a Ryobi circular saw
Let’s get on with the article.
How Do I Know My Ryobi Circular Saw Blade is Dull?
Circular saw blades do not have an infinite lifespan. But, you can notice a few tell-tale signs that your blade is dull.
Here are some signs of a carbide-tipped and steel-tipped blade:
- The blade is slower than usual or may completely bind mid-cut.
- There is more chipping than usual. The blade might also start to create more tears
- You may notice burn marks or the wood may start smoking
Signs of a diamond-edged blade include:
- The diamond will glaze over. This happens when the metal band that holds the diamond has melted over the diamond.
- If you look closely, you will notice the blade has gone smooth. This indicates that the diamonds have completely worn away
- Similar to a carbide-tipped blade, the blade may become slower or bind mid-cut.
Types of Circular Saw Blades

Before you teach yourself how to replace the blade on your Ryobi saw it’s best to revise your knowledge of the types of circular saw blades. This will help you make sure to get the right product for the material you want to cut.
Here are some blade types for a circular saw:
Rip-Cut Blade
These blades are used to make cuts along the board’s length. Go for a blade with relatively fewer teeth. We recommend 40.
Also, look out for the top of the teeth. For a rip cut, it needs to be flat.
Crosscut Blades
A crosscut is when you cut along the width of the board and not the length. In this case, you need a blade with more teeth. Furthermore, the top of the teeth should form a V.
Combination Blades
Lastly, we have combination blades. This is a great option for a more versatile blade. It can produce both crosscuts and rip cuts.
How to Change the Blade on a Ryobi Circular Saw?
Now that you have a basic understanding, let’s move on to the next part of this article.
Follow the steps below to learn how to change a circular saw blade:
Step 1 – Safety first
Before you begin, make sure the saw is disconnected from the power. If you have a battery-operated saw, remove its batteries.
We cannot emphasize the importance of this step enough. Never attempt to change a blade or make any adjustments if it’s connected to the power.
Gloves are also important and may help avoid cuts. The teeth of saw blades are extremely sharp and you can easily injure yourself. Especially when your hand slips when you try to loosen a tight screw.
It’s also a good idea to read your saw’s user manual. Not only will it give you instructions on how to replace the blade but also details that are specific to the model of your saw.
For example, where the bolt is located and where to turn it to loosen or tighten it.
Step 2 – Remove the old blade
For this step, locate the wrench that comes with the saw. Most of the time, corded saws will have an open-end wrench while battery-operated saws use an Allen wrench.
You can find them attached to the cord whereas some slide into a compartment at the bottom or near the handle of the saw.
However, if you’ve lost the wrench that comes with the unit, an open-end or socket wrench will also work fine. Adjustable wrenches will also get the work done but may be difficult to handle in less space.
To remove the blade, unlock and position the base plate to its lowest level. Then, lock the base plate. This will give you more room to work with.
Next, find the blade lock button. It’s usually on the backside of the upper guard. While pressing the button, use a wrench to rotate it until you feel the blade lock in place.
While you continue to press the button, use the wrench and loosen the bolts. The blade will come apart. We suggest you carefully place the blade in a safe area.
Also, make sure that there are no children or any unauthorized people around.
Step 3 – Install a new blade
Before you install a new blade, remove any clogged debris from the inside of the upper guard. While you’re at it, also check if the inside washer is clean. Although there are extra steps, they will prolong the lifespan of your saw.
Next, search for an arrow on the new blade. This will indicate which way you should rotate the blade to install it. If you can’t find the arrow on the blade, check the blade guard.
If necessary, flip the blade to match the arrows so they can fit properly.
Now, retract the lower blade guard and insert the blade into the shaft of the blade. Then, slide the washer into the shaft and turn it. It should stay snug with the blade.
Finally, insert the blade bolt and tighten it in place. However, you don’t want to over-tighten.
Step 4 – Check the Blade
Now that you’ve successfully replaced the blade, turn on the circular saw to test it out.
You can use any scrap wood to perform a test cut. If the blade stops or the shafts spin in the blade, remove the blade and make the necessary adjustments.
Wrapping Things Up…
Though it may seem overwhelming, it’s really not complicated to change the blade on a circular saw.
If you’re someone who uses this tool regularly, it shouldn’t take you more than 20 minutes. However, if you’re a beginner it’s better to take things slow.
We hope this guide will help you confidently change the blade of your Ryobi circular saw. Don’t forget to go through your user manual for added information.
You can also visit our website for more guidance.

