

Circular saws are one of the most versatile tools for your DIY projects. They are compact and have lots of utility. You can use them for different types of projects.
When it comes to circular saws, Porter-Cable produces some of the best ones available in the market. However, you have to often change the blade of the saw to increase its flexibility.
It can seem to be tricky for some, hence we have prepared this guide to help you.
Quick Summary
In this article, we will look at:
- How you can change the blade on your Porter Cable Circular Saw
- How to adjust the depth of your circular saw?
Let’s go through it.
How to Change a Blade on Your Porter Cable Circular Saw?
As discussed earlier, circular saws are a highly versatile tool. They are easy to use and can be customized to the specific needs of the project. You can make different types of cuts with it as well as use it on different types of surfaces.
However, to do that, you first need to change the blade of your saw. When it comes to blades and saws, Porter-Cable is a renowned name in the market. They have high-quality saws in their catalog, which are lightweight, modular, and easy to use.
To change the blade of your Porter Cable Saw, you have to:
Step # 1 – Ensure your Safety
The first thing you have to do before you start to change the blade is to ensure your safety. Circular saws run at high speeds and the blades are very sharp. If not used correctly, you can injure yourself.
You need to wear the correct equipment before you go further. We recommend that you wear leather gloves before you handle the blade. Also, be sure to unplug your circular saw before you move on to any knobs and levers.
Then, you need to place your saw on a sturdy surface and press the blade stop button. Be sure that you keep it pressed throughout the process.
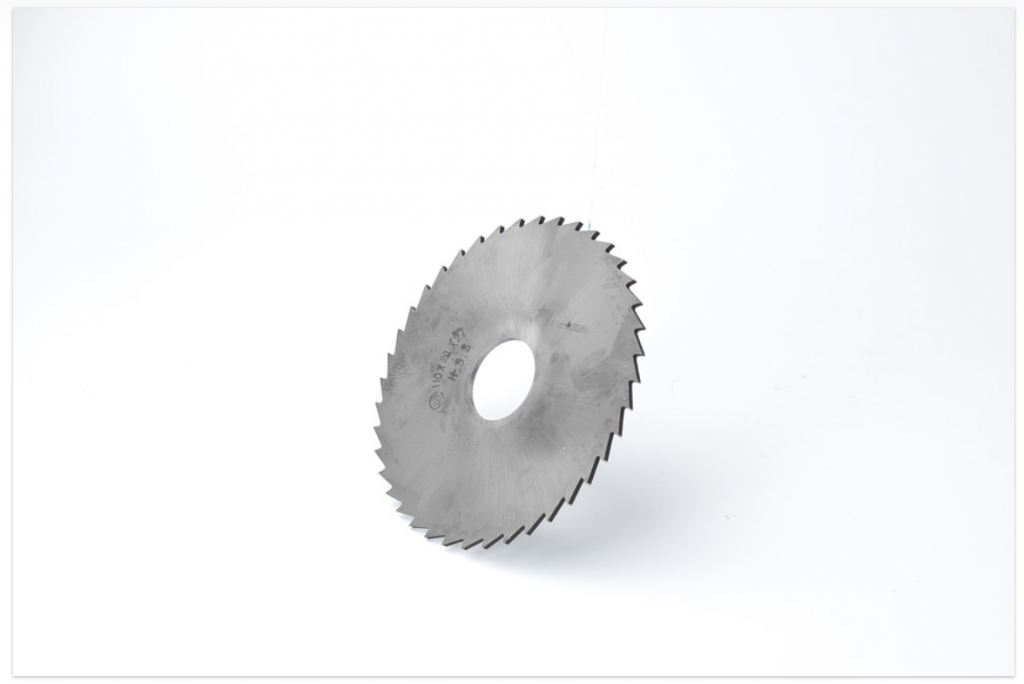
You also need to select which blade you want to attach to your saw. There are different types of blades available for purchase which you can choose for your specific job. After this, you can move to the next step.
Step # 2 – Remove the old blade
After you have pressed the lock button, you can remove the old blade. first, you have to pull the blade guard back to expose the blade. Then, turn the retaining screw anticlockwise. You can use a wrench for this purpose.
Completely remove the nut from the spindle. Then, you can safely and easily remove the blade from its position as well as the outer washer with it.
Step # 3 – Attach the new blade
First, select which blade you want to attach to the circular saw. Then, you must place it in the same slot you removed the old blade from. Make sure that the printed side of the blade is facing you. Doing this will ensure that the teeth of your blade are facing the right direction.
Then, attach the retaining nut to the spindle along with the outer washer. The washer goes before the retaining nut. After this, you can tighten the nut with a wrench. This ensures that the blade in your saw is fixed in its position.
Lastly, release the blade stop button so that the blade is free to move. You can then plug in your saw and use it.
How Can I Adjust the Depth of My Circular Saw?
Circular saws have a high degree of flexibility. They can be adjusted according to the type of project you want to work on. This includes different types of cuts as well as different depths you can cut on.
You can cut different types of woods with this saw. The most common types of lumber include 2×2 and 2×4 wood. They have varying levels of depth, so have to be sure that the saw is set on the correct adjustments.
Most circular saws have a similar design, hence you can easily change the settings for your circular saws. To change the depth of your circular saw, you first have to:
- Determine the depth of the cut. There are different methods to do this. The easiest is to hold your saw with the board. Then see if the teeth of the blade protrude or not. You have to be sure that the saw is not plugged into the power source.
- Then, you must find the adjustment lever. You can find this lever on the back handle. It is located on the sides and you just have to turn it to free the circular saw.
You must keep in mind that you have to set your saw according to the wood you work on. You can follow these two methods to set the blade:
- First, set the depth of your blade. Do it until it just sticks out of the wood. You may face some challenges as the wood is uneven at different points. You can damage the blade as well as increase the chances of kickback.
- Second method is to set the blade. You have to do it until the teeth extend ¼ inches out of the wood. You can measure this distance with an inch tape.
Then, you can make the cut. But first, make sure that the wood has been fixed in place as a safety precaution. Also, mark the line where you want to make the cut. It will help you guide the blade and give a visual reference.
Then rev your saw to its maximum speed and make the cut in a straight line. Looking for more resource guides? We’ve got them right HERE.
Wrapping Things Up…
Circular saws can be used in a variety of settings. You can make adjustments for different types of jobs. This makes them highly versatile as well as increases their utility. However, some of these adjustments require technical know-how.
Changing blades on a Porter Cable circular saw can be a challenging task for some. You can easily do it if you follow the above-mentioned steps thoroughly.
With this, we reach the end of our article on “How to Change the Blade of a Porter Cable Circular Saw?”.
Do comment below and let us know of your experience. Find more HERE.