You may need to change the blade on a Ryobi miter saw for a number of different reasons.
Perhaps your blade is damaged and you want to replace it with a new one or perhaps you want to add another blade for a different job.
Quick Summary
In this post, we will go over the step-by-step process of how to change a blade on a Ryobi miter saw.
We’ll also discuss some general tips and tricks that can make the job much easier.
So without further ado, let’s get into it.
Tools and Supplies Needed

Before we actually delve into the process of how to change the blade on a Ryobi miter saw, it can be a good idea to get your tools and supplies in order.
It’s a good idea to get all the needed tools and supplies gathered first before you conduct any type of job.
Just think about if you didn’t take the time to do this: Every time you would need another tool, you would have to go looking for it.
If you don’t have it, you may have to go out and buy it.
Naturally, this can slow down the entire changing process by a lot. Hence, we always recommend that you gather everything you need first before conducting the change.
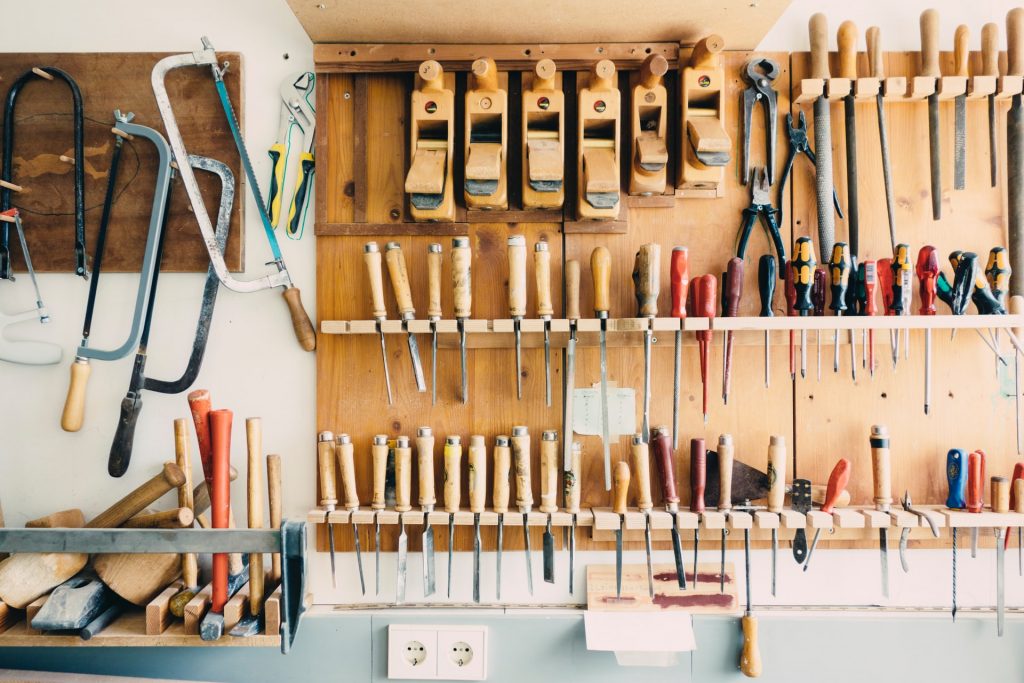
The tools and supplies needed to change the blade on a Ryobi miter saw are:
- A 5-millimeter hex key
- A 10-millimeter wrench
- A Phillips screwdriver
- A combination square
- Machine oil
Once you have everything gathered in one place, you can start the process to change the blade…
How to Change the Blade on a Ryobi Miter Saw (Step-by-Step Guide)
As you’ll find out in this section, the process for blade-changing is not all that complicated. Additionally, Ryobi is a great brand that makes user-friendly products.
The process for changing the blade on a Ryobi miter saw is even easier than most other saws thanks to their ease of use.
Follow these steps to change the blade on a Ryobi miter saw:
Step 1: First thing first, unplug the Ryobi miter saw from its power socket. Even if it’s turned off, we still recommend that you unplug it from the socket so that there’s no doubt.
If the blade was spinning when you unplugged it, make sure to wait until it completely stops spinning.
Put on some protective gloves before you start to handle the blade in order to take it off.
Step 2: The blade arm will most likely be locked and in its down position at this point.
To release the tension from it and loosen it, you must push the lock on the blade arm.
Next, remove the lock pin from the blade arm and push the arm to move it upwards.
Step 3: Turn the blade guard upwards until it reveals the position of the screw that holds the blade bolt cover in position.
Use your Philips screwdriver to unscrew it. Once the bolt cover is removed, it will reveal the hex-head blade bolt.
Step 4: Depending on the model of your Ryobi miter saw this step may vary slightly. We highly recommend that you read through the instruction manual to ensure that there aren’t any extra steps or actions you need to perform.
For most Ryobi miter saws, you will need to shove the spindle lock button until it’s fully locked. This will prevent the blade from rotating while you remove it.
If the lock isn’t locking fully, use your 10-millimeter wrench to turn the spindle while also pushing the spindle lock at the same time.
Once the blade is fully secured and won’t rotate, you can begin to remove it.
Step 5: Loosen the bolt and pull it out from the washer. Proceed to pull out the blade from the miter saw.
Step 6: Add a single drop of machine oil to the inner bolt washer. However, don’t take the inner bolt washer out.
Step 7: To insert the new blade into the miter saw, you pretty much have to follow most of the steps provided above in reverse.
Move the new blade into the miter saw, past the blade guard, and onto the spindle. Please note that the blade teeth should be down at the front of the miter saw at this point.
Check the directional arrows on the blade to ensure that you’ve fixed the blade in the correct orientation.
Step 8: Return the outer washer and the bolt to their correct positions and tighten them properly.
Make sure that you don’t over-tighten anything at this stage as that can damage the blade, as well as the miter, saw itself.
Moderate pressure is more than enough and you can easily secure the blade without damaging any components. Just take your time and exercise caution.
Step 9: Shove the spindle lock-in and use your 10-millimeter wrench to tighten the bolt safely. Fix the spindle cover screw on top as well.
Step 10: Finally, return the blade guard to its proper position so that it covers the blade appropriately.
Step 11: That’s pretty much it. To finish off, just make sure everything is in order.
Ensure that you have disengaged the spindle lock so that the blade can rotate freely now. You can also check to ensure that the blade is in a square position by using a combination square.
Additional Tips
Here are some additional tips to keep in mind to ensure that you have no problems while changing the blade on a Ryobi miter saw:
- While it’s not needed, we highly recommend that you check and ensure that the blade is in a square position before you conduct any cutting.
- Make sure not to over-tighten any screws with screwdrivers or wrenches when you are conducting the change.
- Avoid adding a blade to the saw that is too thick for it. You can run into issues where the washers won’t fit the blade.
- Always read the manual of your miter saw before changing.
Wrapping Things Up…
This brings us to the conclusion of our post on how to change the blade on a Ryobi miter saw.
We hope you feel more confident now with the changing process and will be able to do it with ease. Just remember to take your time and follow all instructions.
If you have any questions or confusion, please reach out to us in the comments section below.
Visit our page for more guidance.

