
A crooked angle on a miter saw is a common issue you’ll face in your woodworking journey.
Luckily, it’s an easy fix. All you need are easy adjustments to the saw blade and the fence and you will get precise and accurate cuts every time.
Quick Summary
In this post we will go over:
- What is a miter saw?
- Types of miter saws
- How to adjust a Ryobi miter saw for accurate cuts?
So, without further ado, let’s get started.
What is a Miter Saw?
If you’re someone who frequently does DIY furniture projects, home decor projects or handiwork around the house such as installing molding around windows a miter saw is a great choice for you.
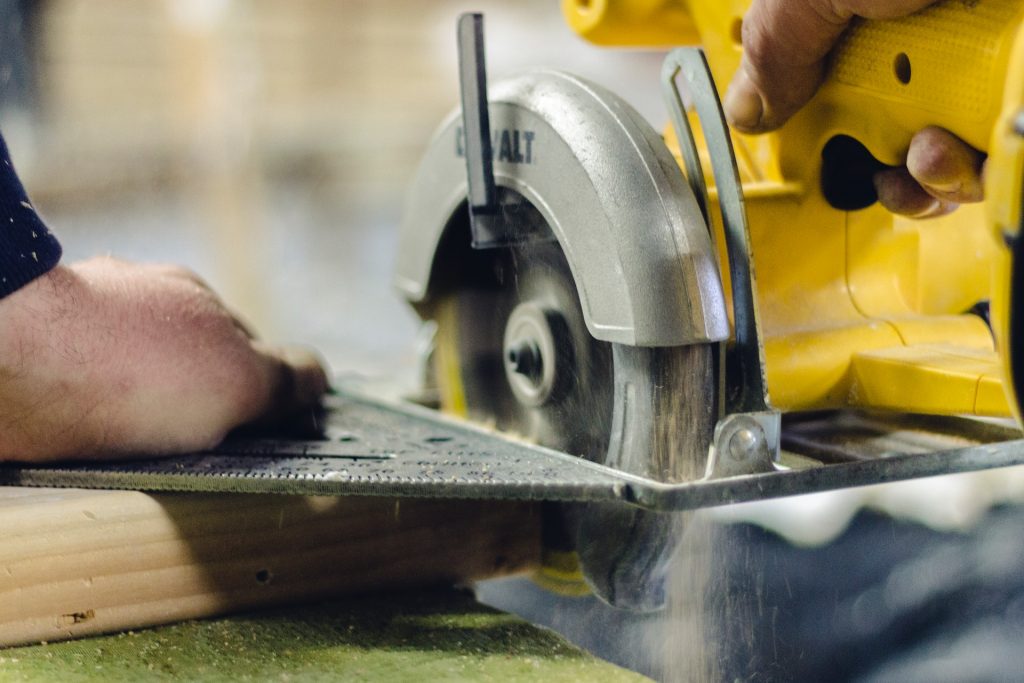
A miter saw is used to make precise crosscuts and miters in a workpiece with the help of a mounted blade.
The wood that has to be cut is either placed on the miter table or laid against the fence. Then, the saw blade is lowered to make the cut. When it’s released it returns to its primary position.
For crosscuts, the default angle of the miter saw is kept at 90 degrees. However, the miter table will also allow you to adjust the angle to common preset angles such as 22.5 degrees, 45 degrees, or any angle in between.
Furthermore, some preset angles come with a detent that helps the table stay still during the cuts. If your saw doesn’t have a detent we suggest you hold the miter table in place by tightening the handle.
Types of Miter Cuts
Here are some cuts that you can perform using a miter saw:
Crosscuts
Apparent from its name, a crosscut is made across the grain of the wood.
Miter Cuts
A miter cut is an angled cut. It is made on the face of the wood.
Compound Miter Cut
It is made using a miter angle and a bevel angle at the same time. It is mostly used to make picture frames, cut molding, cut boxes with sloping sides, etc.
For compound miter cuts, the bevel angles can be set from 0 degrees to 45 degrees. You can loosen the bevel lock knob and move the saw to the desired angle.
However, we recommend being extra careful while making a compound miter cut due to the interaction of the two angle settings.
Types of Miter Saws
Compound Miter Saw
If you’re looking to make crosscuts, bevel cuts, compound cuts, and miter cuts we would recommend the compound miter saw.
There are two types of compound miter saws:
- Single compound saws that cut bevels in one direction
- Dual compound saws that cut bevels in both directions
Sliding Miter Saw
Similar to a compound miter saw a sliding miter saw can also make crosscuts, bevel cuts, miter cuts, and compound cuts. However, the difference lies in the placement of the saw blade.
The saw arm or blade sits on the sliding rails. This allows the blade to cut pieces of wood that are wider as opposed to a compound miter saw.
Safety Tips
Before we move on to how to adjust the miter saw, it’s important to discuss miter saw safety to avoid any accidents.
Never make adjustments to the miter saw with the power on. Even when it’s a minor adjustment. As a matter a fact, many workplace accidents that take place with the miter saw is when users do not disconnect the saw before they make adjustments.
We also recommend you read the safety manual for any power tools before use. If you’re unable to understand the instructions for the tool, contact the manufacturer or a qualified technician for support.
Lastly, make sure to wear safety equipment before you handle any type of power tool. These include safety glasses for your eyes, hearing protection, gloves, and a quality respirator for your lungs.
How to Adjust a Miter Saw?
We recommend you always check your saw for accuracy before you buy a new one. All miter saws are adjusted at the factory but, may come out of alignment during transportation.
Another time to check for accuracy is when you unexpectedly experience a kickback on your saw.
As a matter a fact, we suggest you check your saw a few times a year as they also come out of adjustment during use.
Things you Need to Adjust your Saw
To adjust and check your saw, you’ll need a speed square. (See figure below)
We also recommend you have a 3 inch level on hand. Next, set your saw on a stable surface or a miter saw stand so the plate is parallel to the table.
Is the Miter Saw Blade Square to the Table?
After you make sure that your miter saw is on a stable surface, check to see if the blade is square (90 degrees) to the surface.
Before you go ahead and measure the angle, unplug the power and hold the blade guard out of the way.
Now you’re ready to place the speed square flat on the table and lower the blade down towards the table. Then, move the speed square against the side of the miter saw. Make sure to avoid the teeth during this process.
You’ll know when the blade is properly adjusted when you drop down the blade and the edge of the speed square makes contact with the side of the blade.
However, if there is a gap at the top or the bottom of the speed square, you’ll need to adjust the blade.
How to Adjust the Miter Saw Blade?
The first step is loosening the bevel handle at the back of the saw. Adjust the bevel of the blade until it makes contact with the speed square. Once it’s in full contact you can go ahead and tighten the bevel.
Then, adjust the stop bolt until it meets the stop. Make sure the saw blade is square to the table while you perform this step.
If the bevel has changed, return to zero. The bolt will bring the blade to a halt so it’s 90 degrees to the table.
Lastly, adjust the indicator so it points to zero.
Find more resource guides for your favorite tools HERE.
Note: If you’re having difficulty squaring the blade, we suggest you check the stop bolt. There is a huge possibility that the stop bolt is the hindrance that’s preventing the blade to be adjusted to 90 degrees. To fix this you can drive the bolt further into the table and recheck for 90 degrees.
Inspect the Blade
Another reason for dull crosscuts, miters, and bevels may be a bum blade or a dirty blade. This is the easiest way to start your investigation when you start to calibrate your miter blade.
Therefore, we suggest carefully examining the miter blade as a visual inspection goes a long way. Spin and pivot the blade and look for any irregularities like warps, bends, or broken teeth. If you find any, we would recommend you get a new blade for your saw.
You can also improve the efficiency of your blade or prolong the blade’s life by cleaning it. Sap, pitch build-up, adhesives, and gunk can gather around the teeth or the concentric ring around the broadside of the blade.
Solvents are a simple and quick fix to get you back on the road for sharper cuts.
Check if the Miter Saw Fence is Square to the Blade
After you’ve adjusted the miter saw blade, check to see if the fence is square or 90 degrees to the blade.
Again, disconnect the power and hold the blade guard out of the way. Next, place the speed square against the fence. Make sure it’s flat against the fence to avoid any inaccuracies.
Now, you can lower the blade towards the table and more the speed square to its side while avoiding its teeth. The fence is square to the blade when we move the blade down and there’s no gap at the center, front, or the back of the speed square.
However, if you see a gap, the fence will have to be readjusted.
How to Adjust Miter Saw Fence?
In order to adjust the fence on the Ryobi miter saw, loosen the two bolts present on the left side of the machine.
Then you can easily adjust the fence so the speed square makes full contact with the side of the blade and tighten the bolts.
Next, loosen the bolts on the right-hand side of the fence and place a 3-inch level across the fence. Revise the right-hand fence until it’s in contact with the left-hand fence and tighten the bolts.
Adjust the Miter Gauge if Needed
Many miter saws have immovable meter gauge scales that have hash marks and numbers forged onto the metal.
You can loosen the screw on the indicator to adjust it a little. Once you’re convinced that the fence is 90 degrees to the blade and the bevel angle is correct, take a look at the miter gauge. If it still doesn’t match with your adjustments, you can align the gauge with a Phillips head screwdriver.
However, if it’s way out of alignment, some miter gauges are held by only a few screws so you can easily adjust them. This step may be necessary in only a few cases.
Check your Adjustment with a Flip Test
A quick way to confirm your miter saw’s accuracy is the flip test.
Follow the steps below for a flip test:
- Place your saw at a 90-degree angle and shave the end of a piece of wood
- Make another cut that is a few inches longer. The exact length doesn’t matter.
- Now, flip that new piece over so the shaved end comes up to the end of the second cut. Make sure to place both the pieces firmly against the fence,
- If the miter isn’t squared or a perfect 90 degrees, you’ll notice a triangular gap between both pieces.
- Then, modify accordingly. If needed, you can also perform the same test with bevel cuts.
How to Adjust Ryobi Miter Saw - Conclusion
If you search on Google on how to adjust a miter saw, you’ll come across various methods to do so. However, picking the best one can be difficult.
In this guide, we’ve compiled methods that are not only extremely easy to follow but aren’t at all time-consuming. Don’t forget to practice the necessary safety precaution while you operate power tools such as a miter saw.
For more information, CLICK HERE.