
The Ryobi Miter Saw is one of the most effective tools for cutting wood out there.
That being said, it has to be handled properly in order for one to get the best possible use out of it.
Quick Summary
In this post, we’ll go over:
- How a miter saw works
- How to use your Ryobi Miter Saw
- Tips and tricks for better wood-cutting with your Ryobi Miter Saw
So, without further ado, let’s get started.
How Do Miter Saws Work?
A miter saw is a type of circular saw that is designed to crosscut wood to any desired length.
A miter saw cuts perpendicular to the wood grain that runs across it.
The miter saw gets its name from its capability to cut angled miters.
The saw is able to rotate from side to side which enables it to crosscut wood at various different angles.
This distinguishing feature makes miter saws great for making pictures frames, boxes and any other product that requires miter joints.
Two 45-degree miter cuts join together to form a 90-degree angle.
Miter joints, therefore, are a super simple way to join two pieces of wood.
While miter joints are simple, they are definitely not the strongest.
Do not use miter joints in any projects where the product will be subject to a lot of force.
Miter Saw Head
The miter saw head has a reinforced spring inside it that is responsible for keeping tension on it.
When you rotate or lower the miter saw to make a cut, the spring returns the head to its upright position after you’re done.
Sizes of Miter Saws
Miter saws are most commonly found in the 10-inch variety. This refers to the size of the blade.
You can also get a 12-inch miter saw for cutting thicker pieces of wood or a 7 ¼ inch miter saw for cutter smaller pieces of wood
Sawdust Collection
The sawdust created as a result of cutting wood is supposed to be collected through a vacuum chute and collected into a waste bag.
Sadly, most miter saws don’t work well when it comes to dust collection. Most of the sawdust ends up going either under or behind the chute.
Other Miter Saw Accessories
Many miter saws come with a clamp of some kind that allows the user to secure the saw onto their work table.
This makes the process much safer and easy to handle.
Some miter saws also come with extensions that allow you to cut longer pieces of wood.
You can even have stops on the pieces of wood which enable you to flip over the piece of wood or repeat different cuts.
The handle can be thought of as a screw that tightens the table in place. You can then swivel the table at any angle you want for easier cutting and maneuvering.
How to Use the Ryobi Miter Saw
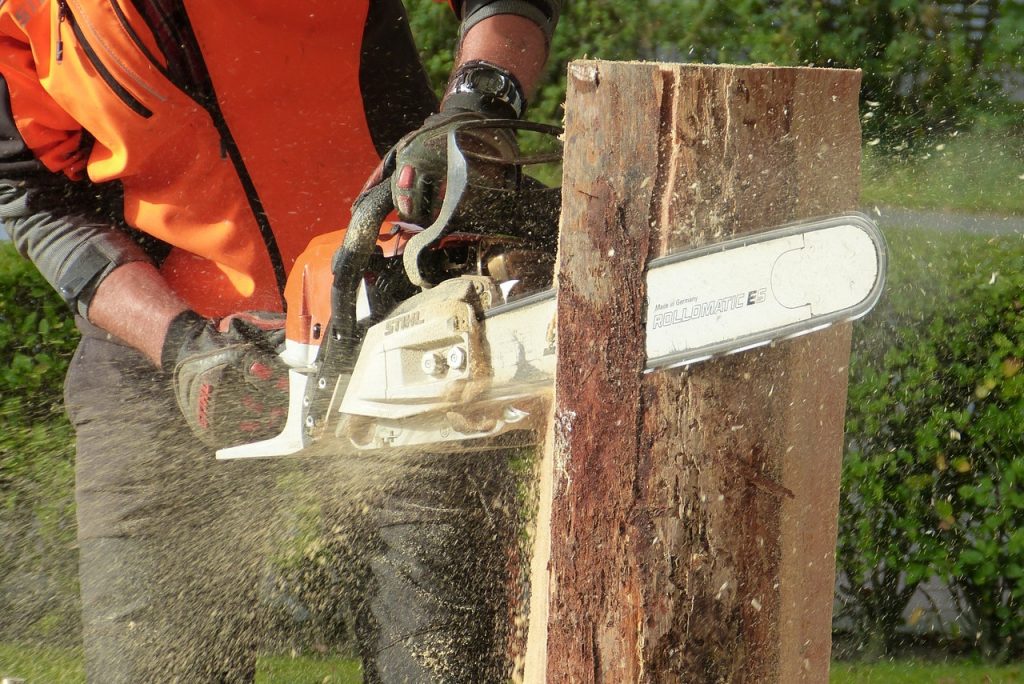
Step 1: Safety first! Ensure you’re taking all precautions necessary. Wear safety goggles as well as protective gloves. Keep your arms off the tale and ensure your saw has its guard properly fitted.
Step 2: Before getting started with any cutting, make some guidelines on your wood. Use a simple marker to make marks on the wood to guide you along with cutting.
Step 3: Lock your wood securely into the miter saw. Please note that you don’t need any extra support for your wood if you’re using the Ryobi Miter Saw.
When you’re fitting the wood into the blade, make sure that you use the blade-lock system within the Ryobi Miter Saw. This system ensures you can safely place your wood into the saw without worrying about it accidentally turning on.
Step 4: Make use of the laser feature of the saw to target the guidelines on your wood.
Step 5: Start cutting by pressing the button on the saw’s handle. When you let go of the button, your saw stops.
Use your preferred hand to operate the saw and the other hand to hold the piece of wood against the fence.
Step 6: When you are completed with a cut, let go of the button and let the blade come to a stop on its own before doing anything else.
This will decrease the risk of accidents and it also helps you ensure a smooth cut within the wood.
Step 7: Once you’re done cutting, turn off your Ryobi Miter saw, empty the sawdust in the collection bag and clean up any sawdust within the room.
Tips & Tricks for Using Miter Saws
To end this post, we’ve compiled some tips and tricks from veteran carpenters and woodworkers across the States to help you elevate your sawing skills.
Tip 1: Make Your Own Guide
It can get pretty tedious to measure your blade location before making each cut. It becomes even worse when the cuts you’re making are repetitive.
To tackle this problem, you can just create your own guide.
You can do this by clamping a thin piece of wood to your miter saw’s fence. Once the wood is in place, bring your saw straight down through the guide in order to show you where your blade will land.
Tip 2: Cleaner Cuts
If you want cleaner cuts in your wood, you should look towards a blade for your saw with a higher tooth count.
The higher the tooth count in the blade, the cleaner your cuts will be.
Blades with higher teeth count tend to cut wood slower than those with lower teeth count.
Tip 3: Never Cut Before Full Speed
You should never be lowering your blade onto the wood before the saw has reached full speed.
It’s a common habit that many new and even veteran woodworkers have and it’s something you should actively avoid.
Always press the button on your saw and let it get up to full speed. Once it’s at that point, only then should you lower the blade in order to make the cut.

Wrapping Things Up…
This brings us to the conclusion of our post on how to use a Ryobi Miter Saw.
Ryobi has been in the game for a long time and their saws are extremely high-quality. That being said, it doesn’t matter how high-quality any product is if one does not know how to use it properly.
We hope you have a better understanding of how to operate your Ryobi Miter Saw now. Let’s get to work.