
A dust bag can be very helpful when working with wood. Dust collection is a crucial component of a carpentry job and it’s a must-have.
Dustbags equipped with most miter saws are not efficient enough to suck up all the dust that the saw creates. Having a dust bag can prevent you from getting into extreme health issues.
But what if you don’t have one?
There is a solution to it: you can make your DIY dust bag at your home.
How to Make a Miter Saw Dust Bag in 5 steps
Step: 1 Collect the materials
- Get a plastic tube
First things first, collect all the materials and equipment. Get a plastic tube that is wide so that it can fit your dust vent. For measurement, you can check up the manual, or get it online. You can checkup the description and the size mentioned there.
- Fit in the tube
Once you have got it try to fit it in the dust vent. You need to make sure that you fit it tightly so that it should not slip out while operating the saw. Do take care to fix it in the right way to prevent it from getting stuck when emptying it.
- Get a suitable bag
The next thing that you will need is a bag that you can fix up by the end of the plastic tube. The suitable bag that you can get and is synthetic. It’s good for handling sawdust.
- Find the right size
The size of the bag should be big enough that you can get a good amount of sawdust there but not too big that it wouldn’t even fit, so it should be the right size for easy fixing.
The zipper ones are better because they are convenient when undoing the sawdust.
- Attachment
Now that you have the tube and the bag you will need the materials to connect them. You can either glue them or use a tie or you can also sew them using a needle and thread.
Step: 2 Prepping the plastic tube
- Finding the right length
The length of the tube isn’t specific. It varies according to how far you will keep your bag. If the bag is far out at the end then you will need a long tube. Similarly, if you want to keep it under your workbench you will need a smaller one.
- Keep the tube short
Do keep in mind that if the tube is long it won’t blow away the back vent. But it’s just preferred to keep it short. You’ll have to cut the tube and leave some extra inches by the end.
Step: 3 Make the bag
- Cut the bag
Cut the opposite side of the zipper. Cut the bag in a vertical position so that it could fit in the tube.
- Fix the extra open side
Be careful to not cut too much but if you do, make sure you sew that part and fix it. Then you can use any glue, preferred to use industrial glue to keep the seam-sealed.
- Secure it
Now that you are done with cutting it, you’ll have to fix up the bag on the back end of the tube.
Now pull it so you could secure it and look for the extra space.
- Leave some extra space
Leaving some extra spacing at the attachment will prevent the sawdust from spilling at the connection point. This will save you from mess and will also make your dust collecting mechanism more durable.
Step: 4 Putting all together
- Glue it together
Put up that industrial glue around the covering of the tube. This will give support to your dust bag attachment.
- Use the zipper to seal the attachment
You can use a zipper to fix up the connection with the tube. It seals up the connection, do ensure that you don’t zip it too tightly which may damage the tube.
- Use more zippers if needed
If you have connected the tube and the bag but if there is still some clearing you can use another zipper to seal it.
Step: 5 Try it
- Keep it on trail
Try on any scrap piece, at least three times, while taking all the safety measures. Once you have gone through it, you can start your work.
- Trim the tube
Give the wood base some cuts and look up at how much sawdust it collects. If the sawdust isn’t going in the bag, give the tube a little trim.
- When half filled empty it
If the bag gets half-filled, unzip it from the other end and empty it up. This is to prevent it from spilling on your workstation.
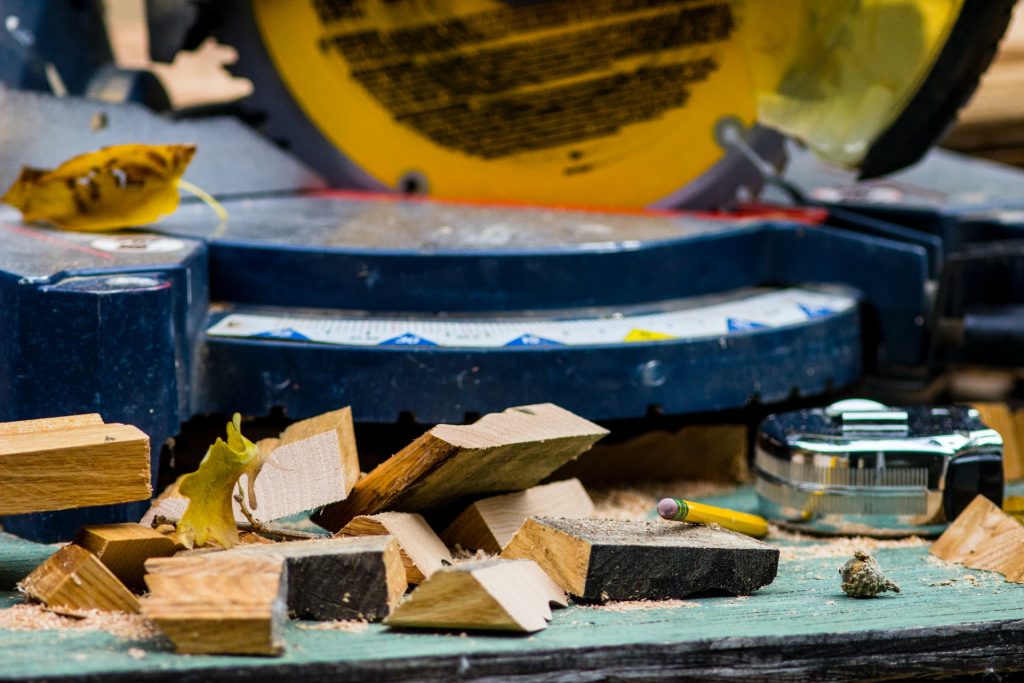
Why do you need a dust bag?
While working up with a wood base, sawdust can easily damage your health. These health and workplace hazards can be fatal.
Let’s go through them:
Workplace
- Sawdust can make the floor slippery and this can cause accidental slips.
- The dust can easily clog your tools.
- The wood does contain a certain amount of moisture that can rust your metal surfaces if kept there for a longer time.
- The sawdust is highly flammable; the sparking from your metal saw can cause a fire emergency.
Health
- Overexposure to sawdust can cause respiratory problems. It can cause allergic reactions and breathing problems such as asthma.
- Overexposure can also lead to fatal diseases such as skin cancer.
- This may cause extreme nasal dryness.
- Your skin and eyes can get irritated easily.
- You can even get a cold with the overexposure of the sawdust.
You should consider how these wooden specks can be fatal and can create lifelong damage. So it’s better to take preventable measures.
Frequently Asked Questions (FAQs)
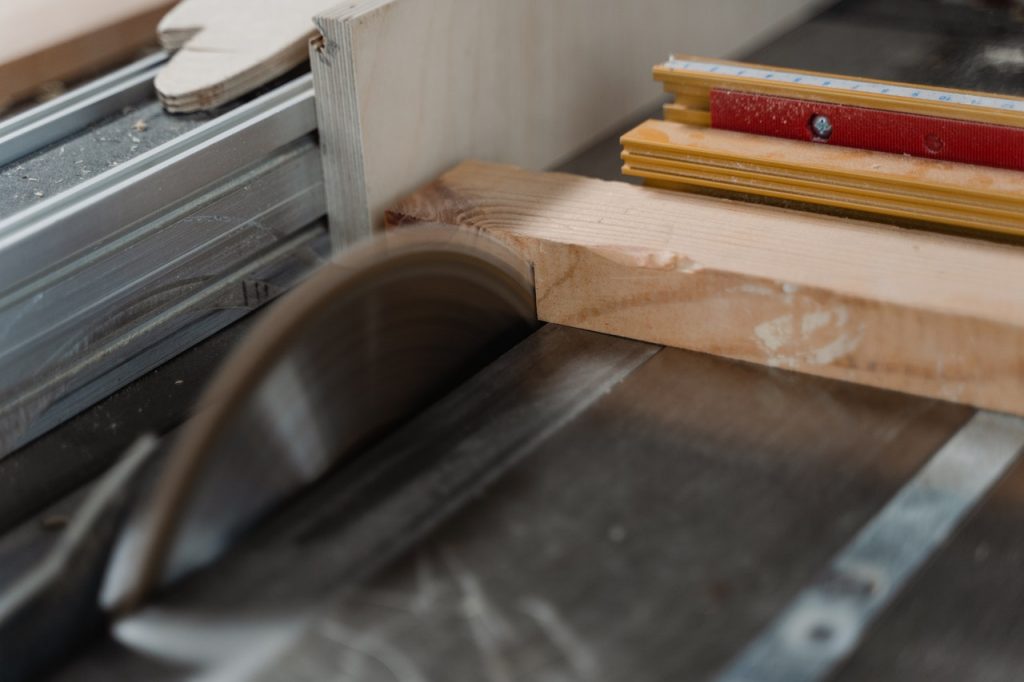
Are there any dust bags on table saws?
Yes, table saws do have dust bags you can make a DIY dust bag or can get TS1004 by Bosch. This dust bag is compatible preferably with Bosch table saws but can be used for other table saws as well.
It can be used for table saws with 1-2 inches of dust ports and collects up to 70% of the sawdust.
How do you reduce dust in a woodshop?
The first measure that should be taken is consideration is to always wear a good quality dust mask to prevent it from getting in your lungs. The second thing is also to instill a dust mitigation mechanism in the shop.
This can be done through consistent use of shop vacuums or dust collectors especially in the spaces where the dust gets generated. This will keep the air filtered timely, reducing health hazards.
How can you prevent dust from sanding?
Through 10 simple techniques, you can easily prevent dust from sanding:
- Choose the right materials.
- Always use a dust extraction system.
- Lookup for the right abrasive coating.
- Choose a stearate coating or antistatic paper base for your product.
- Know the grit sequence and the removal rate of your product.
- Maintain the grinding of your belt sander.
- Use wet sanding on waterproof material.
- Use washable materials for sanding.
- Clean the clogged areas with a brush.
- If nothing works, recycle the sanding belt by cutting it into smaller pieces for later use.
Conclusion
Making a sawdust bag is not rocket science, it’s an easy simple step-by-step process. The crucial factor is attachment. So make sure you keep the zip line on the optimum tight so that sawdust passes through without spilling.
We hope that by going through this article it is easy for you to understand how to make a dust bag for your miter saw.
With this, we end our article How to Make a Dust Bag for Miter Saw (and Attach it).