
If you’re unfamiliar, a rabbet cut is a sort of groove or recess cut into a piece of wood. It is one of the most common ways to join two pieces of wood together.
You can make a rabbet cut with multiple tools. However, the easiest way is to use a circular saw.
They are commonly used to build drawers, kitchen cabinets, door frames, and picture frames.
Quick Summary
In this post, we will go over:
- Things you need to make a rabbet cut
- Step-by-step instructions on how to make a rabbit cut with a circular saw
- Extra tips
Let’s get on with the article.
Things You Need to Make a Rabbet Cut
Before you make this cut, here are some things to keep on hand:
- A circular saw
- Two clamps
- A straight edge
- A carpenter’s pencil
- A speed square
- A ruler
- Masking tape
- A sacrificial sheet (plywood or similar)
How to Make a Rabbet Cut with a Circular Saw - Step-by-Step Instructions
Before you start anything, we recommend you read through the user manual of the circular saw to get yourself familiar with the tool.
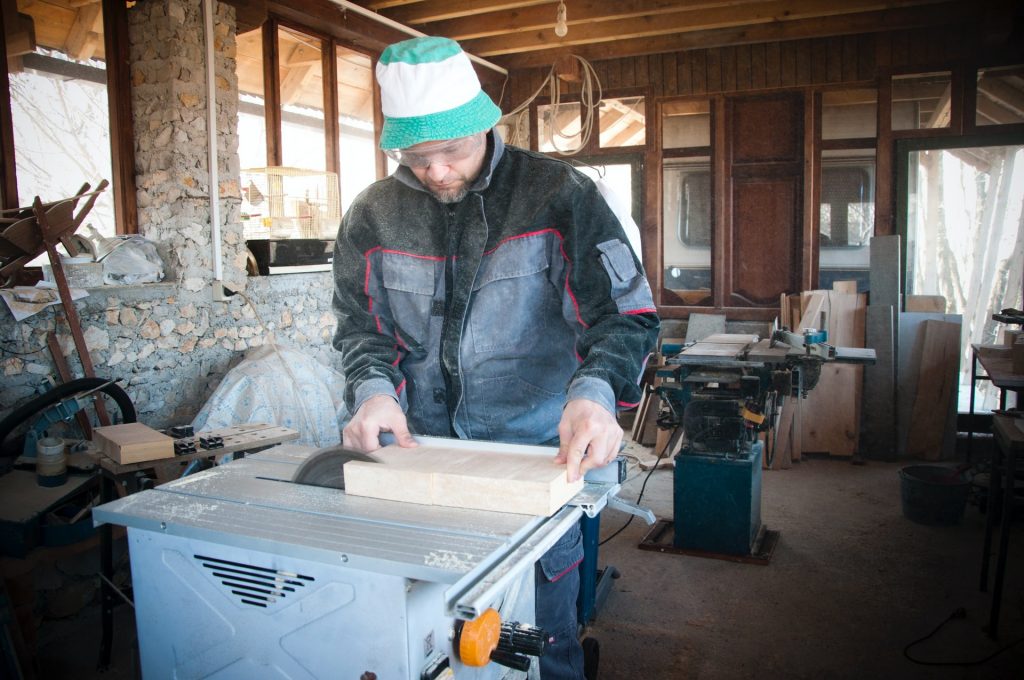
Then, place a sacrificial sheet onto the workstation. The wood that needs to be cut should be placed on top of the sacrificial sheet. Make sure the base is positioned flat on the sheet.
Step 1
To make the rabbet cut, we suggest you cut from the top first and then the side. You will need to run the circular saw against the straight edge to make the perfect straight line.
But, the chances are the wood piece might be too narrow to keep a straight edge and circular saw together.
In that case, you can use an additional scrap of wood of the same height as the wood that needs to be cut.
This will support the straight edge.
Step 2
Next, draw a cut line on the wood. We also recommend that you use masking tape to cover the area with the cut lines drawn. The masking tape will stop the wood from chipping and splintering when you cut it with a circular saw.
Now, use a carpenter’s pencil and a ruler to mark the desired dimensions of the rabbet cut onto the wood at both ends.
Step 3
After you are satisfied with the dimensions, you can go ahead and place the straight edge on the wood pieces. Make sure to align the straight edge with the mark made in the earlier step.
Use a pencil to carefully draw a line along the straight edge length. You need to make sure that the straight edge coincides with the line drawn. Then, use quick grip clamps to secure the edges.
Step 4
Now’s the time to take your circular saw and position it with the cut line. Once everything is set, make a cut using minimal force against the straight edge.
After you’ve successfully made your first cut, you need to make a cut from the other end to complete the rabbet cut.
Step 5
To make the second cut, flip your block of wood so the side perpendicular to the cut is on the top. Once again, use a carpenter’s pencil and a ruler to mark the width of the rabbit from the corner of the block.
Just as before, place the straight edge on the block. Don’t forget to support the straight edge with another scrap wood of the same height. Then use a pencil to draw a line along with the wood.
Now, secure the straight edge to the wood with the help of two quick grip clamps. Align the saw blade with the line you made in the last step and saw carefully along the line.
Finally, remove the masking tape from both sides. Also, remove the access pieces that were made from the cut to reveal the rabbet cut.
Although this is an additional step, we also suggest you finish and smoothen the edges with the help of sandpaper.
Extra Tips to Make an Accurate Rabbet Cut
- We recommend you mark your wood with a tick mark or a crow’s foot mark instead of a point. This will help you easily identify the point to be cut.
- As mentioned before in the article, use masking tape to reduce splinters and a more perfect finish
- Use an appropriate blade for wet wood or treated lumber
- If you notice extra head being generated or burn marks on the wood, it might be due to a dull blade. A dull blade makes inaccurate cuts therefore we recommend you change or sharpen the blade before you proceed further
- Use a rasp, hand sander, or sanding paper to clean the cut
- Always cut outside the lines. This will ensure that the woodblock you are using will have the correct dimensions
Safety Tips to Consider
- Before you make any adjustments to the blade or change the blade, make sure that the circular saw is disconnected from the power.
- If you accidentally separate a piece from the wood, do not try to catch it with a running saw in your hand.
- Never stand too close to a running blade to avoid injury in case there is a kickback. Kickbacks are extremely dangerous so always keep a safe distance between the circular saw.
- Never use excessive force while handling a circular saw. This will create pitch points in the wood which may damage both the user and the saw.
- Before you start to work with the saw, always make sure the teeth are facing in the direction of the rotation. (Anti-clockwise direction)
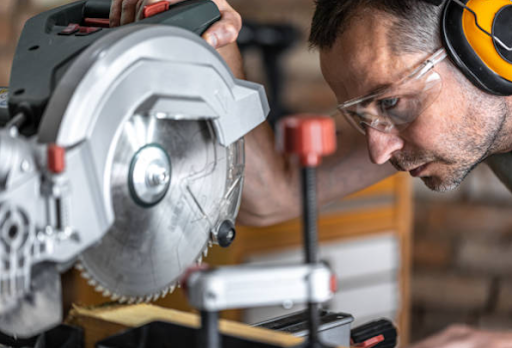
- It’s imperative that you wear protection while using a circular saw. These include safety goggles, gloves, ear protection, and a mask.
- Always keep your workstation clean. A messy workstation can invite accidents.
Wrapping Things Up…
This brings us to the end of our guide. We hope we were able to help you make a rabbet cut with a circular saw.
All in all, it’s not difficult to create a rabbet cut on your own. You may need some practice to be able to make an accurate cut.
Don’t forget to wear safety goggles and gloves while you’re at it.
Check out our website for more tools that will help you make a rabbit cut.