
Quick Summary
The following information will be discussed in the article:
- How to cut wood at an angle with a circular saw
- Important safety tips when working with a circular saw
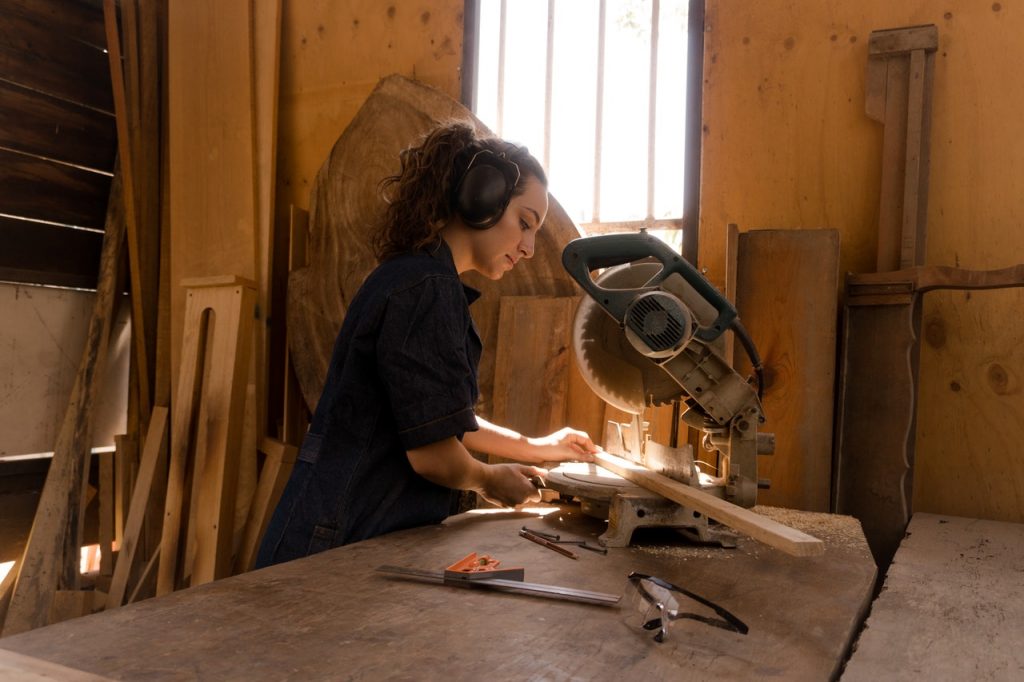
How to Cut Wood at an Angle With a Circular Saw
Each wood carpenter has a different preference when cutting wood at an angle, however, the common goal is always the same. The common objective is to make a perfect clean corner cut.
It is preferred to use a guiding tool when making an angle cut to prevent any chance of sloppy or wavy cuts.
Clean Angle Cuts
In most cases, the final product requires a neat and clean-cut for it to look aesthetically pleasing at the end.
As mentioned before a guiding tool would help a lot in this as it ensures that the board is being cut at the correct angle. A common guiding tool is the protractor-looking one that can be found easily in any carpentry shop.
If you’re interested in finding how to cut wood without miter saw, CLICK HERE.
The following are the steps to make clean angle cuts with a circular and miter saw:
Step 1
For the first step adjust the depth of the saw, then draw a guiding line, and then unplug the circular saw. Once you are done with the following steps then place the base of the saw about 7.5 cm into the board.
Remember to lock the level of depth adjustment by tightening it.
Step 2
The second step is pretty simple as it only requires you to position the saw blade with the drawn guiding line and then push the speed square.
Step 3
The third step after pushing the speed square requires focus. You need a firm grip on the circular saw and make the cut.
Step 4
Once the cut has been made only then loosen your grip. This will complete the cutting process.
Generally, if the saw blade and the guiding line are lined perfectly the cut would be guaranteed accurate.
What else do you have to keep in mind during the process?
You might have to exert some extra pressure in the start to go through the blade’s guard resistance.
In addition to this, make sure that during the whole process the bottom of the circular saw is sticking to the guide.
Rough Angle Cuts
In a few of the cases, there is no need to make the final product clean and aesthetically pleasing as it is not going to be displayed anywhere.
In cases like these, you can make rough cuts which would take very little time compared to the clean cuts.
You do not have to worry about making things unnecessarily pretty in such scenarios.
Do rough cuts still need to be accurate?
In cases where rough cuts are required, the cuts still need to be accurate. This is due to the fact that rough cuts are usually made when making frames which still have to be accurate.
Most of the steps required to make rough cuts are the same as making clean cuts. However, there are a few minor differences.
Make the cuts in baseboards without miter saw by following our complete guide HERE.
What are the steps required to make rough cuts?
The secret to making accurate cuts is to position the blade parallel to the guiding line drawn. After this adjust the bevel of your circular saw to cut along the line.
When performing the cut the base plate of the saw should be on the drawing line.
For your convenience, most of the latest saw models already have a base plate mechanism to help you with freehand cuts.
Beveled Cuts – 45 Degree Angle
Contrary to the rough cuts, there will be cases where you will be required to make smaller pieces of wood that are visually pleasing. Doing this will be a little challenging if you have no experience before.
Note: To make an accurate and smooth 45-degree angle cut you have to adjust the bevel of your saw accordingly.
How to adjust the bevel and make 45-degree cuts?
The first step is to make a 45-degree angle guiding line. Then lift the base plate of the saw and move the saw according to the guiding line.
If there is no hand holding the board then the base plate can stick to the board and ruin your hard work.
How to prevent that from happening?
There are two possible solutions to prevent your board from sticking to the base plate. The first is to take the help of a friend who can offer their hand to hold the board.
The second is to clamp the board by nailing it. If you choose this option then make sure that the nails are positioned safely where they do not come in any contact with the blade of the circular saw.
Beveled Cuts – 60 Degrees
Making a 60-degree bevel cut with a circular saw is tricky. It is recommended that you take your time doing this and if possible do it under the supervision of a professional.
What is the process required to make 60-degree cuts?
For making a 60-degree cut you have to first adjust the bevel of your circular saw to perform a 30-degree cut first.
Perform this 30 degree cut in the opposite direction of the 60-degree cut.
After you are done with the 30-degree cut, set the bevel back to default to make a 90-degree cut. Then, you need to make a 90 degree cut along the edge of the 30-degree cut you just did.
Once you are done making these cuts, the board should be left with a 60-degree angle.

Important Safety Tips When Working with a Circular Saw
According to our team, the circular saw is the most convenient saw type but at the same time also the most dangerous saw type in the market.
Things can go wrong in a matter of seconds and there is no time to react.
Under no circumstances should you bind the blade during the cutting process. This will cause the saw blade to break off and rush backward at you.
What to do before you start cutting with a circular saw?
The following points should be kept in mind before you start cutting with a circular saw:
- Always wear safety goggles or a face shield that has safety glasses attached
- Wear an approved dust mask to avoid any harmful gases or dust
- Wear a hearing protection kit to prevent noise pollution
- Check the blade guard of the saw and make sure that it works fine.
- Check if the blade of the saw is sharp enough to do the job properly. These sharp blades are safer and provide better results.
- Keep all the cords and wires away from the blade.
- Most of the circular saws are designed for right-hand use. In case you are left-handed, you have to take extra care to operate the machine properly.
What should you avoid when cutting with a circular saw?
The following should be avoided when cutting with the circular saw:
- Do not hold or force the retracting lower guard in the opening position
- Do not place your hand under the shoe or the guard of the saw to prevent any injury.
- Do not tighten the blade locking nut.
- Do not use the saw if it appears to vibrate as some parts can be loose.
- Do not force the saw during cutting as it can damage it.
- Do not cut without checking obstructions first such as nails or screws.
- Do not overreach. Keep our balance always.
- Never carry the saw with your finger on the trigger switch.
Wrapping Things Up
We hope that you have now learned the easiest way of cutting wood at an angle with a circular saw. You have also learned the difference between a clean cut and a rough cut.
In addition to this, you have also learned the tricks to make a 45-degree angle and 60-degree angle bevel cuts.
We hope the information we provided will help you in your projects.
Let us know your views and opinions.