

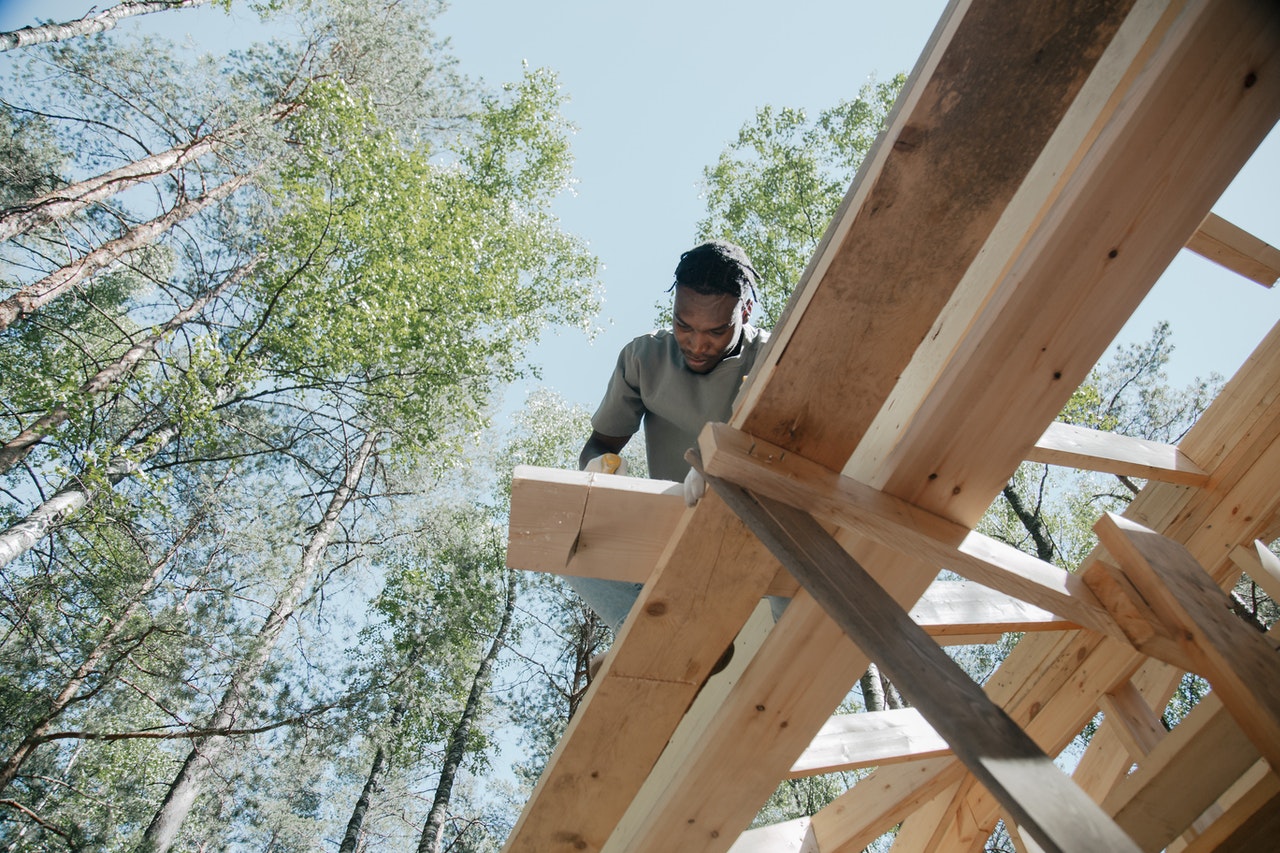
Cutting baseboards can be overwhelming for people who have never done it before.
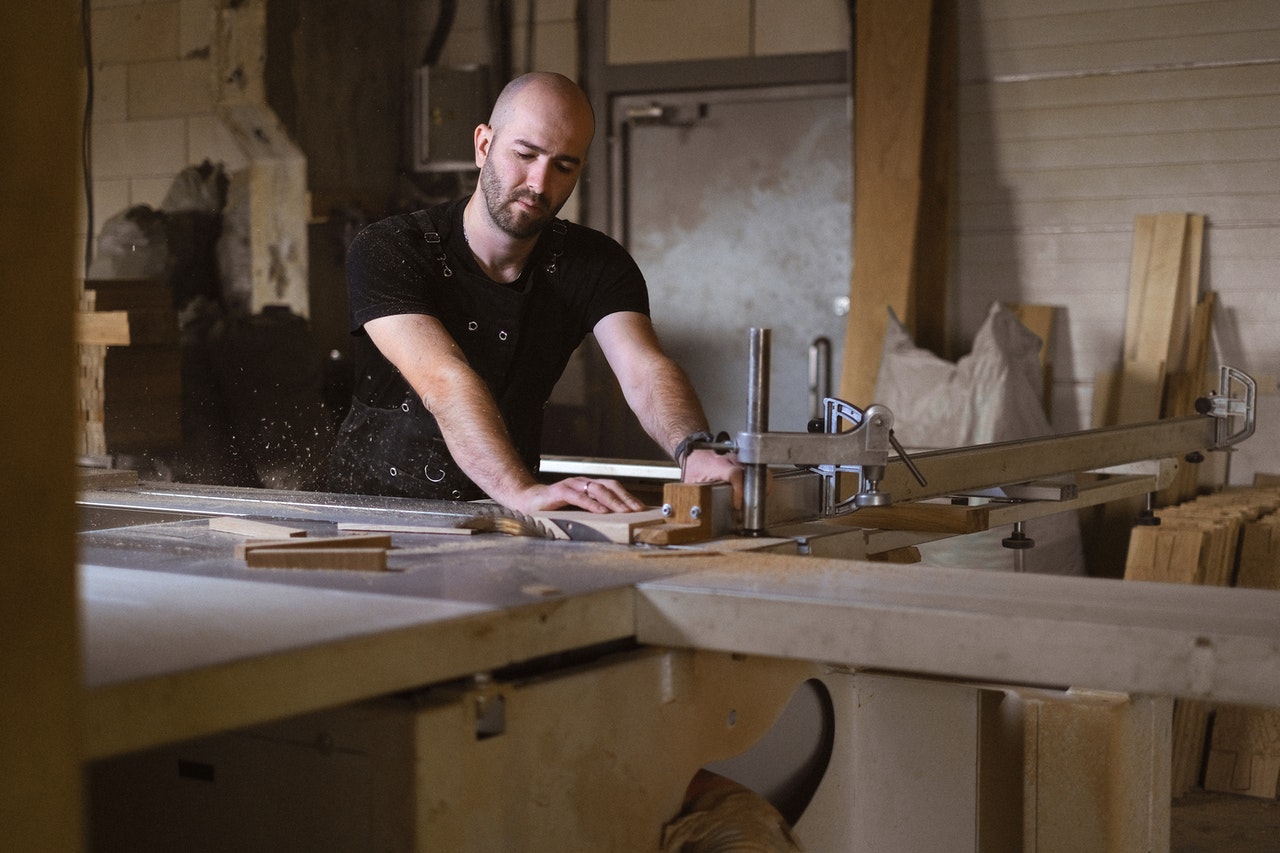
While it may seem like a complicated process, the fact of the matter is that it’s fairly simple when you have a compound miter saw. All it takes is a little practice.
In this post, we’ll go over all the steps you need to take to cut baseboards with a miter saw and also talk about the different types of cuts involved with baseboard molding.
Safety Precautions
Before getting into the actual nitty-and-gritty, we want to first talk about some safety precautions that you must take.
It’s important that you think about safety whenever you’re working with saw blades for any project as they can be quite dangerous if handled carelessly.
Here are some precautions you can take:
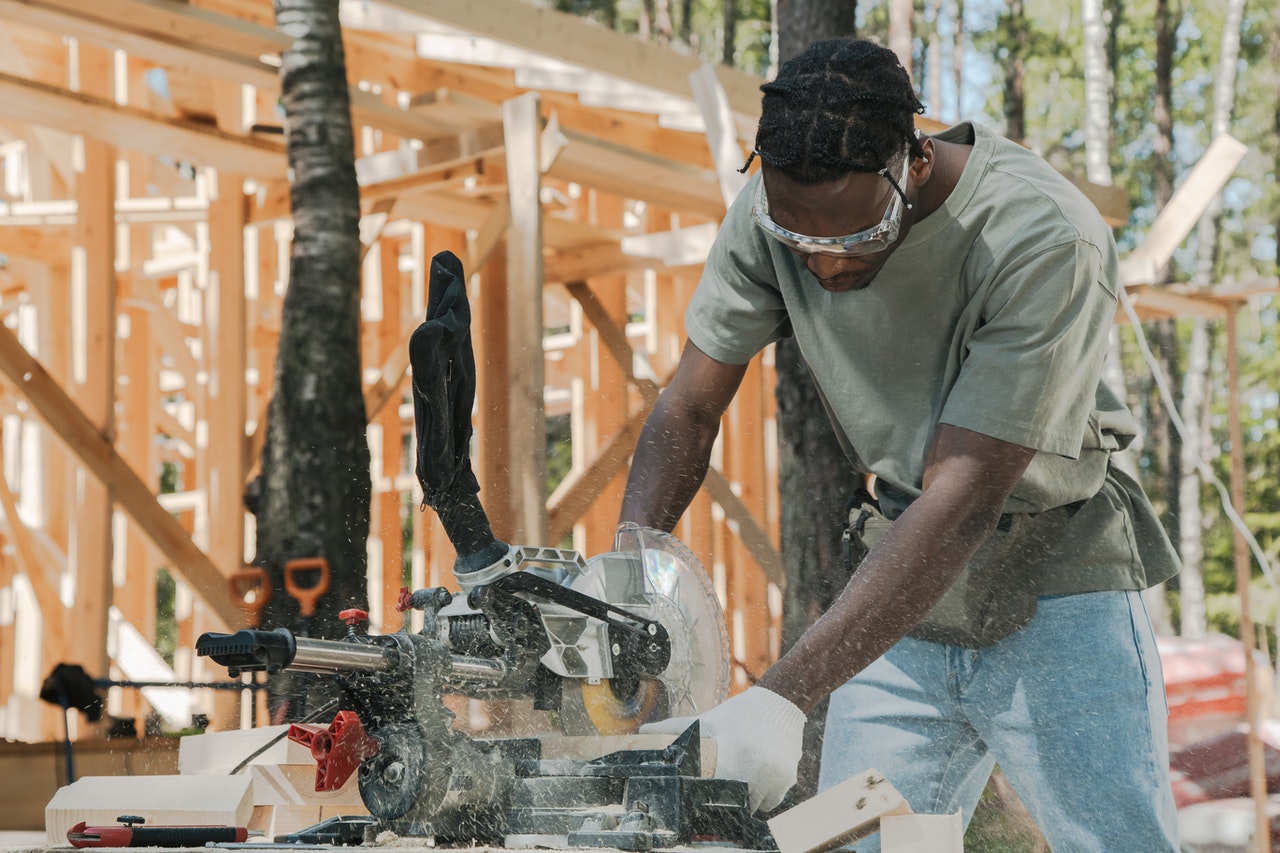
- Wear safety goggles or some sort of eye protection to ensure that sawdust or splinters do not go into your eyes.
- Wear a mask or some type of respirator to ensure you don’t breathe in sawdust.
- If possible, make sure that your workspace is properly ventilated.
- Maintain a routine of regularly cleaning your workspace to ensure it does not get overwhelmed with sawdust.
- Consider installing an external sawdust collection system.
- If you have long hair, make sure to tie it up properly.
- Don’t wear loose clothing.
- Ensure that your miter saw is turned off before you place it onto any wood surface for cutting.
- Never cut “cross-handed” when trying to operate a miter saw. Even if it may go against your instincts, it’s always better to use the saw blade with your “opposite” hand if the situation requires it rather than cutting “cross-handed”.
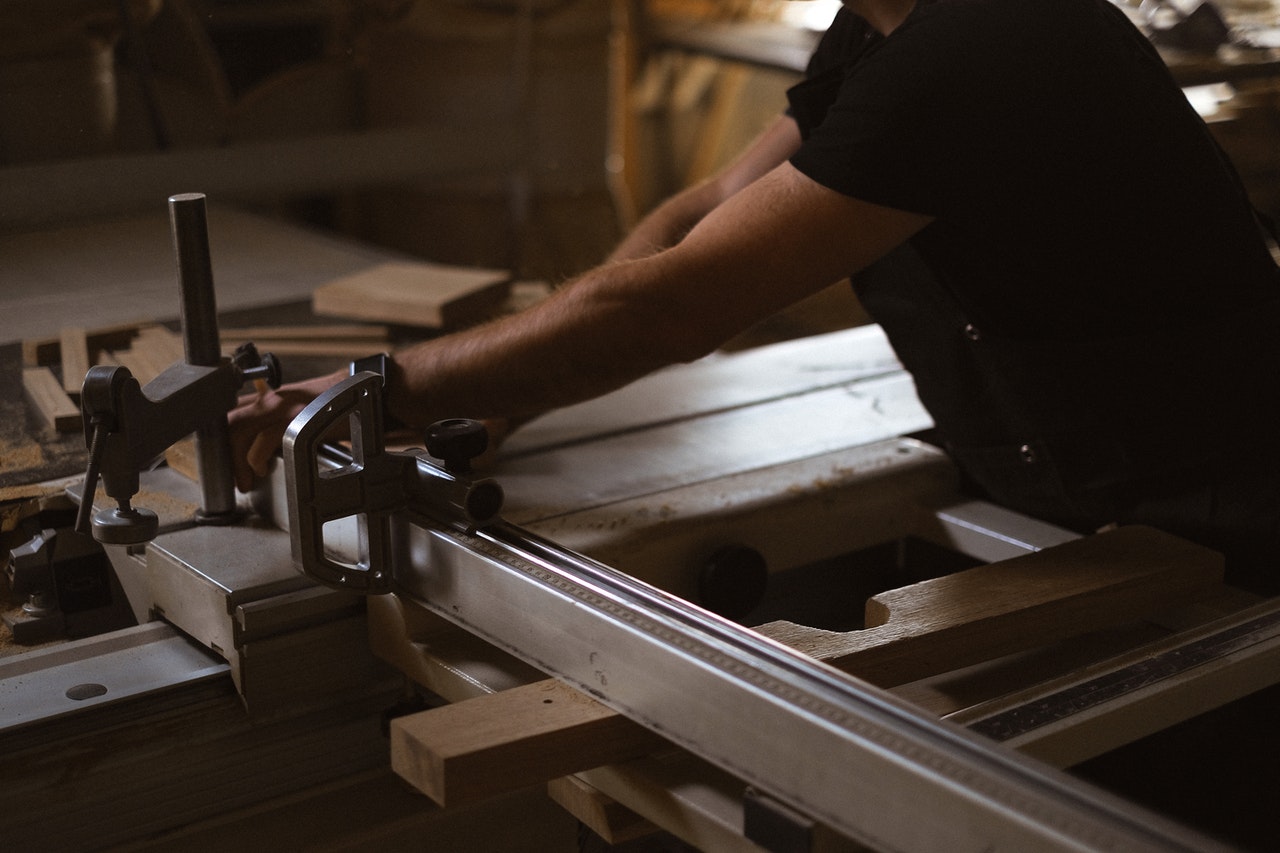
Step 1: Taking Measurements
Now that we have safety precautions out of the way, let’s get into cutting baseboard corners with a compound miter saw.
Before we get into any type of cutting, the first step is to take measurements using your measuring tape.
Be sure to measure the wood twice before making any cuts.
This is because if you make any wrong measurements, you will have just wasted a perfectly good piece of wood.
Use your measuring tape to take a measure of the length of your walls at the base from one side to the other.
Make sure to measure all the walls in your room from one corner to the next. This is how long the baseboards will need to be cut.
When you’re making these measurements, it’s also a good idea to find out where all the studs in your walls are. These studs are where you’ll be attaching your newly cut baseboards.
If you have a stud finder, you can use that to locate all of them. Once you’ve located all of the studs, simply mark where they are.
Step 2: Making the Inside Corner Cuts
The thing to keep in mind here is that for four walls, you will need to make four inside corner cuts in the baseboard with your miter saw.
For this, you will need to set the bevel for your miter saw to 45 degrees and set the miter itself to 0 degrees.
Pro Tip: Use a pencil or anything similar to make marks on the back of your baseboard so that you can simply follow the pencil when making the cut.
Once you’ve set the miter angle, the bevel angle and have your baseboard on your workbench attached to the miter saw, you can turn the miter saw on.
Use one hand to hold the handle of the miter saw and use the other to hold the baseboard firmly in place.
Let your miter saw reach full speed and then slowly bring it down into the wood until the cut has been properly made.
Be sure to not apply too much pressure as that can damage the teeth of your miter saw blade. Just moderate pressure is more than enough for this step.
Step 3: Making the Outside Corner Cuts
For the outside corner cuts, you can have the same settings for your compound miter saw.
These settings would namely be 0 degrees for your miter and 45 degrees for your bevel.
Again, use your pencil to mark your baseboard.
According to the measurements that you made, you will now need to cut your baseboard so that the front side will be slightly longer than the backside.
This will ensure that you can easily join the corners with wood glue once everything has been properly cut.
Make sure to take your time. Measure the lengths several times before making any cuts and don’t use excessive pressure when you’re cutting.
(Optional) Step 4: Making the Square Cuts
Instead of making angled joints to join baseboards, some people choose to make square cuts and then join them in a square manner.
So, instead of angling the cuts to create angled baseboard corners, many people choose to cut them straight in order to form a perpendicular joint.
You can do this with a miter saw.
The only difference here would be that you need to set the bevel angle to 0 degrees and the miter angle to 90 degrees.
Step 5: Installing Your Baseboards
Once you’ve cut all of the baseboards and have them ready to go, you’re ready for the final and perhaps, the easiest step of this entire process: installing them.
All you really have to do here is line them up at the base of their corresponding walls and ensure that their lengths match up properly.
Always check that they are lining up exactly the way you want before you start nailing or screwing them onto the wall.
Make sure to use the right length and thickness of the nails or screws and then use them to attach the baseboards to the studs in the wall that you located back in step 1.
Any piece of baseboard molding that you may have should be fixed in position with finish or brad nails that are no longer than 2 inches.
Ideally, they should be somewhere around 1 ½ inches to ensure they don’t damage any electrical or communications cables that may be present in your walls.
Wrapping Things Up…
And that’s pretty much it! Not so hard, is it?
If you’ve never used a miter saw before, then we would recommend that you practice using it with some pieces of wood before you actually start working on baseboards for your project.
Not having experience with a miter saw can often result in you wasting good pieces of wood.
Hence, practice first before you do the real thing.
Do you have any tips for cutting baseboards using a miter saw? Let us know in the comments below.