

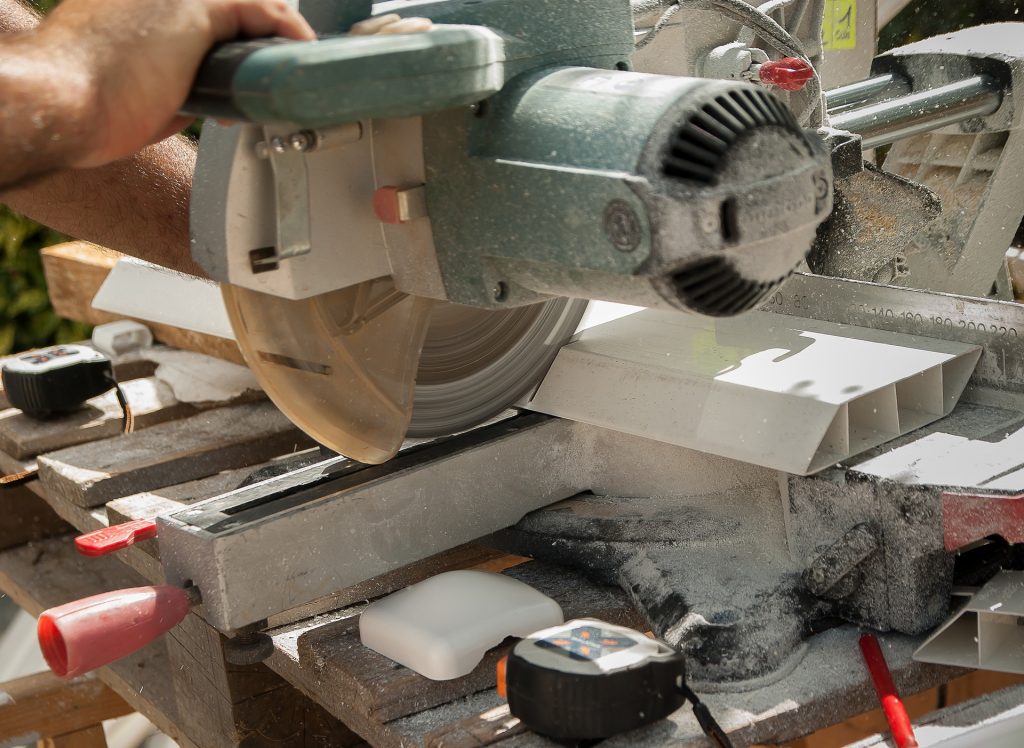
You can easily cut a 60-degree angle with a circular saw if you know the right technique.
However, we understand it can be tricky especially if it’s your first time. This in-depth guide will help make the process easy for you.
We have included a step-by-step guide, with tips, advice, and much more
Quick Summary
This guide has everything you need to know including:
- How to make a 60-degree cut
- How to make cuts at different angles
- Precautionary methods you should take
- Tools you will need
- Frequently Asked Questions (FAQs)
How to Cut a 60 Degree Angle with a Circular Saw – In-Depth Guide
Follow the steps we have mentioned carefully for a more precise and neat 60-degree cut.
Step 1: Find The Right Angle
To begin with, you need to identify and mark the right angle. You can do this by reducing 45 degrees from your target angle.
This means you will be handling a 60-degree bevel cut.
Note: You need to set your angle at 60 – 45 = 15 degrees
Step 2: Adjust your Angle
Once you have identified and marked your angle, you need to make adjustments to your circular saw. There should be a handle for your grip or a knob that you can move to adjust the saw.
You need to set the angle to 15 degrees precisely.
Step 3: Place The Chosen Material on the Table
Next, you need to place the wooden plank ( or any other material ) on the table vertically.
Note: You have to make sure that the position of the wood is opposite to the blade.
Step 4: Bring the Blade to A Higher Position
Once the wood is in place, you are required to raise the blade height so that you can cut the wood at a greater angle.
Note: You can adjust the height with a spinning handle or the knob that is placed in front of your saw.
Step 5: Cut the material with the help of the blade
Remember not to use too much pressure, your blade should be sharp enough to make the 60 degrees cut for you.
How to Cut an Angle with Rough Cuts – Quick Guide
If you want to cut an angle with a circular saw for a piece that is not going to be seen or placed on the top of the item, here’s what you can do.
- You need to begin with drawing a grid line by positioning the option parallel to the blade.
- Make sure that your circular saw’s base plate is lined up properly
- Then, adjust your bevel to cut the wood
60 Degree Cuts
60 degree cuts can be quite tricky, especially if you are doing it for the first time.
Here’s what you need to do:
- Adjust the bevel of your saw to a 30 degrees angle
- Cut in the opposite direction of the 60-degree cut
- Then, set the bevel of your saw back to 90 degrees
- Cut the other edge at 30 degrees as well
90 Degree Cut
Here’s what you need to do in order to make a 90 degree cut with your circular saw:
- Make sure that the lever is marked at the 0 labels on the plate
- Then, put your base plate on the material you want to cut
- Pull the trigger to ensure that your blade is running
- Push the material towards the spin blade without applying too much pressure
- Follow the markings to cut a 90-degree angle
45 Degree Cuts
45-degree cuts are more difficult in comparison. However, follow these steps to make the process easy for you.
- Adjust the bevel of your circular saw
- Move the blade of the saw to a 45-degree angle by lifting the base plate
- Clamp or nail down the object so that it does not move from its position
Thing You Need to Cut a 60 Degrees Angle – Complete CheckList
- Your circular saw blade
- Safety items
- Ruler
- Marker
- Protractor
- Carpenter’s pencil
- The item you want to cut
- Workbench
Safety Tips You Should Consider Before You Cut A 60 Degree Angle with a Circular Saw
It is crucial that you take precautionary methods before you make a 60-degree bevel cut to prevent any unwanted accidents.
Here are a few important things you need to consider:
- Unplug Your Saw: While handling the circular saw it is crucial to unplug or remove the batteries.
- Wear Rubber Gloves: These should be cut-resistant to prevent your hand or finger from getting damaged.
- Protective Goggles: Wood chips can damage your eyes, it is important that you wear goggles before you cut a 60-degree angle.
- Earbud: A circular saw can make a lot of unwanted noise. We would recommend earbuds to protect your hearing
- Amount of force: You shouldn’t apply too much force whilst making a 60 degree cut, you could burn the material
- Appropriate clothes: We advise you not to wear anything loose around the blade, this could bother you during the cutting process.
Frequently Asked Questions (FAQs)
Why Does A Circular Saw Cut Upwards?
Upward strokes allow the material you wish to cut to be pushed forward and towards the blade. This helps the teeth to cut the wood or any other material more precisely.
Moreover, this reduces the chances of any accidents.
Why Does My Circular Saw Burn the Wooden Plank?
This probably means that you are pushing too hard against the blade. You could adjust the speed of the blade to prevent this from happening.
Moreover, burning wood could also be an indicator of worn-out blades, which means you might have to replace your old ones or sharpen them.
Which Circular Saw Makes the Smoothest Cut?
A 44-tooth blade is our top pick. It will help you make precise cuts and trims. However, the 24-tooth right cut blade is also great for quick cuts.
How to Cut a 60 Degree Angle with a Circular Saw – Final Verdict
Now that we’ve reached the end of this article, we hope it’s easier for you to understand how to make a precise 60-degree angle cut.
It is crucial that you take proper precautions before you begin with your projects to prevent any accidents.
Do let us know if this guide was helpful in the comments below.