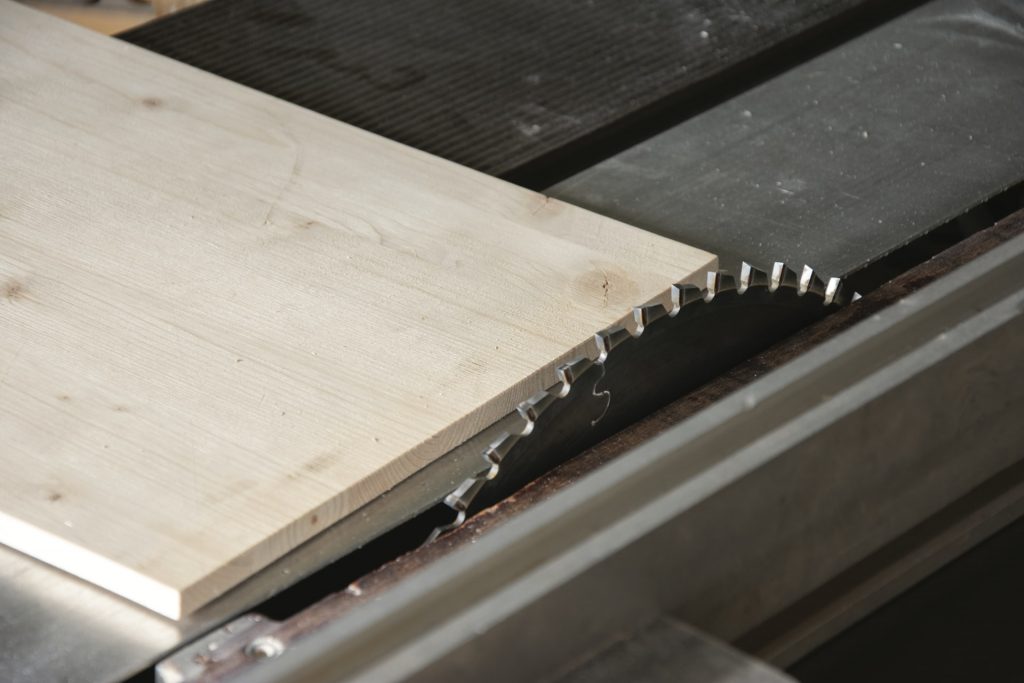
There are different woodcutting techniques that enhance the creativity and overall design of your project.
For instance, if you want angled trims and cuts, you will need a miter saw for that purpose. But what if you don’t have one? We have got you covered.
In this article, we are going to provide you with an easy step-by-step procedure to cut a 45-degree angle without a miter saw.
Brief Overview
This article will cover the following points:
- List of tools and additional items required for the task
- Detailed procedure of cutting a 45-degree angle using a paper and hand saw
- Alternative procedure of cutting a 45-degree angle using a miter box
- Detailed procedure of cutting 45-degree angle using a circular saw
- Safety tips
- Frequently asked questions
Things You Will Need (First Method)
- Safety goggles and hand gloves
- Piece of paper cut in a rectangular shape
- A hand saw
- A sharpened pencil
- Piece of wood that needs to be cut/trimmed
Step By Step Procedure of Cutting a 45-degree Angle Using a Paper and Hand Saw
Step 1: Safety Preparation for The Task
Before you get started with the angle cutting process, you need to make sure that you are following the safety measures to ensure a hazard-free working experience.
Step 2: Paper Placement
Make sure that you have a clean and wide work surface where you can spread out the square paper and cut accordingly.
Place the paper on a flat surface in such a way that the length lies along the surface and the width lies across the surface.
The length of the paper should be enough to be used as a guide for cutting angles.
Step 3: Paper Folding For Marking The Cuts
In the first folding step, you need to form a triangular shape on the upper side of the paper and a rectangular shape on the bottom.
You need to fold the paper from the right-hand side in a way that it reaches the upper side of the opposite edge. This will form a triangular edge on the top of the left side.
After folding the paper, you need to flip it over so that the left side becomes the right side.
Moving on to the next folding step.
Once you get a new corner that you have just created, now you need to fold the paper from the left to the right side. As a result, the new corner will now be on the right edge.
If you have followed all the folding directions correctly, now you will have a quadrant-shaped paper (with parallel length).
Step 4: Placement of Paper on The Wood
In this step, open the last folded part of the paper and place the piece of wood that you want to cut. It needs to be placed in a way that is parallel to the last folded side of the paper.
That way, the paper will now be divided into two quadrants. However, the piece of wood should be placed on the left side.
The placement of wood has to be accurate so you need to adjust it correctly until it fits rightly on the middle straight edge.
Now you need to place the right side of the paper on the piece of wood. The placement of paper should be firm and static so it does not move in the further steps.
Step 5: Marking The Piece of Wood
Now is the step when you have to mark the wood so make sure that you hold the pencil firmly to draw an accurate line.
With the help of a pencil and the edge of a folded piece of paper, draw a line on the wood. Make sure that the edge of the paper lies at a 45-degree angle.
Once you have drawn the straight line, now you can remove the paper.
Step 6: Cut The Wood
Finally, here comes the last step!
Using a hand saw, cut along the pencil markings that you have just made. You need to make sure that you hold the saw and piece of wood tightly to avoid any movement during the cutting process.
Once you have neatly and accurately cut the wood, you get the final output i.e cutting of a 45-degree angle.
Things You Will Need (Second Method)
- Miter box
- A sharpened pencil
- Protractor
- Hand saw
- A compass (optional)
Step by Step Procedure of Cutting a 45-degree Angle Using a Miter Box
- The first step is to place the wood piece (or any other material) inside the miter box. You need to make sure that the finishing side of the material stays on top.
- Position your hand and the saw following the miter box grooves. Since you want to cut a 45-degree angle, you need to make sure that the hand saw placement is at 45-degrees.
- Now you can begin with the cutting process. Since you are using a miter box to cut the angles, you don’t have to put excessive pressure on the saw.
- Repeat the same process for baseboards and cut as many angles as you want!
Things You Will Need (Third Method)
- Speed square
- Circular saw to cut the angles
- A pencil
- A piece of wood (or any other material that you want to cut)
Step by Step Procedure of Cutting a 45-degree Angle Using a Circular Saw
- The first step, to begin with, is taking the speed square and putting it right on top of the wood piece that you want to cut.
- Once you have placed the speed square in the appropriate position, draw/mark the angled spots that you want to cut.
- Place the tool at 45-degrees so you know in which direction you have to move the saw.
- After you have marked the points carefully, now is the time when you cut the angles. Take your circular saw and cut along the previously marked points.
- Make sure that you are using the right type of blade for clean and precise cuts.
- The same process of cutting at 45-degrees can be used to cut 90-degree angles for wood boards.

Important Safety Tips – Quick Guide
Cutting angles without a miter saw can be a tricky task. If you are a beginner or even a professional woodworker, the following tips can help you have a safe working experience:
- As we mentioned earlier, it is really important to take all the necessary precautions before you start the woodworking project. Wear safety goggles, gloves, and a dust mask to keep yourself safe.
- Before you start the angle cutting process, make sure you check the quality and working capability of the blade. If the saw blade is dull or damaged, replace it with a new one.
- No matter what saw you use, always make sure that you apply moderate pressure on the saw while cutting different materials. This will help you in getting accurate cuts since less pressure will ensure less movement.
- Always make sure that you use the blade that is appropriate for the material you want to cut. Sometimes the material is strong and thick as compared to the sharpness of the blade you are using. That way, you will end up damaging the saw blade.
- Even while using the hand saw, make sure that you read all the instructions and manufacturer’s guide to ensure smooth working applications for your project.
- The cleanliness of the work area is also very important. The work surface should be clean from any excessive wood dust or other material waste. Moreover, make sure to clean the saw parts and other power tools once you are done with your project.
When do we use 45-degree angle cuts?
When you are installing baseboards on walls, the 45-degree angle cutting technique is used. Moreover, angled cuts are also used if you have to install floorboards.
Generally, a miter saw is used for such cuts. However, you can achieve the same results with other procedures that do not involve a miter saw.
How can you cut a 45-degree angle by hand?
Cutting different angles of wood or other materials is considerably easier when you are using a miter saw. However, there are multiple creative techniques (without a miter saw) that can be used to give the same output.
The main trick of cutting the angles with clarity and precision is getting accurate measurements. Once you have the measurements and markings, you can easily cut the wood any way you want.
After you have accurately measured the corners, you need to decide what cutting tool you will use. Different cutting tools can be used as a hand saw, circular saw, table saw, or any other power tool. You can also use a miter box for extra support and accuracy.
Conclusion
After following the procedures mentioned above, you will be able to make angled trims and cuts easily, even without a miter saw. Although the manual procedures might take some extra time and effort, the results will surely be outstanding.
Make sure that you take care of all the necessary precautions and follow the steps correctly. It just requires some extra focus and practice.
And with that, we end our article on how to cut a 45-degree angle without a miter saw.
If we have missed any points, let us know in the comments below.

