

You’d agree with us when we say making angled cuts with a circular saw is much harder than it looks. Especially if you’re a beginner, there’s just so much to be rattled by.
However, with a step-by-step guide and in-depth discussions about the important things involved, you’re sure to get the hang of it.
Quick Summary
In this article, we will discuss the following things:
- How to cut a 45 degrees angle with a circular saw
- The difference bevel and miter cuts make when working at 45-degree angles
Why Is A 45 Degree Angle An Important Cut?
No matter what kind of woodwork or craft you are doing, you will come across the 45-degree angle sooner or later.
The three most important cuts when working with a saw are at a 45-degree angle, 60-degree angle, and 90-degree angle.
It’s especially important for making corners and square joints, something you use in all forms of construction from chairs to picture frames. This is why making the perfect 45 measure angle is important to woodwork.
The Tools You Need
To make the perfect cut, you will need the following things:
- Circular saw
- Wood boards
- Speed square
- Pencil
- Protective Gear
- Sandpaper
Safety Precautions To Follow
Since you will be using a circular saw for making the 45-degree angle, there are certain security precautions that you have to follow.
Some of the most important safety measures are:
- When cutting at any angle with a circular saw, make sure you have safety gloves on
- Make sure the cutting line is visible and you have protective glasses on
- Wear a dust mask to avoid inhaling the sawdust
- Never lean your blade too much to either side when making an angle
- Make sure the blade is installed properly to avoid accidents
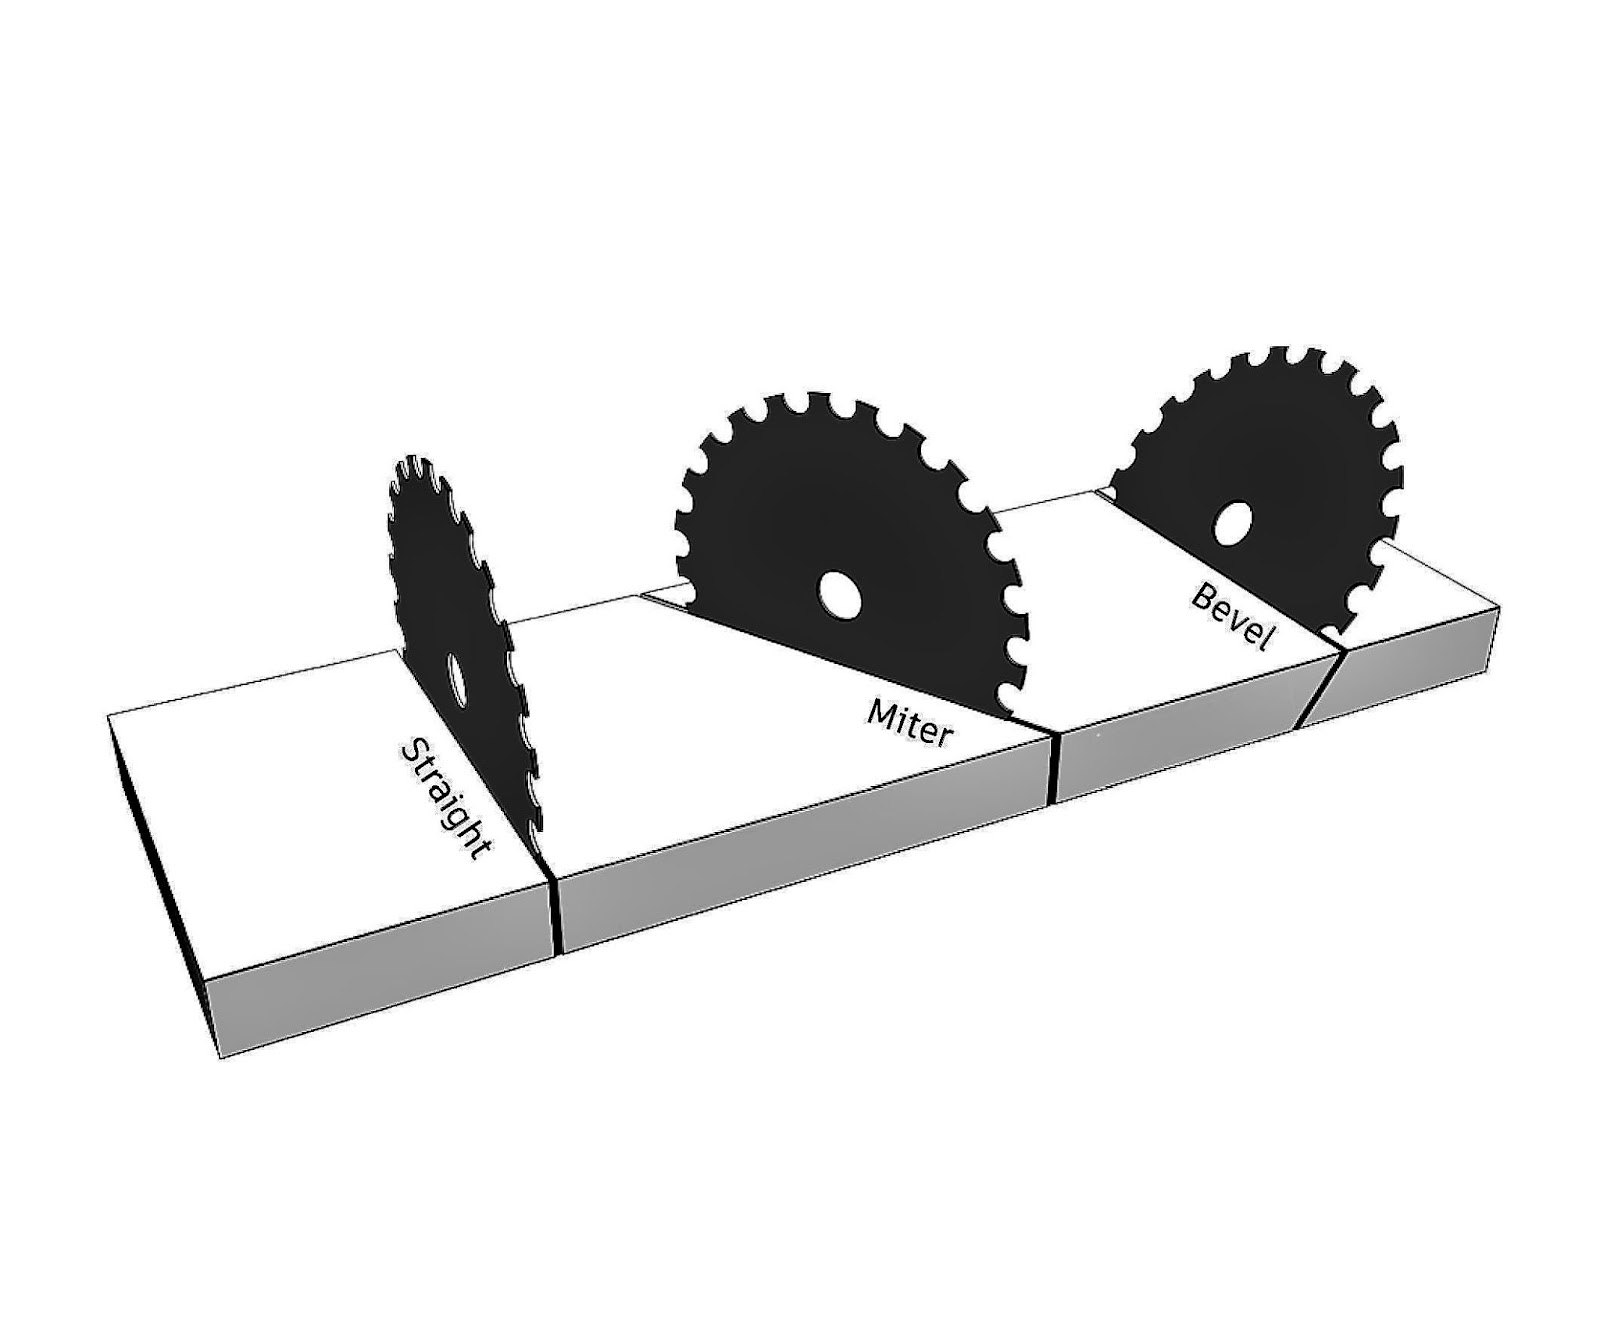
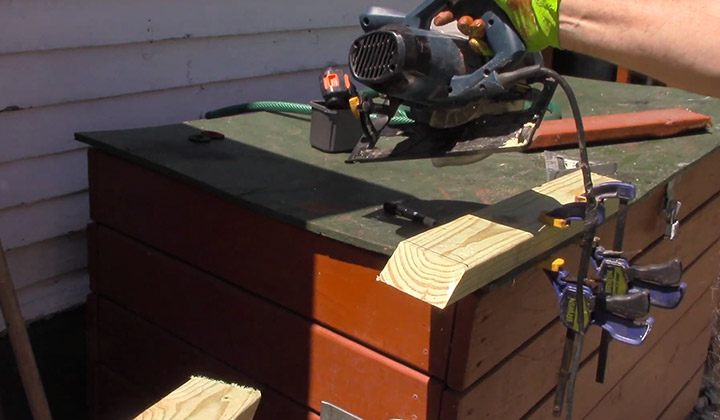
How To Make a 45 Degree Angle With a Bevel Cut?
To make a 45 degree cut with a circular saw, you need to follow this easy process. For this method, we will be working with a bevel cut.

The main steps are:
Step 1
Start off by making preparations for the cut with your saw and your wood. Have a sacrificial sheet line the surface of your workplace to protect it.
Measure the thickness of your wood so you can make adjustments to the saw blade later. Draw the cut lines with a speed square on the wood or board for where you want to make the cut.
Step 2
Line your straight edge of the saw blade with the cut line to make sure it is straight and aligned. You have to make sure that the two of them are perfectly aligned or else it will not result in a clean cut.
Step 3
Look at the bevel adjustments and fix them at 45 degrees on your circular saw. This will help the saw blade cut at the desired angle.
The bevel on circular saws is usually on either side of the tool, consult the manual if you can’t find it.
Step 4
Keeping in mind the measurement you took for the wood, adjust the depth of the saw blade. This will make sure that when you make the cut, it cuts all the way through the wood or board.
Step 5
Place the saw on the straight edge of the wood or board and begin to make the cut. The saw will be tilted towards one side so don’t put too much pressure.
If you put too much pressure, the blade will stop rotating.
Not only can this ruin circular saws by burning the motor or damaging the cutting blade, but it can also cause serious injury to you as well.
Step 6
When you have cut through the wood or board, make sure to use a rasp or sandpaper to even the cutout.
Clean cuts are usually very distinct and do not need much work but you can still smoothen out cuts to make them look better.
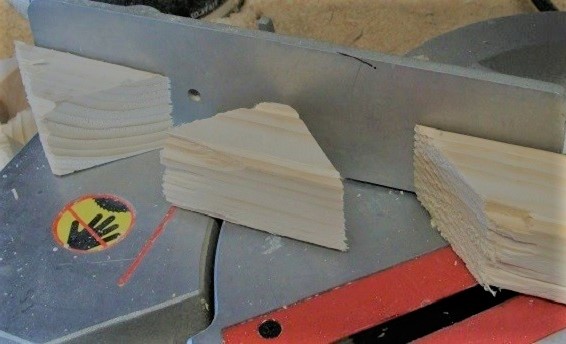
Making a 45 Degree Angle With a Miter Cut
To cut material using a circular saw at a 45 angle with a miter cut is entirely different than using a bevel cut. Miter cuts, as shown below, look different too.

Although the preparation for the wood or board is almost the same, the main difference comes with the cutting technique.
Cutting Wood To Make a Miter Cut
You do not need to tilt the saw blade or set it at an angle to make a miter cut. Circular saws can easily make miter cuts without much effort.
Simply make the cut line with a speed square and align the blade with it. Press the blade straight down and cut right through.
Viola! You have successfully made a 45 degree cut using the mitering technique. You can use it to make a 60-degree and a 90-degree cut as well.
Pro Tips For Making The Cut
These are the best tips when using a circular saw to cut at an angle:
- Always clamp your boards in the right position on the table and mark the cut line.
- Keep the blade parallel to the line and have a firm grip on the saw but do not push down too hard.
- Make sure the blade is unplugged before you decide to make any adjustment to the circular saw.
- When the blade makes contact, make sure the cut is complete before you lift the circular saw up.
FAQs For Cutting 45 Degree Angles With A Circular Saw
Cutting different angles with a circular saw can be difficult. Most people have a lot of questions about many of the things involved. Here are some of the most popular FAQs related to making 45-degree cuts with a circular saw.
How do you set the bevel at the desired angle?
To set this on a circular saw, look at the sides for slots and angled stops. Most circular saws have a capacity of up to 52 degrees. You can easily find the desired angle and adjust the circular saw blade to it.
Are bevel cuts more efficient than miter cuts?
Bevel cuts are preferred more than miter cuts when making a 45-degree angle. Most people believe it’s because joining two bevel cuts is easier, it depends on the project you’re working on.
My saw stops cutting mid-cut, what is the reason?
If your saw stops working whilst you are cutting a 45-degree angle, it’s almost always because you are putting too much sideways pressure on it.
Try to tilt the blade just enough so it can cut through, not come to a halt.
Conclusion
There are many ways to cut a 45-degree angle with a circular saw. The most important thing is to know which way suits the type of cut you’re looking to achieve.
Always stick to the rule of thumb, measure twice, and cut one.
Achieving a clean-cut requires precision, accuracy, a sharp blade, and patience. If you do not get it right on your first try, practice makes perfect.