
Quick Summary
By the end of this guide, we will go through
- How to make a cut of 135 degrees on a miter saw
- How to calculate the angles required for the cuts
- How to cut baseboard with a miter saw
Let’s take a look at it.
How to cut a 135-degree angle on a miter saw
As we mentioned earlier, miter saws cannot cut beyond their labeled angles due to their limitations. Most miter saws can cut at a 90-degree angle as well as cut at 45 degrees in both left and right directions.
This is why when you try to cut at angles that exceed the limits, it will leave you quite confused on how to tackle this issue.
Here’s a step-by-step approach to help you out.
Step # 1 – Set the miter saw
The first step is to set the bevel angle of the miter saw to 22.5 degrees. There is a specific indent on the miter saw for various angles.
You can set the angle to either towards the left or right side of the wood as the orientation doesn’t matter for this step.
Step # 2 – Make the cut
Secure the workpiece to the sliding fence of the saw. Then adjust the blade accordingly. You can use the LED shadow line or the Laser guide of the saw.
Then cut straight at the set angle.
Step # 3 – Set the miter saw in the opposite direction
Set your bevel angle to 22.5 degrees in the direction opposite to the one you made in the first step.
This will make the second half of your 135-degree angle.
Step # 4 – Make the second cut
Clamp down the workpiece to the fence of the saw and adjust the blade accordingly. You can again use the LED shadow line or the laser guide of the saw for this purpose.
Step # 5 – Inspect the cut
The final step is to place the cut pieces together and check their alignments with each other.
You should have an angle of 135 degrees. We suggest that you measure the angle using a digital protractor.
Why did I set the bevel angle to 22.5 degrees?
To calculate the angle of the wood at 135 degrees, we use geometry. Our calculation has two different parts.
- Since the 135-degree angle is an obtuse angle, we will use the 180-degree angle to calculate the acute angle.

- Next, we will divide the calculated acute angle by 2 since it is the number of timber pieces required for the cut.

This gives us the 22.5-degree angle required for the cut.
Does this method work for other obtuse angles?
Using this method, you can also calculate the angle required for other obtuse angles. For example, for a 160-degree, 45-degree angle, the required acute angle will be 10 degrees. Similarly, for 110 degrees, it will be 35 degrees, and so on.
Tips for a cleaner cut
A miter saw is a specialized power tool that is made and designed specifically to provide you with a result that is comparable with other chopping tools such as table saws or compound saws.
If you do DIY projects regularly, you must already be aware that the cleaner and accurate the cuts are, the easier the project will be.
Also, using a framing square is a great approach to help to measure the accuracy of the saw.
To get a smooth and clean cut with your miter saw, here are some helpful tips that will help you.
Tune your saw
Miter saws are a very sturdy power tool and can withstand a lot of pressure. However, some things like the orientation of the blade or the screws attaching the saw to the base might be disturbed.
Hence it is recommended to always check for any sort of looseness in the saw before operating it and making adjustments accordingly.
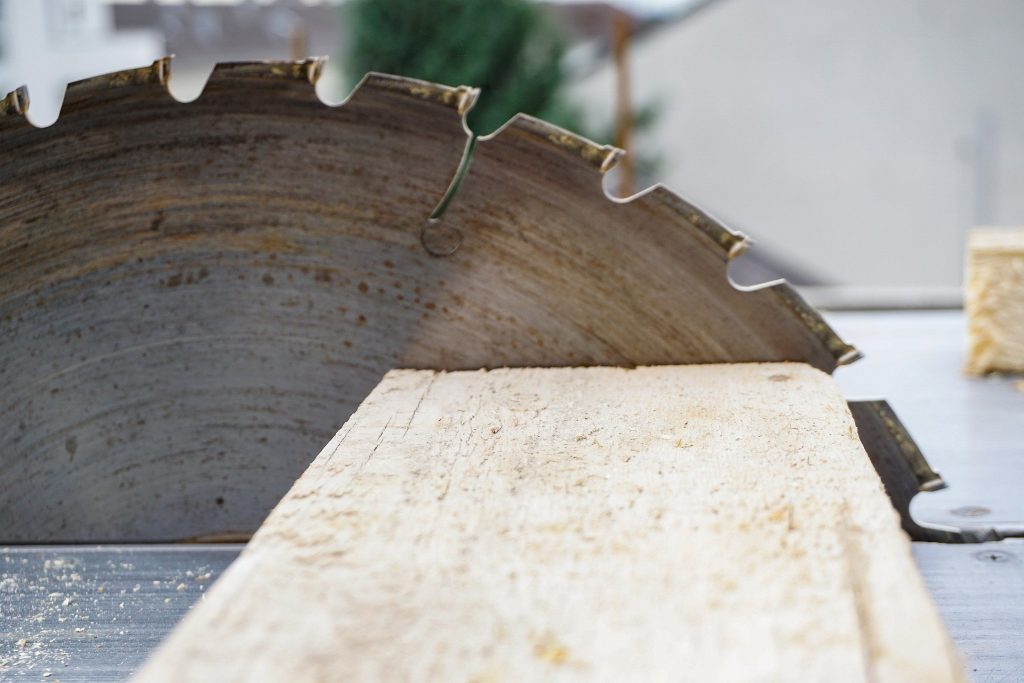
Get new blades
The default blades that come with miter saws are notoriously bad. The blades do not last long and are often of sub-par quality.
Old and dull blades will also be harmful to both the wood and the miter saw itself.
Hence, it is always recommended that you switch the old blades in favor of new ones.
Trim the wood
The wood is very rarely a perfect square. This is important as cutting in length is an intricate task that requires that the wood be perfectly set straight.
You only need to trim the rough edges of the wood using the edge of the blade. It can be the difference between a good and a bad project.
Mark the wood
Marking the wood with a lead pencil seems like an obvious task before cutting the wood. However, many still miss this step. You also need to leave some space between the cut and the pencil mark.
This is helpful in case of any adjustments that you want to make after the cut.
Set a stop for repetitive use
Using a stop is a convenient way to set your miter saw for an angle cut. Saws usually have between 10 and 12 positive stops for setting the blade at a set angle.
The positive stops are marked for common angles, for example, miter saw tables have a stop at a 45-degree mark.
Letting the blade come to a complete stop multiple times before splitting the piece in half will help you avoid any grabbing or kickback.

How do I cut my baseboard with a miter saw?
Before starting to work on your wood, you should be aware of the following factors.
Choosing blades
The starting point of any cutting job is the kind of blade you’re using.
Your miter saw comes fitted with a general saw purpose blade. This blade can be used for the basic cutting of your baseboard at different angles. However, for cutting at an angle, it is highly recommended that you shift to specialized blades to reduce error when cutting.
We recommend that you use a blade that is compatible with different tools such as table saws. There are different categories of blades.
For an accurate cut of the piece, we recommend that you purchase a cross-cutting blade.
Type of Miter Saw
There are different kinds of miter saws that are available in the market. Generally, they can be categorized into the following categories
- Standard Miter saws – These can cut most common angles. You can use standard miter saws to cut the wood at 90 degrees. They can also cut at 45 degrees at both left and right angles.
- Compound Miter Saws – These saws have an additional feature. You can position the saw blade to make bevel cuts.
- Sliding miter saws – These saws have a sliding rail and a fence on which you can pull the blade. You can make a vertical and horizontal angle cut easily with this type of miter saw.
If you want to make angle cuts at different angles such as 22.5 degrees, 45 degrees, 90 degrees, or 135 degrees, we recommend that you purchase a sliding miter saw.
This kind of miter saw can be used on a variety of materials and its cuts are comparable to a table saw.
Now that we’ve gone through the basic things you need to be aware of when cutting wood, let’s go through the steps of cutting through wood.
- Secure the wood – You need to secure the piece tightly to the fence of the miter saw. Be sure to also use the clamp to secure the piece on a flat table.
- Mark the wood – You can mark the piece with tape or a pencil for cutting in a straight line. Measuring the dimensions of the baseboard will also be beneficial.
- Make the cut – In the end, just press down the running saw blade and simply slide it
through the baseboard. You will be left with an accurate and clean result.
You can use this method to cut the baseboard in different settings. It is particularly helpful in crown molding.
How do I check the accuracy of the cut?
To check the accuracy of the cuts, you can use different angle measuring tools. These tools include a T-bevel, protractor, or electronic protractor.
To check the finish of the cut, you can join the two pieces together. The two pieces should fit perfectly together.
Wrapping things up
We hope that this article will help you in cutting a 135-degree angle miter cut.
Using a miter saw at an obtuse angle is a challenge and requires careful consideration as well as some calculation. However, if you stick to the guide and follow the steps, you will be left with a perfect 135-degree angle cut.
With this, we come to the end of our article on “How to cut a 135-degree angle on a miter saw”.
Leave a comment and do let us know of your experience.