
With the improvement in technology, miter saws are becoming more commercially available. If you are a professional carpenter you will be aware of the benefits a power miter saw brings to the table.
Dewalt is a very trusted name in the tool industry due to its premium features. If you own a Dewalt saw, you will have to change the blade frequently due to various reasons.
Changing the blade of a Dewalt miter saw is a trouble-free job and will require only about 10 minutes of your time.
Quick Summary
The following information will be covered in the article:
- How to change the blade on the Dewalt miter saw
- Possible reasons for changing the blade
How to Change the Blade on the Dewalt Miter Saw
The following materials are required when changing the saw blade on a Dewalt miter saw.
These materials not only assist you in your work but also keep you safe from any injuries.
- Blade wrench
- Heavy-duty work gloves
- Protective glasses
Before you change the saw blade on your miter saw there are a few parts on the Dewalt machine that you need to familiarize yourself with.
These parts are unique to the Dewalt miter saws:
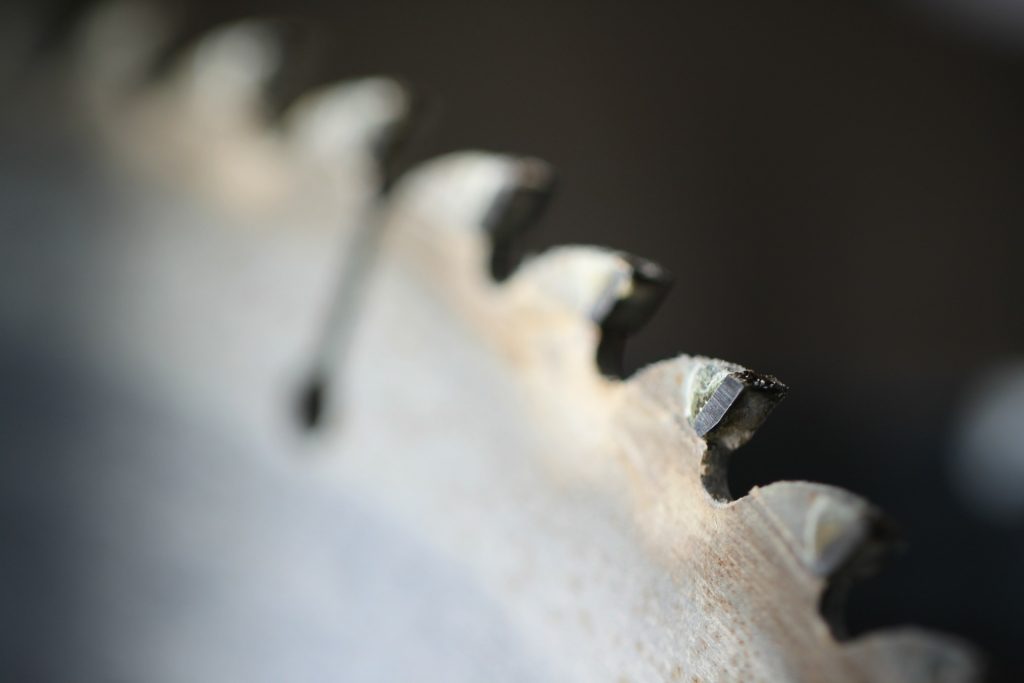
1. Blade Guard
This part acts as a cover to the top of your miter saw blade. The cover protects you from directly being in contact with the blade when the saw is working.
The blade guard should always function like new after you are done installing a new blade or replacing an old one.
2. Bracket Screw
The bracket screw is known to hold the blade guard and the blade arm together in one place.
3. Spindle Lock
This lock is known to lock the spindle mechanism of your miter saw. Once this button is pressed the spindle lock mechanism is activated.
When changing the saw blade remember to release the spindle lock since it prevents free rotation.
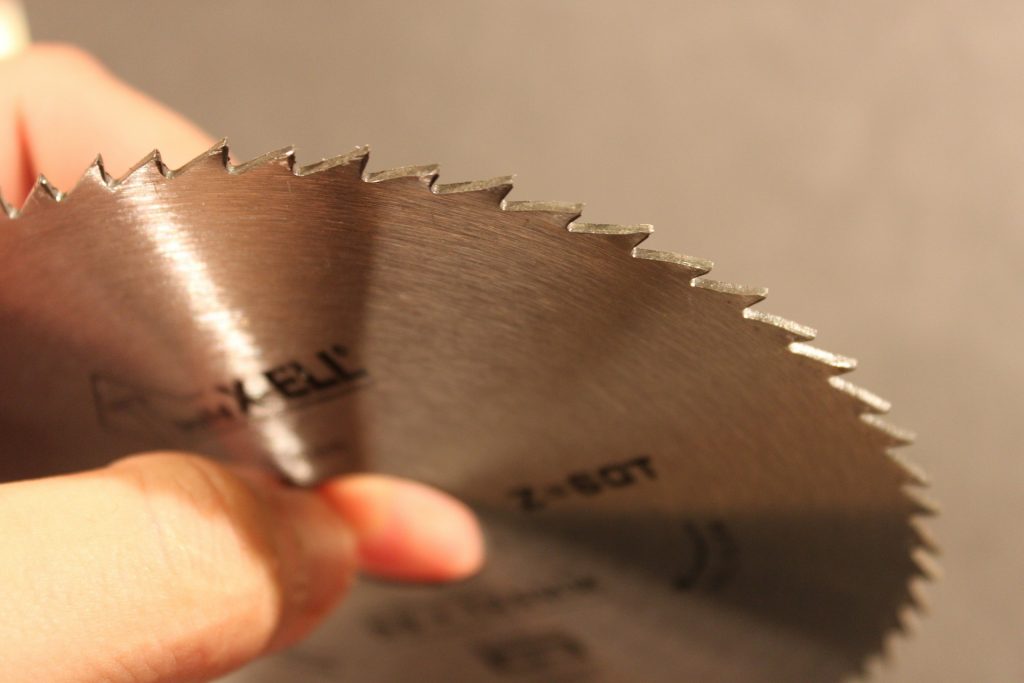
4. Blade Screw
This is the main screw on the blade which must be loosened by a wrench to remove the blade from the miter saw. To loosen this screw you must rotate it clockwise. Similarly, to tighten it you must rotate it anticlockwise.
Steps Required to Change Blade on Dewalt Miter Saw
Now that you’re aware of these parts now, let’s look at the steps required to change a Dewalt miter saw blade.
Step 1:
The first step is to take all the precautionary measures required. Wear the protective gear mentioned above in the article when working with tools.
Step 2:
Then you need to make sure that there is no power connection to the miter saw. Even if the machine is not functioning you should still do this step to keep yourself safe.
A connected saw machine can cause an electric shock which can be fatal.
Simply unplug the miter saw from the power supply and follow the next step.
Step 3:
The next step involves unscrewing the bracket screw and lifting the blade guard.
Raise the blade arm first so you have a better view and access to the head of the miter saw.
Then, lose the guard bracket screw by first locating it and then using the blade wrench.
Important Notice: You need to make sure that the bracket screw is loose enough for you to be able to lift the guard up and out of the way.
Lastly, let the guard rest on the bracket screw by lowering it.
Step 4:
In the fourth step, you need to access the blade screw.
You will be able to see the blade screw now since the blade guard is out of the way. Now, press the spindle lock button and rotate the blade screw in a clockwise direction.
This will unscrew the blade.
Step 5:
Then you need to keep track of a few parts that do not come with the new blade.
First, keep the blade screw which puts the new blade into position. Then hold onto the outer clamp washer, which will come off your blade since the new blade does not have one.
Also, keep in mind to not remove the inner clamp washer as it will be housing the new blade. The blade adapter should also be removed from the old blade and installed onto the new one.
Step 6:
In this step, you will be installing the new blade on your miter saw. Put the blade adapter on your new blade and then place your new blade onto the inner clamp washer. Put in the blade screw and replace the outer washer.
To tighten the blade screw simply rotate anti-clockwise and remember to hold the spindle again.
Step 7:
After you have properly tightened the blade screw in, screw the guard bracket screw and lower the blade guard on your miter saw.
Before you start working with the new blade test it a couple of times and ensure that the blade guard is working properly.
It is recommended to use scrap materials for a test cut before working on professional woodworking projects.
Some Additional Tips to Keep in Mind When Changing Blade – Quick Guide
- Always wear gloves when you lift the blade for safety
- Wear safety glasses during the whole process
- Do not hurry up and only apply little force to the tool
- Follow the user guide that comes with these tools
- If required, take the help of a professional to position the blade
Possible Reasons for Changing the Blade
When talking about saw blades the question arises that why is there a need to change the blade on these power tools? There are several possible reasons why a blade needs to be changed.
After constant use for hours, a blade can lose its effectiveness and go dull or even be damaged.
You might have a blade that only cuts a specific material but your next project demands the cutting of a different material.
Why does a blade go dull?
No matter how astounding a blade you buy, with time and constant use, it will lose its effectiveness. Since most of the projects require a heavy load, the blade will lose its sharpness and you will have to change it.
These dull blades give poor results which are not accurate and untidy. Another disadvantage of this is that now the power machine will require more power for cutting the same amount of material.
Can a thin cutting blade cut thick?
If you have a blade that only cuts thin and softwood but your next project demands you to cut harder and stronger materials then you must change your blade.
Your old blade will not cut the new materials with the same finesse and might damage itself in the process if not done carefully.
Can a new blade provide better finishing?
A new blade is always better than a used blade. The new blade provides better accuracy and a better outcome.
When working on professional projects you can not negotiate with the finish quality.
As a result, it is preferred to replace the blade with a new one for a better finishing that is more precise.
Wrapping Things Up
You now have learned the safest way of changing the blade on your Dewalt miter saws carefully.
These installation steps not only save you a lot of time but keep you safe during the process as well.
We hope the tips and details we provided will help you in your woodworking projects and improve the quality of your work.
Let us know your critiques and suggestions.