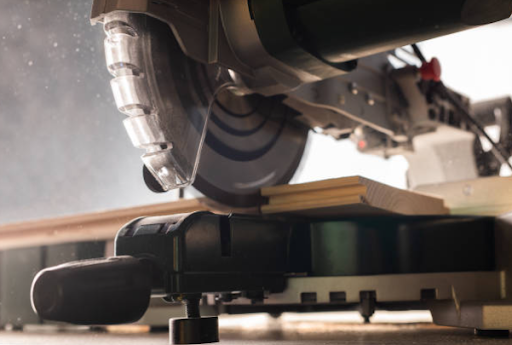
Has the effectiveness of your miter saw blade started to decline? If the answer is yes, it’s probably because the blade on the miter saw has gone dull.
Unfortunately, saw blades are not made to last. If you’re a hobbyist or a professional you will have to replace the blade at some point.
Thankfully, this is not a complicated task. All you need are a few tools and 10 minutes of your time.
Quick Summary
In this post, we will go over:
- Why should you change a miter saw blade?
- How to change the blade on a Hitachi miter saw?
- Safety precautions
So, without further ado, let’s get started.
Why Should You Change a Miter Saw Blade?
The Saw Blade is Dull
This is the most common reason to change your blade. If your blade is dull it can damage the material you plan to work with and cost you hundreds of dollars.
A good way to tell if your blade has gone dull is if you spot burn marks on the wood that were not there before. You may also start to feel more resistance from the miter saw while you make the cut.
The Saw Blade is Dirty
Did you know a dirty blade can act like a dull blade? As we use the miter saw to cut wood pitch and sawdust accumulates on the blade. Over time, it can diminish the quality of the cuts.
If you don’t regularly clean your blade, it can also start to corrode the teeth of the blade. But, this is an easy fix. All you need to clean saw blades are special saw blade cleaners.
However, before you go ahead and start to clean the blade, make sure the miter saw is disconnected from the power. You also need to carefully remove the blade guard and dismember the blade from the saw. Never try to clean a blade in position.
Once you’ve cleaned and reinstalled the blade, it will be good as new.
But, keep in mind, if your blade is actually dull and worn out, no amount of cleaning will help. In that case, you’ll need to change the blade or upgrade it.
Different Saw Blades for Different Materials
Another big reason why you might need to change a miter saw blade is that different materials need to be cut with specific blades. This is determined by the number of teeth. For instance, the 100-tooth blade to cut wood pieces, and the 24-tooth blade to cut studs.
To put it simply, saw blades with more teeth deliver better quality cuts. They are cleaner and more accurate than a blade with fewer teeth.
So, for DIY projects we would recommend blades with a larger number of teeth. But, if you need a blade to cut studs or where you don’t care what the cut looks like, a blade with fewer teeth might be a better option.
How to Change Blade on Hitachi Miter Saw?

Here are three easy steps to help you change the blade on a Hitachi miter saw. However, we do recommend you read the user manual of your specific miter saw before you start the process.
If you don’t have the user manual, you can simply Google the name and model of your miter saw and we’re sure you’ll find a manual there.
Step 1
Before anything, disconnect the power plug of your compound miter saw. Then, carefully remove the spindle cover.
To do that, you need to circle the blade guard to the top position. Use a screwdriver to remove the front screw from the spindle cover. The spindle cover will automatically circle back on the back screw and drop out of the way.
Step 2
Now carefully and slowly remove the blade. Press the spindle lock to lock the spindle in place.
If you’re unable to lock the spindle, we suggest you try to turn the spindle with a 10mm wrench as you apply pressure to the spindle lock. As you press the spindle lock, also use a 10mm wrench to remove the bolt.
Note: This is a left-hand thread bolt. This means, to loosen the bolt you’ll have to turn it right instead of left.
After you’ve removed the bolt, remove the washer. And then finally remove the blade from the miter saw.
Step 3
Now, you can go ahead and attentively replace the blade. Replacing the blade is the opposite of removing the blade.
To reinstall the saw blade in the correct direction make sure the arrows printed on the blade and the saw match.
Then, replace the bolt and washer. Remember, to tighten the bolt you’ll have to rotate it to the left. Next, press the spindle lock and loosen the bolt. You can use the 10mm wrench for this.
Lastly, replace the spindle cover screw and lower the blade guard.
Note: Make sure the spindle lock is properly disengaged before you turn on the saw.
Safety Precautions
It’s crucial to follow the general safety tips while you operate miter saws or other power tools.
To prevent accidents or personal injuries, we highly suggest you turn off the trigger switch and unplug the machine. No matter how little the adjustment is, do not leave the miter saw on.
After you replace the blade, double-check to see if the bolt is tightened. If you work with a miter saw that has a loose bolt, the blade can come off and cause serious injuries.
Moreover, make sure you loosen or tighten the bolts with the proper tools. If you use something other than the 10mm wrench, excessive tightening may occur which also might result in injury.
We also recommend you clean the miter saw blade if you use the saw for more than 50 hours. It’s extremely dangerous to work with a dirty or dull blade as it can cause the motor to malfunction.
Most important of all, wear safety gear such as safety goggles and a mask while you handle a power saw. You need to protect your eyes from the dust and your ears from the noise. Furthermore, the dust produced can also damage your lungs so a good quality respirator is a must.
Wrapping Things Up…
Now you know how to successfully change the blade on your Hitachi miter saw.
Remember to take good care of your miter saws. If you lubricate, clean, and properly store them you won’t have to change the blades so often.
Moreover, check your blades every couple of months even if they’re not in use. A visual inspection goes a long way.
Take a look at our articles about more guidance miter saws
We hope this article was helpful. If you have any questions, leave them in the comments below.

