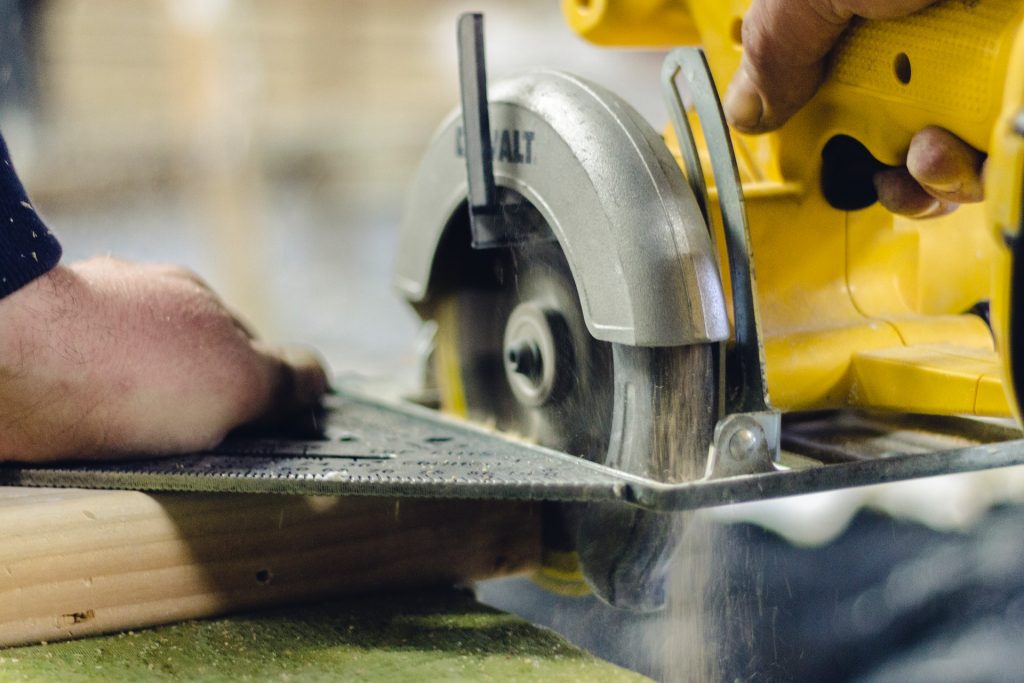
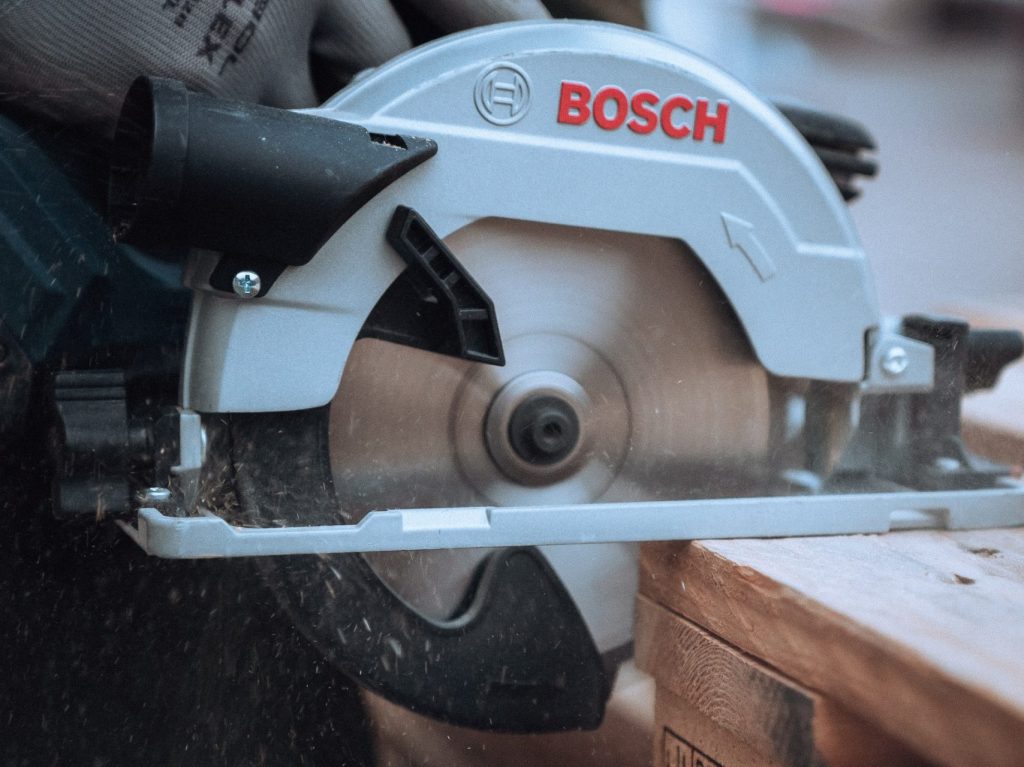
The blade is the most crucial part of a power saw. It depicts the strength of the saw as well as what materials you can cut with it. However, circular saw blades are not made to last.
Fortunately, the process to change a Black and Decker blade is quite easy. However, that is not to say that there are some risks involved so you should only do this with proper knowledge of the tool.
By the end of this guide, you should feel confident enough to change the blade on your Black and Decker circular saw whenever required.
Quick Summary
In this post, we will go over:
- What size circular blade do you need?
- Types of circular saw blades
- How to change circular saw blades?
So, without further ado, let’s jump right in.
What Size Circular Blade Do You Need?
Before you change the blade, it’s important to know the correct size. The size is measured through the diameter of the saw (the length from the side of the blade to the center).
Diameter of the Blade
This part is really easy. Most of the time, the size of the blade is printed on the saw or the blade itself. So, you don’t have to do much here.
However, if for some reason the blade number has rubbed off or it’s not printed, then you’ll have to measure the blade.
To do this, carefully remove the blade from the saw. Then, measure from side to side through the middle of the blade. You can use this measurement when you purchase a new blade for your saw.
Arbor Diameter
This is another important measurement you need to know. This is because the hole in the middle of the blades needs to fit on the arbor of the circular saw.
This should also be printed on the saw blade. If it’s not, you can measure the diameter of the arbor hole.
Another way is to take your old blade to the hardware to match it with the new blade.
RMP
This is the last thing you need to know. It’s the revolution per minute of the blade.
You need to ensure that the RMP of the blade doesn’t exceed the RMP of your circular saw.
Types of Circular Saw Blades

If you’re a carpenter, you’ll likely use the circular saw to cut wood.
Here are two common cuts you can make with a circular saw:
- A rip cut is made along the length of the wood piece or along the grain of the wood
- A crosscut is made across the grain of the wood or the width of the wood piece
Here are different blades created to make these cuts:
Rip-Cut Blade
These blades come with fewer teeth. Usually less than 40. If you look closely, you’ll notice that the teeth of the rip-cut blade are flat.
Crosscut Blade
These blades have more teeth than a rip-cut blade. Usually more than 40. If you look closely, you’ll be able to recognize a cross blade because they have V-shaped teeth or a valley in the center of the blade.
Combination Blade
These blades are more versatile. You can use them to make cross cuts as well as rip cuts.
How to Change a Circular Saw Blade?
Before you start to change the blade, we recommend the user manual for your specific saw. If you’ve misplaced the manual, you can always search the name and model of your saw online to find it.
Step 1 – Disconnect the circular saw
First and foremost, you need to disconnect the circular saw from the power. If you have a wired unit, we recommend you unplug it from the wall socket. However, if your circular saw is battery-operated, you can take the batteries out.
This is a crucial step. The last thing you want is the saw accidentally turning on while you replace the blade.
Step 2 – Place it on a wooden surface
After you’ve disconnected it from the power, place the circular saw on a wooden surface or work table. This will give you a stable place to put the saw as you change the blade.
This is also where you will adjust the blade guard to have easy access to the blade. If there is a lock on the blade, disengage it. Moreover, we also suggest you check the blade as it shouldn’t wobble as you work on it.
Step 3 – Fix the wrench
This is only relevant if you have a battery-operated saw. There should be an opening for the wrench in the arbor nut to fix the replacement blade.
The direction to engage the wrench should be the same as the blade. If you have a saw that has a button for the arbor, press it as you simultaneously loosen the bolt.
But, if the button is absent, we suggest you press the blade against the wooden surface as you work. This will prevent the blade to fall off while you unbolt the screws.
Step 4 – Change the blade
By now the blade should be loose. You can go ahead and remove it from the arbor.
However, be extremely careful as you handle the blade. Do not make any direct contact with the blade. Even a dull blade can cause some serious damage. It’s best that you wear gloves to protect your hand.
Step 5 – Tighten the nut
Once you’ve successfully removed the blade, put in the replacement blade. Then, tighten the bolt so the blade doesn’t fall off.
Again, press the blade to the table as you tighten it. This will ensure that it’s tightened to the fullest.
Step 6 – Connect the power
Before you connect the circular saw back to power, double-check everything. There should be no wobbling of the blade and all the screws should be properly fastened.
Wrapping Things Up…
There you have it. All in all, the process to change a blade on a Black and Decker circular saw is quite easy. All you need to do is follow these simple steps.
However, if it’s your first time, we recommend you take things slow. It’s also a good idea to double-check everything as you go through the steps.
With that we conclude our guide, if there’s anything further you would like to know, please feel free to reach out to us.
Take a look at our website for more information on how to change blades.

