
A dull blade will not only slow down your work, but it may also overheat and kick back.
Therefore, it’s a good idea to sharpen your circular saw blade before you use it.
There are two types of circular blades, masonry, and carbide-tipped blades. In this article, we will focus on how to sharpen a carbide-tipped blade.
They can cut with both the sides and the face of the blade. If treated properly a carbide blade will provide you a long lifespan, crisp, chip-free, and precise cuts.
Quick Summary
In this post, we will go over:
- Things you need
- How to sharpen a carbide circular saw blade?
- Extra tips to keep in mind
- Signs that you need to sharpen your blade
…and more.
So, without further ado, let’s get started.
Things You Need
Before you start to sharpen your blade, here are some things you need to have on hand:
- Clamps or bench vice
- Carbide-tipped circular saw blade
- Oil, lapping fluid or wood lubricant
- Sharpening stick (File or sandpaper would also do fine)
- A small piece of wood
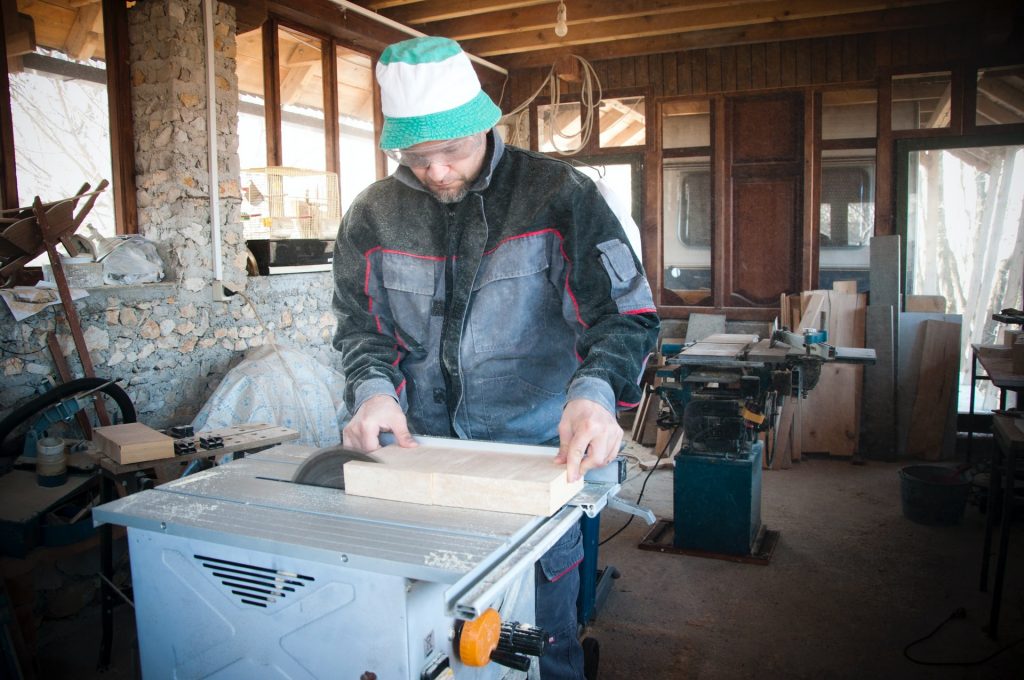
How to Sharpen a Carbide Circular Saw Blade
Step 1 – Clean the Blade
More often than not, people mistake a dirty blade for a dull one. Therefore, it’s a good idea to clean the blade before you sharpen it.
Since carbide blades are extremely sharp, we recommend you wear gloves and be extra careful during this process.
Moreover, don’t forget to turn off the power before you touch the blade.
Step 2 – Remove the blade
The next step is to carefully remove the blade from the saw. To do this, loosen the nut in a clockwise direction. We recommend you use a wrench for this.
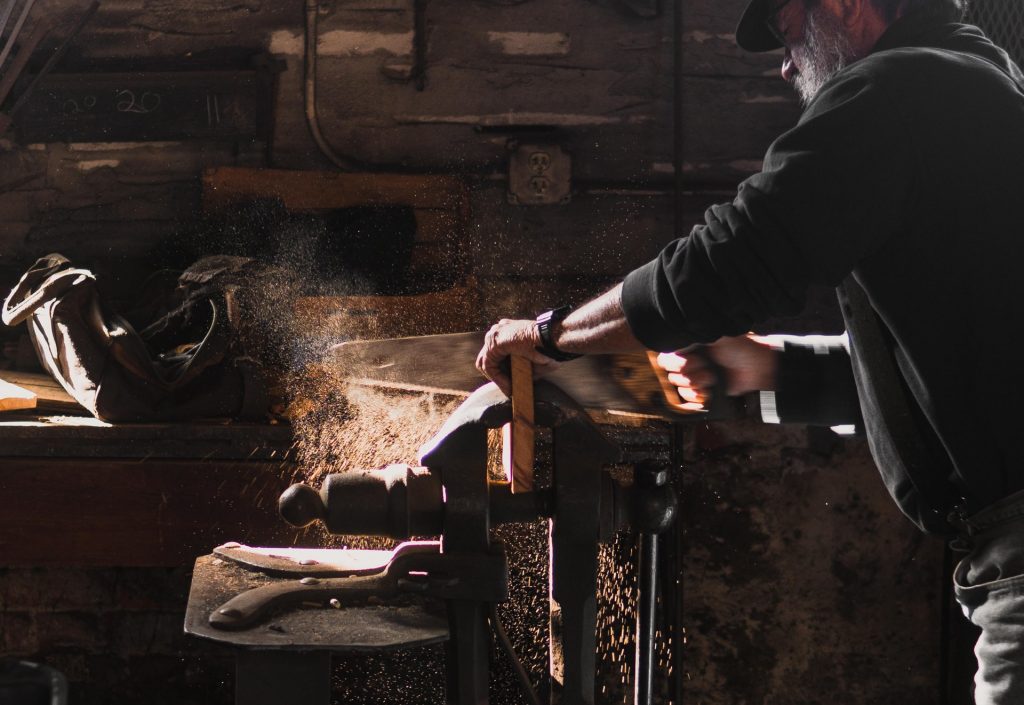
Step 3 – Fix the blade
The dull blade and fix it to your worktable. You can use clamps for this purpose. However, make sure that the blade is fixed tight so it doesn’t move as you sharpen it later.
Step 4 – Mark the blade
Before you start to sharpen, mark the first tooth of the blade. This will help you identify when you’ve sharpened all around the blade.
Step 5 – Sharpen the blade
To sharpen the blade, stick the sandpaper on a piece of wood. Any small piece of wood lying around your house will work fine.
Next, apply some lubricant or oil to the sandpaper. Now, you’re ready to sharpen the blade.
Position the sandpaper on the face of the tooth and start to file back and forth. It’s not necessary to file the top of the tooth so, we suggest that you stick to the face.
After you’ve gone over one tooth 5 to 10 times you can move on to the next tooth. Repeat this step for all the teeth until you reach the marked tooth.
With that, you’ve successfully sharpened your carbide-tipped miter saw.
Step 6 – Test the blade
The last step is to test the newly sharpened blade.
Turn on the saw and make a cut on a trial wooden block. Then, inspect the cut carefully. The operation should be smooth and the cut should be precise.
If you notice uneven cuts or a loud noise from the motor, the height of the teeth might not be the same. In this case, sharpen the blade again to make sure all the teeth are equal.
Additional Tips to Keep in Mind…
- As we mentioned at the start of the article, carbide teeth blades cut with both their face and sides. Therefore be extra careful as you sharpen their teeth. You do not want to end up rounding off those edges.
- It’s a good idea to examine the cuts after you use a circular saw. When new cuts are made with a dull blade, they have rough edges and take a long time to complete. Also, listen to the sound of the motor. A motor with a sharp blade won’t sound so loud.
- Before you start to sharpen the blade, we suggest you oil the sandpaper. This will increase the lifespan of the sandpaper.
- If possible, we recommend you buy a new blade instead of trying to sharpen it yourself. Sharpening blades is a professional skill that comes through experience. If you’re a beginner and try to sharpen a blade based on written instructions, you might run into a problem or damage the blade
- Weak and low-priced blades do not last very long. If you want to change blades, we recommend a luxite carbide-tipped circular saw blade. These are made from extremely strong material and eliminate the need for re-sharpening again and again.
- When you sharpen saw blades, we suggest you use the same force and file every tooth the same number of times. This will ensure that the blade is sharpened evenly.
- You can sharpen the blade 3-4 times on your own. After that, it’s best you send it to a professional. A grinding shop can restore the blade back to its original form.
- If you don’t have sandpaper, you can sharpen your blade with a file. However, this is only applicable to steel tooth blades. A file may further dull a carbide-tipped blade.
Signs You Need to Sharpen the Blade
Here are some common indicators that your blade needs sharpening:
- When you notice chipping or splintering on your work
- If you smell burning wood or see smoke and burn marks on the edge of the cut
- The saw starts to cut slower and you need to apply more pressure
- The blade is unable to produce a straight and clean cut
- You detect missing teeth
- There’s a heavy buildup of sawdust, pitch or other materials around the blade
- The blade wobbles or it’s warped
Wrapping Things Up…
This brings us to the end of our guide.
Sharpening blades on your own can be worthwhile as they help you save money and resources. However, with carbide-tipped blades, we recommend a professional sharpening.
But, if you’re still adamant about doing it on your own, we suggest you be extra careful. Even a dull blade can cause serious injuries if not handled properly.
Check out our page so you can get better at sharpening your blade.