
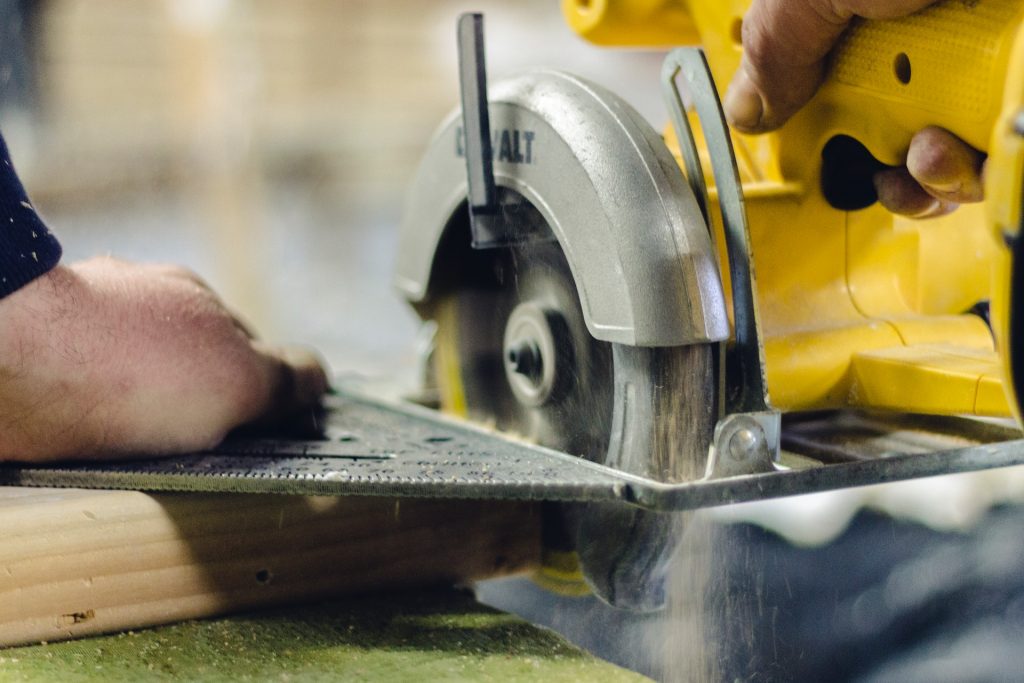
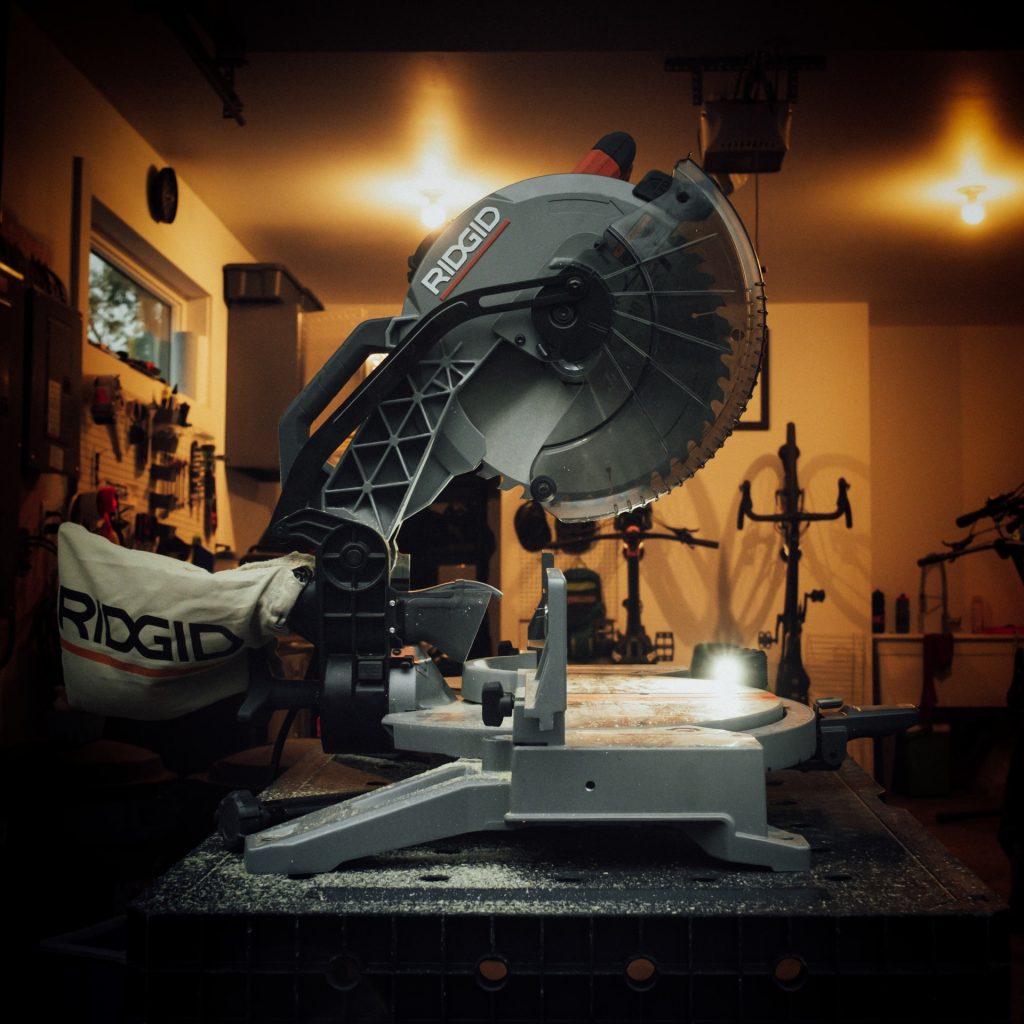
The reason why miter saws are so popular among carpenters and woodworkers is that they’re designed to make precise cuts.
However, continuous use, transportation, and many other factors can knock the saw out of alignment.
But, do not panic. With little knowledge and practice, you can square your miter saw on your own without the help of a professional.
Quick Summary
In this post, we will go over:
- How to square your miter saw?
- How to test for accuracy?
Let’s jump right in.
How to Square your Miter Saw?
Step 1 – Clean the Saw
As you use your miter saw, sawdust and debris can accumulate on your miter saw. This will clog the miter saw and cause misalignment. If you’re not in the habit to clean your miter saw regularly, now is a good time to start.
But how to clean a miter saw effectively?
The easiest way is to use an air compressor with an air nozzle. You can direct it towards different crevices of the miter saw and use it to blow the sawdust away. We recommend you especially do this right after you’re done with a project.
Other than that, you can also use a shop vac to blow the dust and debris away. Don’t forget to wipe down the entire saw with a damp cloth and remove any pitch build-up.
Step 2 – Check the Blade
Before you set the miter saw back to square or alignment, inspect the blade. Just like the miter saw, sawdust can collect on the blade and make it dull.
You must clean and sharpen the blade before you move on to the next step. To clean the blade, we would recommend you use a stain remover or BlueShield rust.
If you find broken teeth on the blade, replace it with a new one. A broken blade might interfere with the process once you start to align the blade.
But, don’t forget to practice safety precautions as you change the blade. A saw blade is razor-sharp and can do serious damage to your hands.
Step 3 – Align the Table
A professional or an amateur there’s a good chance you have a worktable or a miter saw table to set your miter saw on.
Although the miter saw table doesn’t fall out of alignment itself, prolonged use and old age can add to the gradual misalignment.
Luckily, it’s not hard to align the table. All you need to do is place a straight edge on the table and see if it’s measuring up to its standards.
If you think it’s a bit off, we suggest you place a small piece of wood to make it level again. You can also replace the section of the wood, if possible.
Step 4 – Align the Fence
After everything is set with the table, move on to the fence. The fence of the miter saw is located at the backside of the miter saw to support longer materials while you trim them. To see if the fence is out of alignment, use the straight edge again.
If you spot an area in question, loosen the screws that hold it in place until it’s squared. Once you’re satisfied, tighten the screws. Remember, you need to square both sides of the fence separately as they might not align the same.
Step 5 – Adjust the Miter Angle
Now, move on to the miter angle. The first thing you need to do is set the bevel angle at zero (0) degrees. Then do the same to the miter angle. The miter should square the fence.
Next, set a combination square or rafter layout square on the table to see if it is 90-degrees. One of the edges of the square should just touch the front edge of the fence.
Then, position the saw to the lowest possible position of the blade and slide the square to the blade’s side edge. If there’s no space, you might have to raise the blade guard to get access.
At this moment, one edge of the combination square should be against the blade edge while the other rests securely against the fence. We also recommend you check the gaps between the blade and fence to see if it is even.
If you find any uneven gap, then go ahead and loosen the miter and tighten the knob. Also, alter the miter angle to the point when the blade and fence are at 90 degrees to each other.
Then, you can loosen the detent plate screws. This will help you calibrate it to make the saw’s zero-degree angle accurate.
Step 6 – Adjust the Bevel Angle
Now move on to the bevel angle. No matter what kind of miter saw you own, you only need to worry about the saw table and the zero degrees angle square to be square or 90 degrees to each other.
To make this happen, you’ll need to set the square on its edge with one side facing upwards from the table and the other edge laid straight on the table. Then, bring the saw blade down while you make sure the blade guard is raised.
Next, slide the square towards the blade until it’s vertically positioned side and the blade becomes aligned to each other.
Once again, check for any gap between the square and the blade. If you find any, relax the bevel adjustment knob and turn it to adjust the bevel.
You need to make sure the square and saw blades are aligned with each other. Tighten the knob to keep the bevel angle firm and shift the detents for the bevel.
Your saw model decides how this will be done so it’s important to go through the user manual to confirm what to do.
How to Test for Accuracy?
Once you’ve followed all these steps, you need to test the miter saw for accuracy.
First, turn the miter saw on and make a crosscut at zero degrees miter. We recommend you do it on a wide piece of junk board as this is only a test.
Then use a square or a level to check the accuracy. If you still see some discrepancies, repeat the steps.
The must have resources for a project CLICK HERE
Wrapping Things Up…
This concludes our guide on how to make sure your miter saw is square. We hope the information was helpful.
Lastly, don’t forget to turn off the saw before you proceed to make any adjustments.
We also recommend you wear safety gloves during the whole process to protect your hands.
Our website provodes information on how to make adjustments on other saws.