
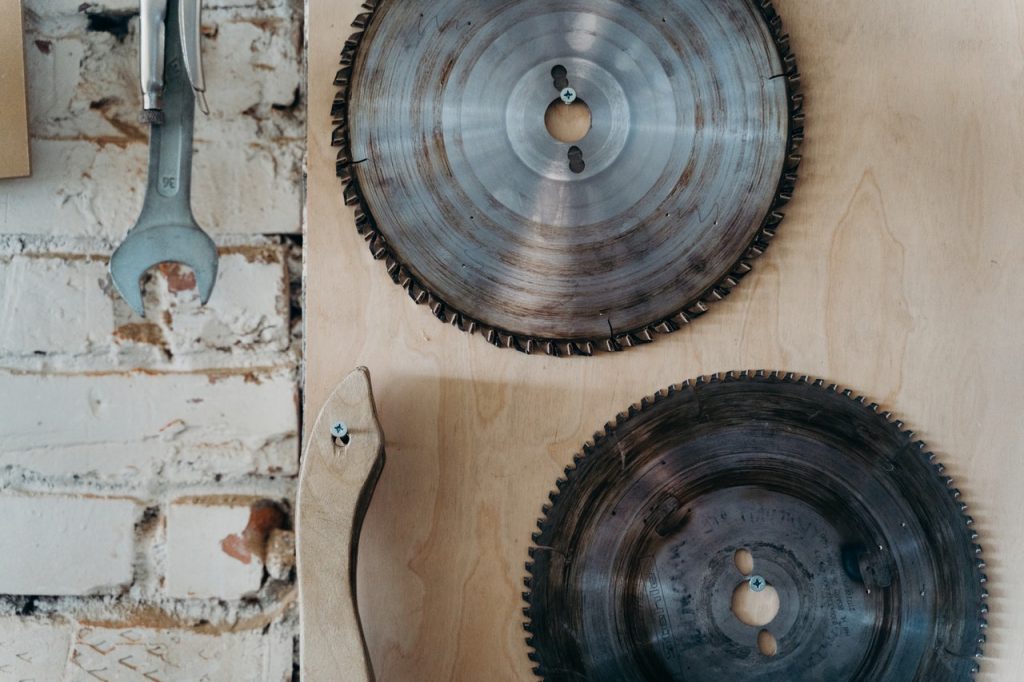
If you want to cut your wood boards seamlessly with accuracy and precision, it is important that the miter saw blade is sharp and efficient.
Ryobi miter saw is one of the best wood cutting tools but even with this saw, you won’t get the perfect cuts if the blade gets flat.
Therefore, you must learn how to change the blade on the Ryobi miter saw.
Brief Overview
In this detailed article, we will cover the following aspects:
- List of necessary tools required to change the blade
- Reasons to change the miter saw blade
- Detailed step by step process
- Precautionary measures
Tools Required for Blade Replacement
Following are some necessary tools and products that are required to change the blade on the Ryobi miter saw:
- Screwdriver
- 5mm & 100mm hex key
- Combination square
- Machine oil
- Safety gloves
Reasons To Change The Miter Saw Blade
The effectiveness and working capability of a miter saw depend on the quality of its blade. If the blade gets flat and is unable to cut the wood accurately, then your Ryobi miter saw is of no use.
Following are some commonly occurring factors that might require a blade change.
Poor Cutting Performance
After a good while of using the Ryobi miter saw, you will notice the prominence of factors that will indicate a new blade replacement. The blade becomes dull with unsharpened, broken, and missing teeth.
Moreover, you can also observe that the blade does not work smoothly as it used to and it gets stuck during the cutting process. These factors will result in poor performance with inaccurate and abrupt cuts.
Hence, that’s when you need to remove the blade and place a new one.
Changing Blade for Cutting Different Materials
Sometimes you don’t get the appropriate cuts because you might be using the wrong blade for a different material.
Although the Ryobi miter saw is mostly used to cut wood materials, however, it can also be used to cut other materials.
For instance, if you want to cut metal, you will be needing a different blade for an efficient working process.
If you won’t change the blade for cutting heavy and strong materials, you will end up damaging the miter saw blade.
Changing Blades for Different Cuts
You might be getting a poor cutting performance with the Ryobi miter saw because you are not using the blade that is appropriate for the required cuts.
Different blades are used to cut the wood with different thicknesses. So, it is important for you to check the thickness of the wood beforehand and change the blade accordingly.
Step by Step Process of How to Change Blade on Ryobi Miter Saw
Step 1: Disconnect the Power Supply
Before you begin with the blade changing process, the first and most important step is to make sure that the power supply is off.
After turning the power off, wait for 10-15 seconds for the blade to come in a completely static state. Once it is completely off, you can continue with the process.
Step 2: Adjust the Blade Arm
The blade arm adjustment can make it easier for you to change the blade of your Ryobi miter saw.
You can loosen the lock pin by gently pushing on the blade arm. After you pull out the lock, adjust the blade arm in the correct direction.
Step 3: Release the Blade Guard
All miter saws come with a blade guard that ensures your safety. However, in order to change the blade, you need to pull out the blade guard.
In this step, you need to push the lock on the blade guard that is present near the center of the guard cover. Once it is loosened up, push the guard cover out.
That way you can easily make enough room for the blade to be taken out easily.
Step 4: Open and Remove the Blade Bolt Cover
This step requires a hex key that is provided in the Ryobi miter saw toolkit. There are two hex keys available i.e 5mm and 10mm. You need to make sure that you use the hex key that is well-fitted in the bolt.
After loosening the screws, remove the blade bolt cover. Rotate the blade bolt cover in an upward direction and locate the hex-head blade bolt.
Step 5: Pull Out the Miter Saw Blade
After completing all the steps mentioned above, you can now move towards the main step of removing the blade.
Before removing the blade, make sure to press the spindle lock button so that it stops the blade from rotating. After you push the spindle lock, pull out the bolt and washer, and remove the blade from the miter saw.
Make sure that the pressure to the spindle lock is moderate. Otherwise, the lock might break.
Pro Tip: Apply some machine oil on the inner parts especially the inner washer, before moving on to the final step.
Step 6: Fix the New Blade
Now is the time when you do the real job. The blade placement is not as hard as you think especially when you have completed all the previous steps correctly.
Quick Note: All the miter saw blades have arrow indications on them for easy placement.
The blade teeth are to be directed downwards when you are placing the blade in the miter saw.
Once the blade is placed in the appropriate position, fix the outer washer and bolt in the respective spots. Tighten up the bolt and follow by fixing the spindle cover and the blade guard.
After all the placements are correctly done, plug in the Ryobi miter saw and turn on the power supply. The blade will rotate smoothly if all the steps are performed rightly.
How do you know that you have changed the Ryobi miter saw blade successfully?
As mentioned earlier, make sure all the bolts and screws are tightly fixed. Lower the blade arm that was adjusted in an upwards direction in the beginning. Now turn on the power supply and run the miter saw for a few seconds.
If the miter saw blade rotates smoothly without any interruptions, then you have changed the blade successfully.
However, if there is any resistance or interruption in the blade movement, make sure to recheck all the bolts, screws, and blade placement. Once they are fitted properly, turn on the saw again and repeat the checking process.
Precautionary Measures to Ensure Safe Miter Saw Blade Replacement
The miter saw blade replacement should be done by keeping in mind the following measure:
- Make sure that you are wearing safety gloves before you replace the blade. That will keep you protected from any kind of cuts from the sharp blade.
- Wear the safety goggles/face mask so that no previously sitting dust material goes into your eyes while the blade changing process.
- Always check the main power supply before you replace the blade of the miter saw. If the power remains on during the process, you will end up getting serious accidents due to the sharp blade.
- Press the spindle lock button and stop the blade rotation to ensure safety.
What are some additional tips that can be followed to change the blade on the Ryobi miter saw efficiently?
- Always choose the blades that are recommended by the miter saw manufacturer. These blades are designed especially for the Ryobi miter saw.
- Make sure that you pick the right size of the blade. It should perfectly fit in the saw so that you can have an excellent work performance without any interruptions.
- Do not apply extra pressure while you tighten/remove the bolt and screws.
- Your new blade should be compatible with the Ryobi miter saw. Also, make sure to buy the blade that is appropriate for the cutting material.
- After pulling out the washers and bolts, do apply a considerate amount of oil on the inner/outer washer.
- Always use the new hex key that is provided in the Ryobi miter saw power tools kit.
Wrapping Things Up…
We hope that our detailed step-by-step guide will help you in changing the Ryobi miter saw blade. Make sure that you follow every step and collect all the necessary tools beforehand.
Once you read the manual instructions and follow all the safety precautions, you will surely be a master in this task.
And with that, we have reached the end of our post on how to change the blade on the Ryobi miter saw.
We hope this article proves to be helpful to you. Let us know if you want any further questions to be answered.